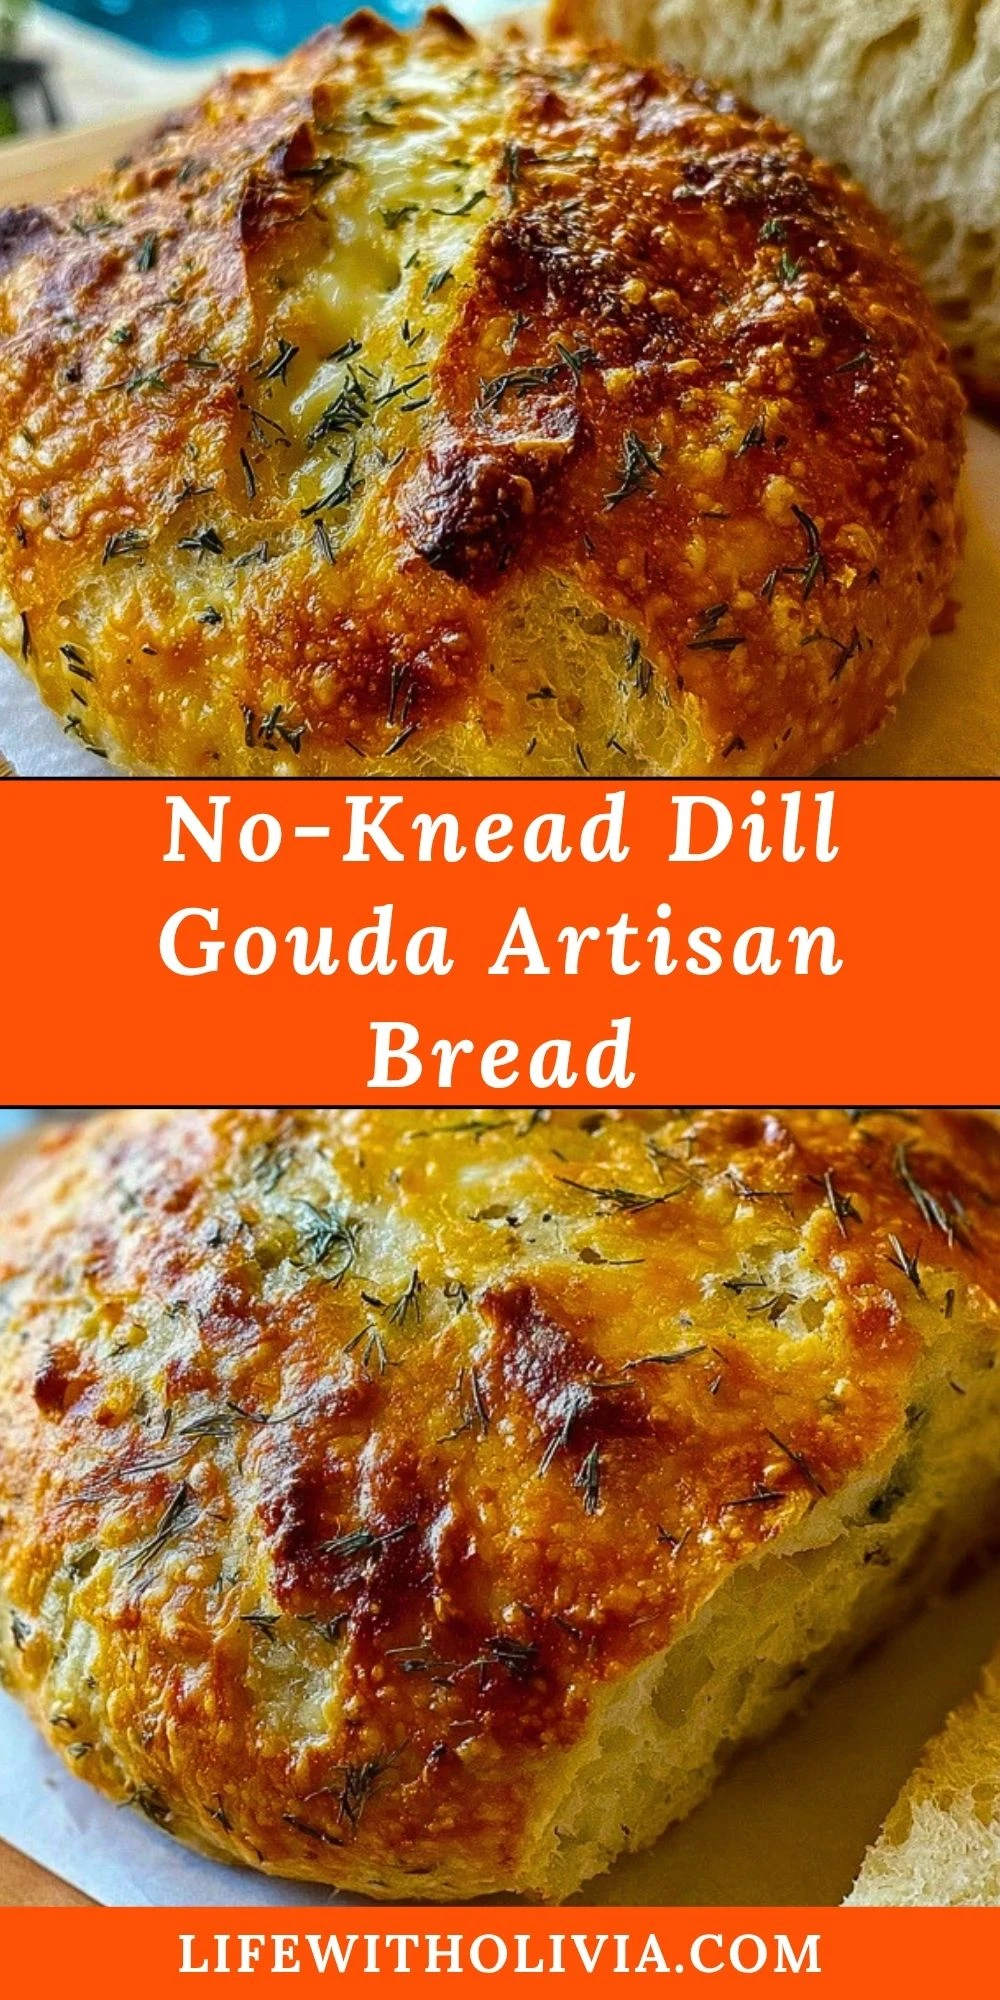
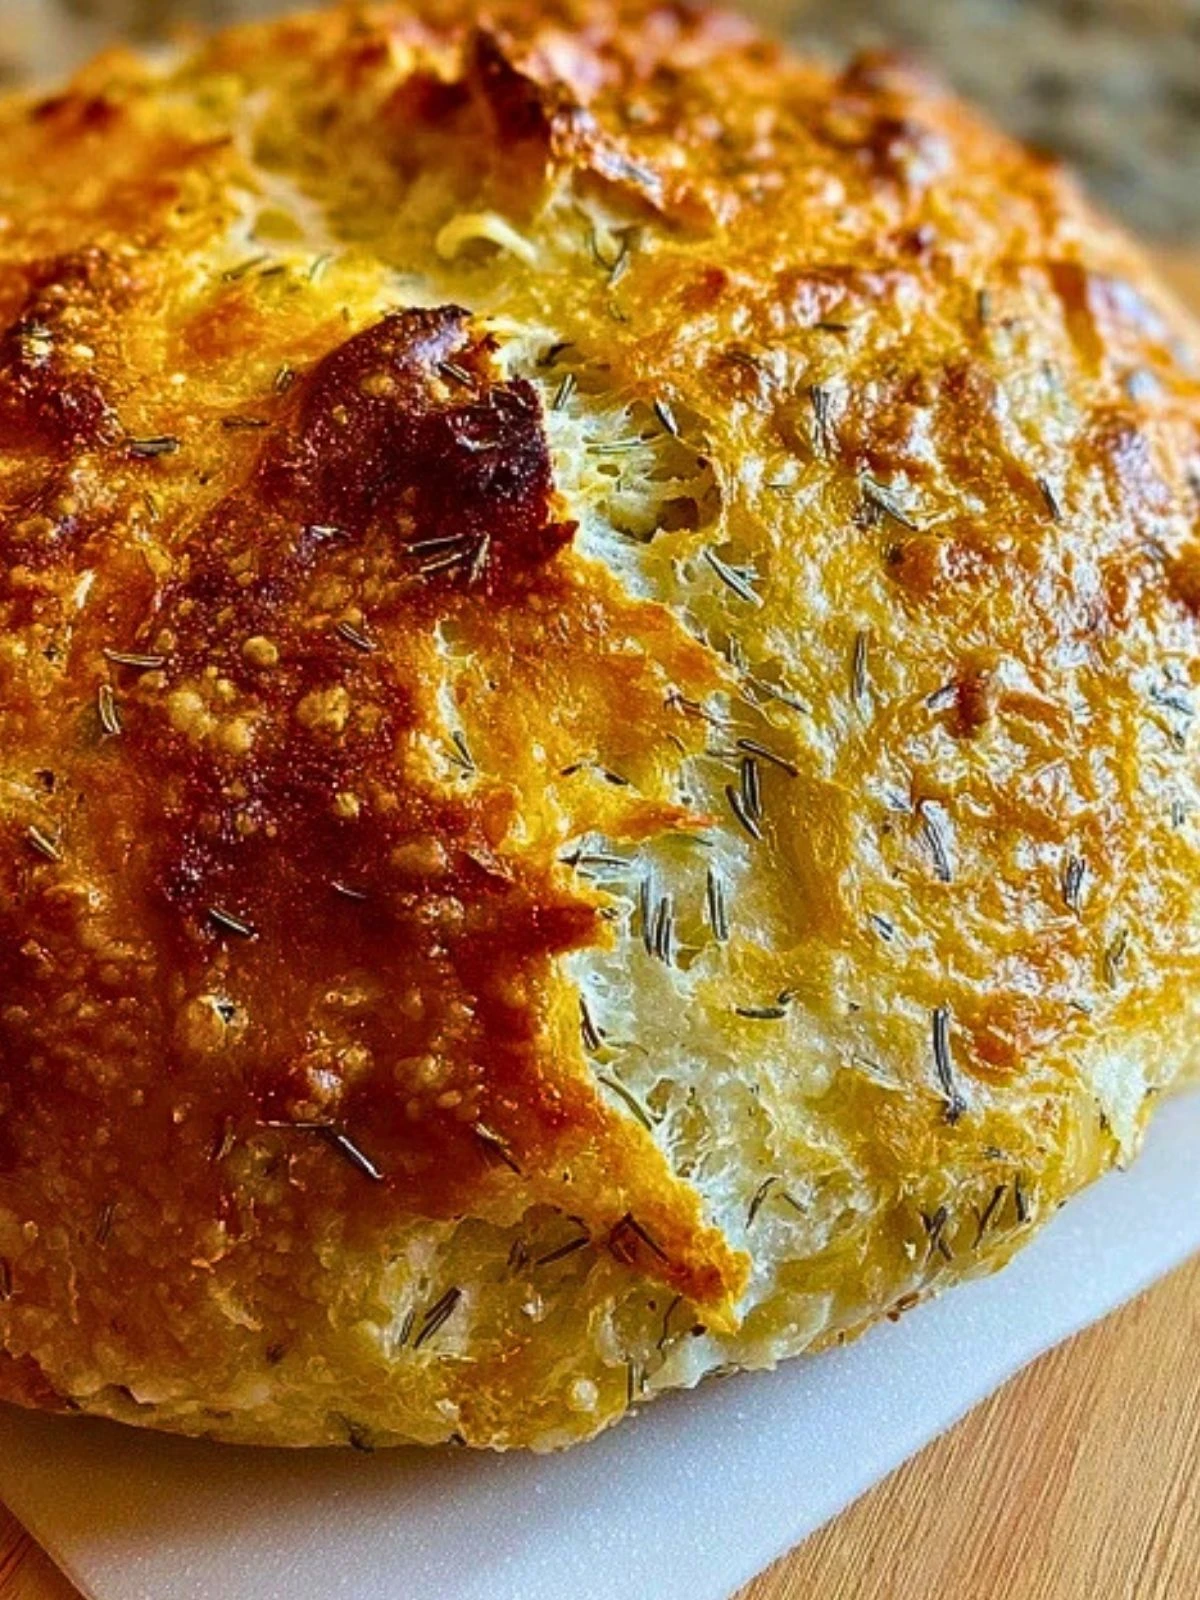
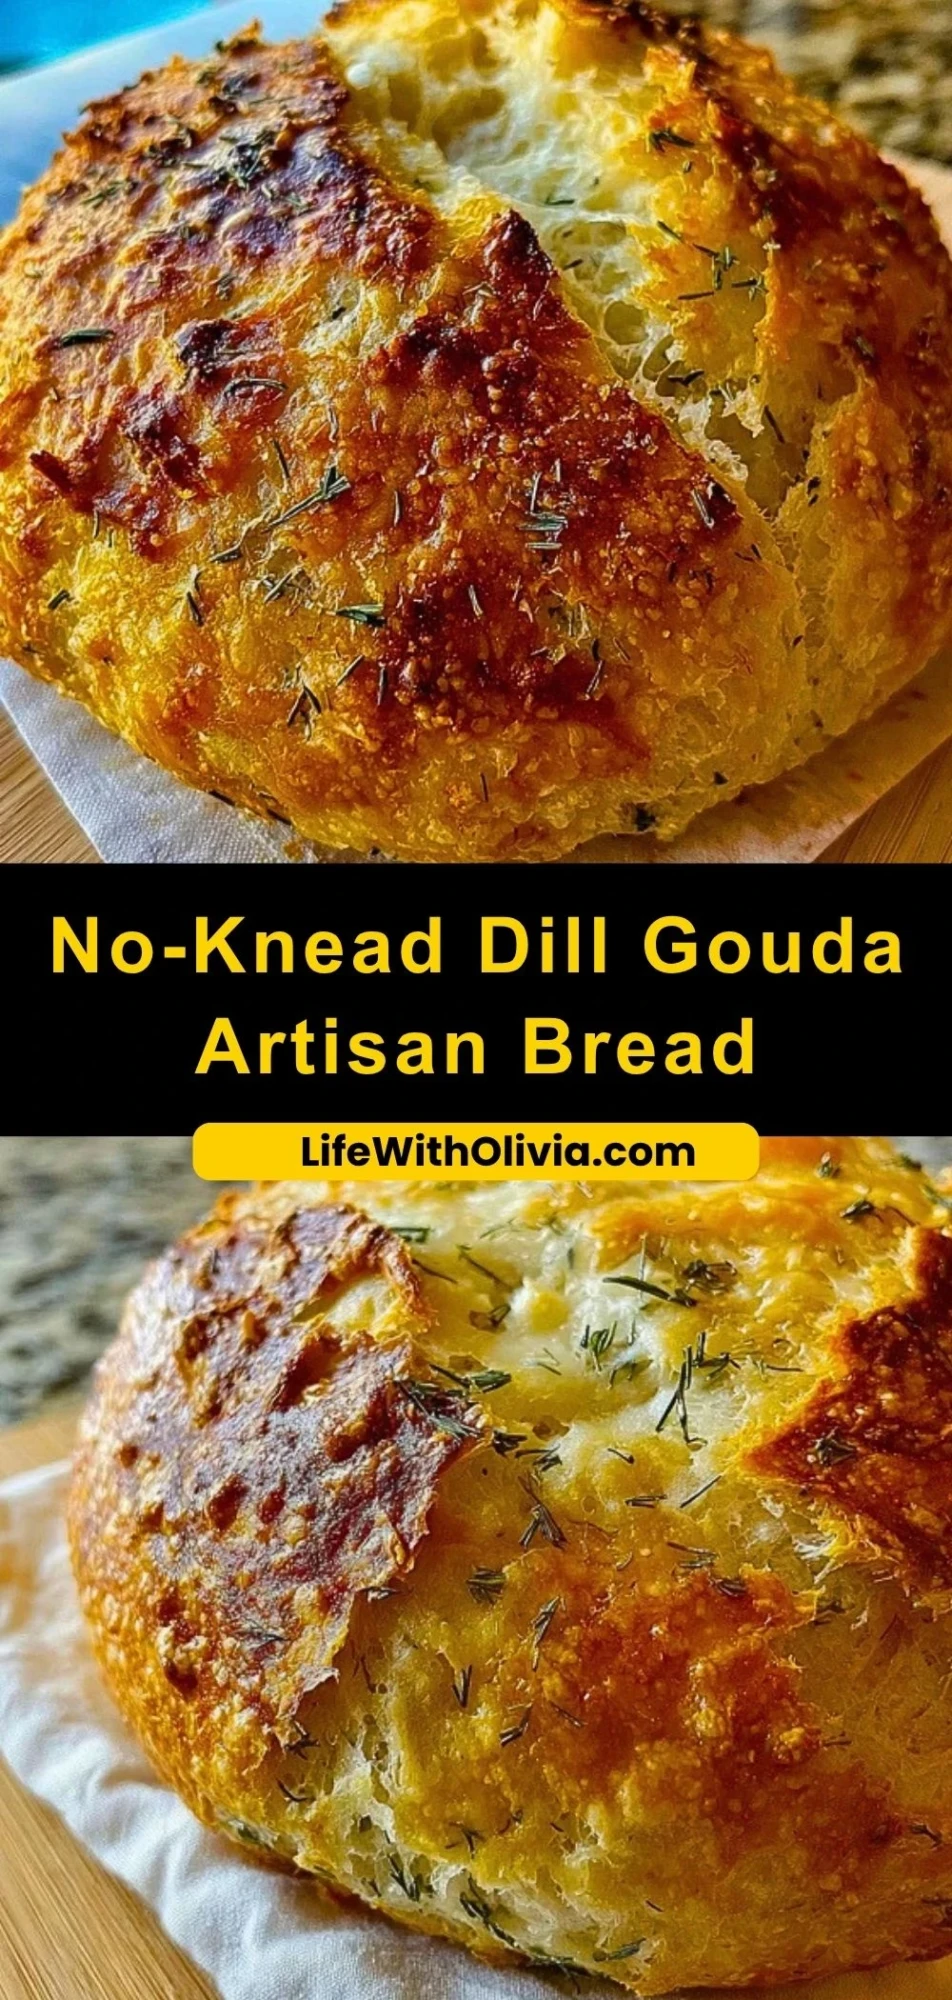
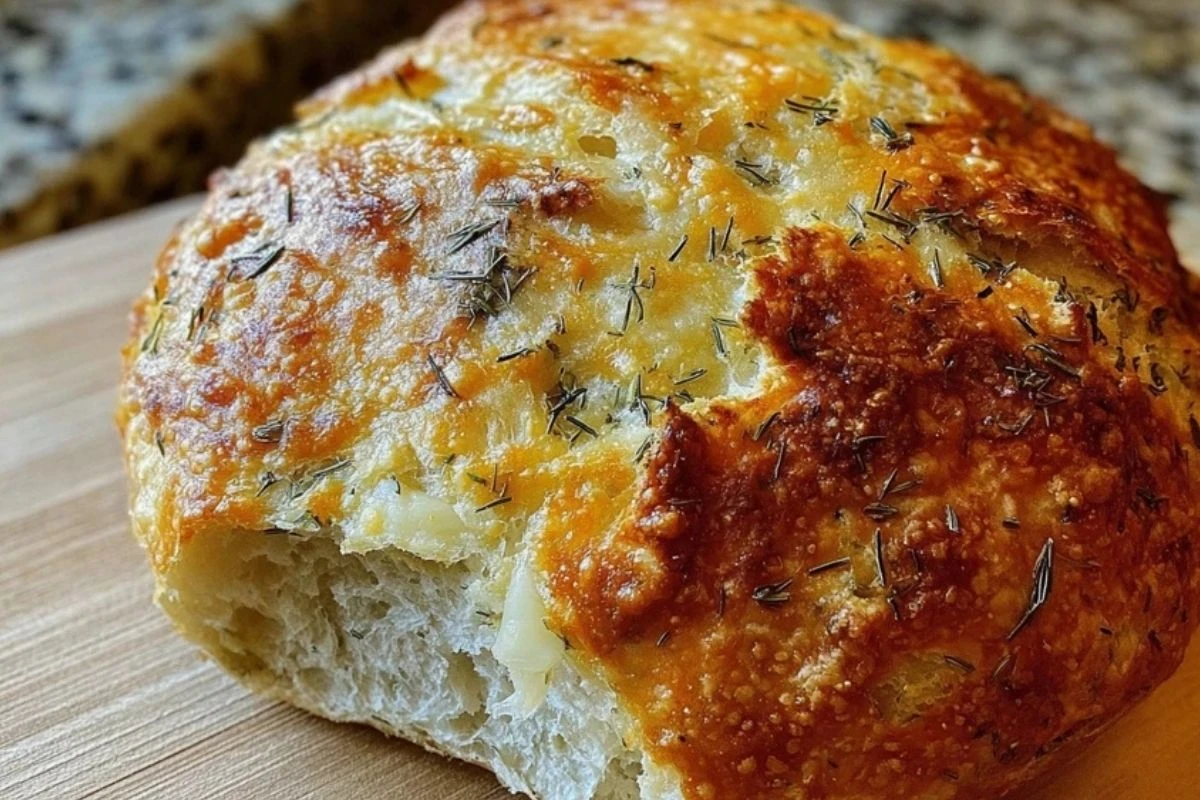
Golden, crackly, and deeply savory, this No-Knead Dill Gouda Artisan Bread is the kind of homemade loaf that looks bakery-worthy but comes together with very little hands-on effort. The crust bakes up beautifully bronzed while the inside stays soft, airy, and loaded with pockets of melty Gouda and fragrant dill.
It is a wonderful bread for cozy dinners, soup nights, cheese boards, or simply slicing warm and serving with butter. Because the dough needs no kneading, this loaf is especially appealing for home bakers who want artisan-style bread without complicated technique.
Preparation Phase & Tools to Use
Before you begin, gather your tools so the process feels simple from start to finish. A large mixing bowl is important because it gives the dough enough room to rise and expand overnight. A wooden spoon or sturdy dough spatula helps combine the dough thoroughly without overworking it.
Measuring cups and spoons matter here because bread dough responds best to balanced ratios, especially when working with yeast, flour, salt, and water. A cheese grater is useful if you are shredding Gouda fresh, which helps it melt more evenly throughout the loaf.
A piece of plastic wrap or a clean kitchen towel is needed to cover the bowl while the dough rests. Parchment paper makes transferring the dough much easier and helps prevent sticking. A sharp knife or bread lame helps score the top if you want a more controlled rustic look.
A Dutch oven is the most important piece of equipment in this recipe. It traps steam during baking, which encourages that crisp artisan crust and helps the loaf rise well in the oven. A cooling rack also matters because it lets air circulate around the bread after baking so the crust stays crisp instead of turning soft underneath.

Ingredients for the No-Knead Dill Gouda Artisan Bread
All-purpose flour gives the loaf its structure and creates the chewy, rustic crumb that makes artisan bread so satisfying.
Salt seasons the dough and strengthens the bread’s overall texture, helping the flavor taste balanced instead of flat.
Instant yeast brings the dough to life and creates the airy interior that makes each slice light and tender.
Warm water hydrates the flour and activates the yeast, allowing the dough to develop slowly as it rests.
Shredded Gouda adds richness, a lightly nutty flavor, and irresistible melted pockets throughout the loaf.
Dried dill gives the bread its signature herby flavor and pairs especially well with the creamy Gouda.
Olive oil adds a little extra flavor and helps keep the crumb tender.
Optional flaky salt on top gives a subtle crunch and enhances the savory finish.
How To Make the No-Knead Dill Gouda Artisan Bread
Step 1: Mix the Dough
In a large mixing bowl, stir together the flour, salt, instant yeast, and dried dill. Add the warm water and olive oil, then mix until a shaggy dough forms. Fold in the shredded Gouda so it is distributed throughout the dough.
Step 2: Let the Dough Rest
Cover the bowl with plastic wrap or a clean towel and leave it at room temperature for 12 to 18 hours. During this long rest, the dough will become puffed, bubbly, and full of flavor.
Step 3: Shape the Loaf
Lightly flour a work surface and turn the dough out gently. Fold it over itself a few times to shape it into a rough round loaf. Do not overhandle it, because you want to keep as much air in the dough as possible.
Step 4: Second Rise
Place the shaped dough on a sheet of parchment paper and cover loosely. Let it rest for 30 to 45 minutes while the oven heats.
Step 5: Preheat the Dutch Oven
Place the Dutch oven with its lid in the oven and preheat to 450°F. Heating the pot first is what helps create that dramatic artisan-style oven spring and crust.
Step 6: Transfer and Bake
Carefully remove the hot Dutch oven from the oven. Lift the dough by the parchment paper and place it inside the pot. If desired, score the top lightly and sprinkle with a bit of extra dill or flaky salt.
Step 7: Bake Covered Then Uncovered
Cover with the lid and bake for 30 minutes. Remove the lid and continue baking for 10 to 15 minutes, or until the loaf is deeply golden and crisp.
Step 8: Cool Before Slicing
Transfer the bread to a cooling rack and let it rest for at least 30 minutes before slicing. This helps the crumb set properly and keeps the inside from becoming gummy.
Serving and Storing No-Knead Dill Gouda Artisan Bread
This bread is best served slightly warm or fully cooled with softened butter, whipped herb butter, or even a little garlic oil. It pairs beautifully with creamy soups, tomato-based dishes, roasted meats, and simple salads. You can also toast slices for sandwiches or serve it alongside scrambled eggs for a savory breakfast.
To store, wrap the cooled loaf in foil or keep it in an airtight container at room temperature for up to 2 days. For longer storage, slice and freeze it in a freezer-safe bag for up to 2 months. Reheat slices in the toaster or warm the loaf in the oven to bring back some of that crisp crust.
Frequently Asked Questions
Can I use fresh dill instead of dried dill?
Yes, but fresh dill contains more moisture and a milder flavor. Use a bit more than dried and pat it dry before adding so the dough does not become too wet.
What kind of Gouda works best for this bread?
A firm, aged Gouda gives the loaf a deeper, nuttier flavor, while young Gouda melts more smoothly and tastes creamier. Both work well.
Do I really need a Dutch oven?
A Dutch oven gives the best crust, but if you do not have one, you can bake the bread on a hot baking stone or sheet pan and add steam to the oven with a pan of hot water.
Why is my dough so sticky?
No-knead dough is naturally wetter than traditional bread dough. That extra moisture is what helps create the airy artisan texture.
Can I make the dough ahead of time?
Yes. After the first rise, you can place the dough in the refrigerator for additional flavor development if needed. Just let it come closer to room temperature before baking.
How do I know the bread is done?
The loaf should be deeply golden with a crisp crust, and it should sound hollow when tapped on the bottom.
Want More Bread Ideas?
If you love this No-Knead Dill Gouda Artisan Bread, you may want to try a few more homemade bread favorites from Life With Olivia:
- Soft and Fluffy Homemade Naan Bread for a tender skillet bread that is perfect with dips and dinner spreads.
- Homemade Flaky Croissants when you are in the mood for buttery layers and a weekend baking project.
- Cinnamon Donut Bread Recipe for a sweet loaf that feels like a bakery treat at home.
- Jalapeno Cornbread with Lime Honey Glaze if you want something bold, savory, and just a little sweet.
You can also find more daily recipe inspiration on Pinterest at Life With Olivia.
Save This Recipe for Later
📌 Save this recipe to your Pinterest bread board so you can come back to it any time.
And let me know in the comments how yours turned out. Did you use a smoky Gouda or a milder one? Did you add extra dill on top before baking?
I love hearing how others make these recipes their own. Questions are always welcome too, especially if you are making artisan bread for the first time.
No-Knead Dill Gouda Artisan Bread
- Total Time: 13 hours
- Yield: 8 servings
- Diet: Vegetarian
Description
Crackly on the outside and soft on the inside, this No-Knead Dill Gouda Artisan Bread is an easy recipe that delivers bakery-style results at home. Packed with savory Gouda cheese and fragrant dill, this rustic loaf is perfect for quick breakfast slices, easy dinner sides, cozy soup pairings, snack boards, and homemade bread food ideas everyone will love.
Ingredients
3 cups all-purpose flour
1 1/2 teaspoons salt
1 teaspoon instant yeast
1 tablespoon dried dill
1 1/4 cups warm water
1 tablespoon olive oil
1 1/4 cups shredded Gouda cheese
1 teaspoon flaky salt, optional
Instructions
1. In a large bowl, whisk together the all-purpose flour, salt, instant yeast, and dried dill.
2. Pour in the warm water and olive oil, then stir until a shaggy dough forms.
3. Fold in the shredded Gouda cheese until evenly mixed through the dough.
4. Cover the bowl with plastic wrap or a clean towel and let the dough rest at room temperature for 12 to 18 hours.
5. Lightly flour a surface and gently turn out the dough. Fold it over itself a few times and shape it into a rough round loaf.
6. Place the dough on parchment paper, cover loosely, and let it rest for 30 to 45 minutes.
7. While the dough rests, place a Dutch oven with its lid in the oven and preheat to 450°F.
8. Carefully remove the hot Dutch oven, lower the dough into the pot using the parchment paper, and score the top if desired.
9. Sprinkle with flaky salt if using, cover with the lid, and bake for 30 minutes.
10. Remove the lid and bake for 10 to 15 minutes more, until the loaf is deep golden brown.
11. Transfer the bread to a wire rack and cool for at least 30 minutes before slicing.
Notes
For the best flavor, use freshly shredded Gouda instead of pre-shredded cheese.
Do not rush the overnight rise, because it gives the bread its airy texture and deeper flavor.
Let the loaf cool before slicing so the crumb sets properly and stays soft instead of gummy.
- Prep Time: 15 minutes
- Cook Time: 45 minutes
- Category: Bread
- Method: Dutch Oven
- Cuisine: American
Nutrition
- Serving Size: 1 slice
- Calories: 255
- Sugar: 1g
- Sodium: 420mg
- Fat: 8g
- Saturated Fat: 4g
- Unsaturated Fat: 3g
- Trans Fat: 0g
- Carbohydrates: 33g
- Fiber: 1g
- Protein: 10g
- Cholesterol: 18mg
Keywords: no-knead bread, dill gouda bread, artisan bread, homemade bread, easy bread recipe, savory bread, quick breakfast, easy dinner, food ideas