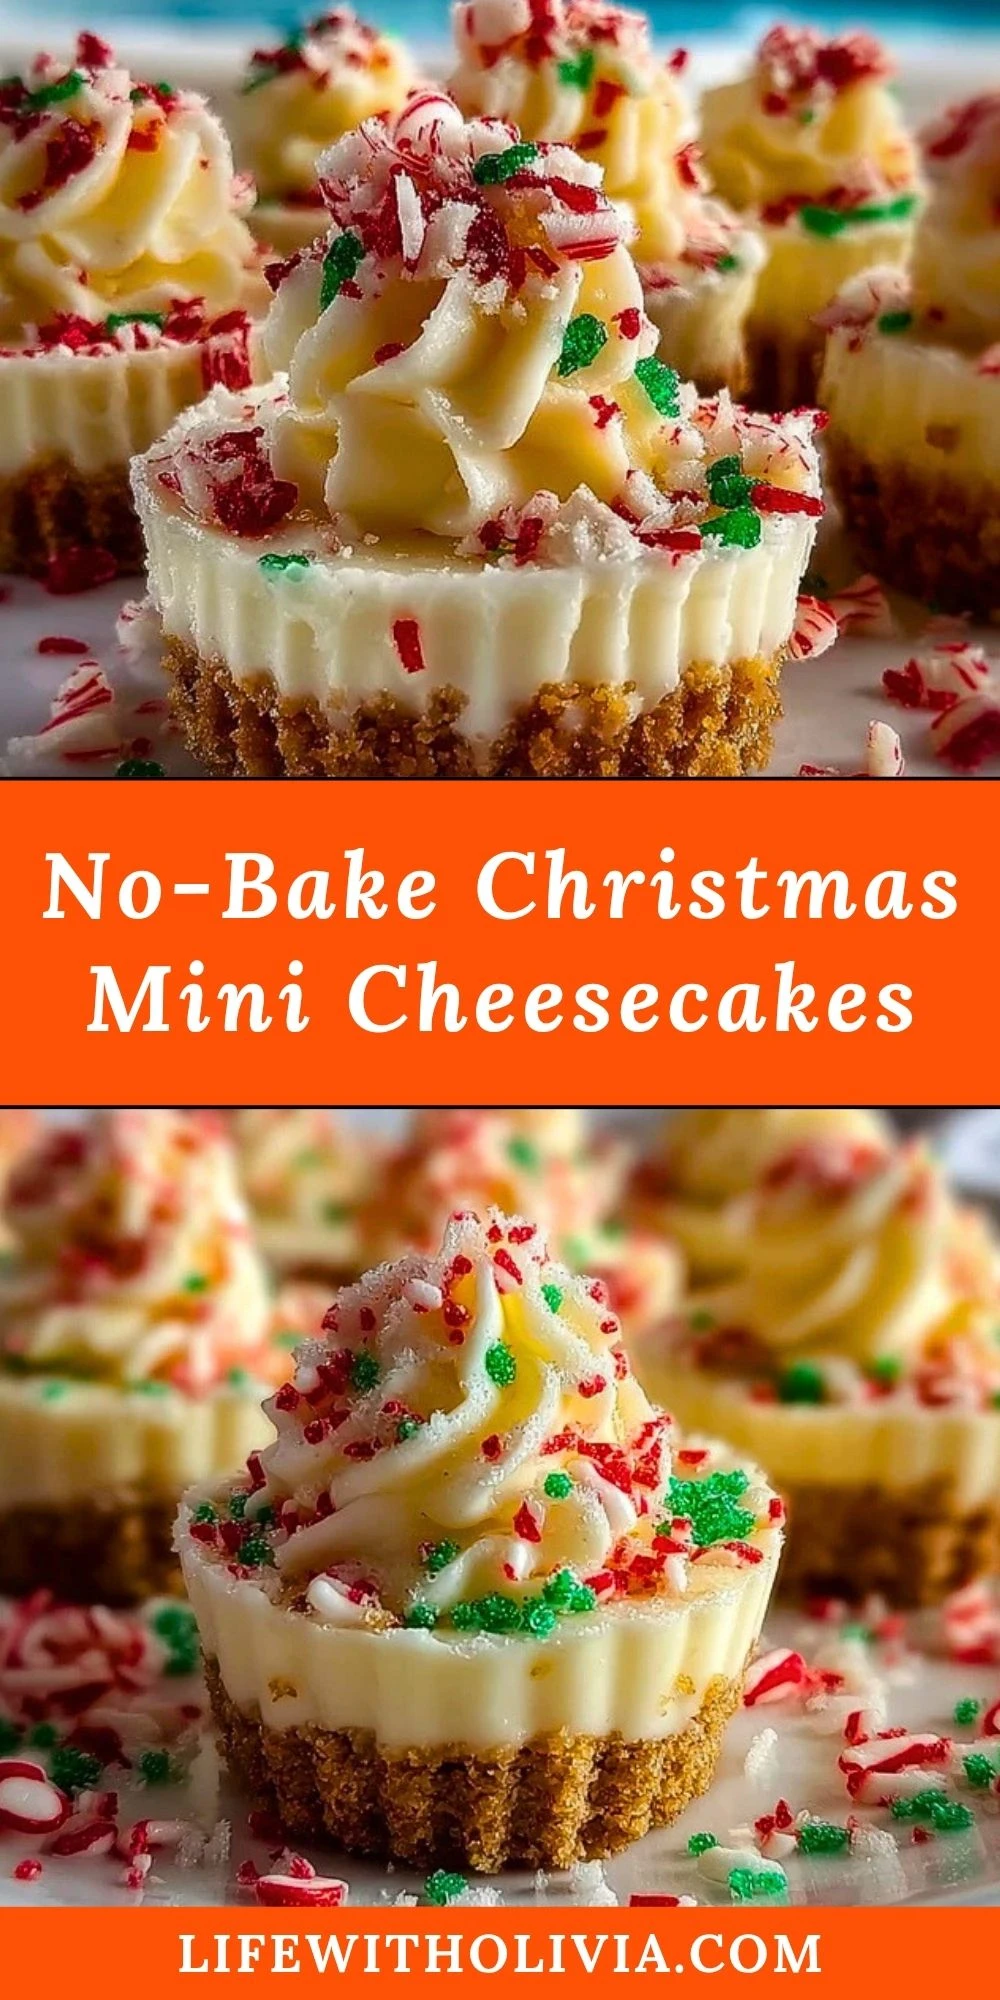
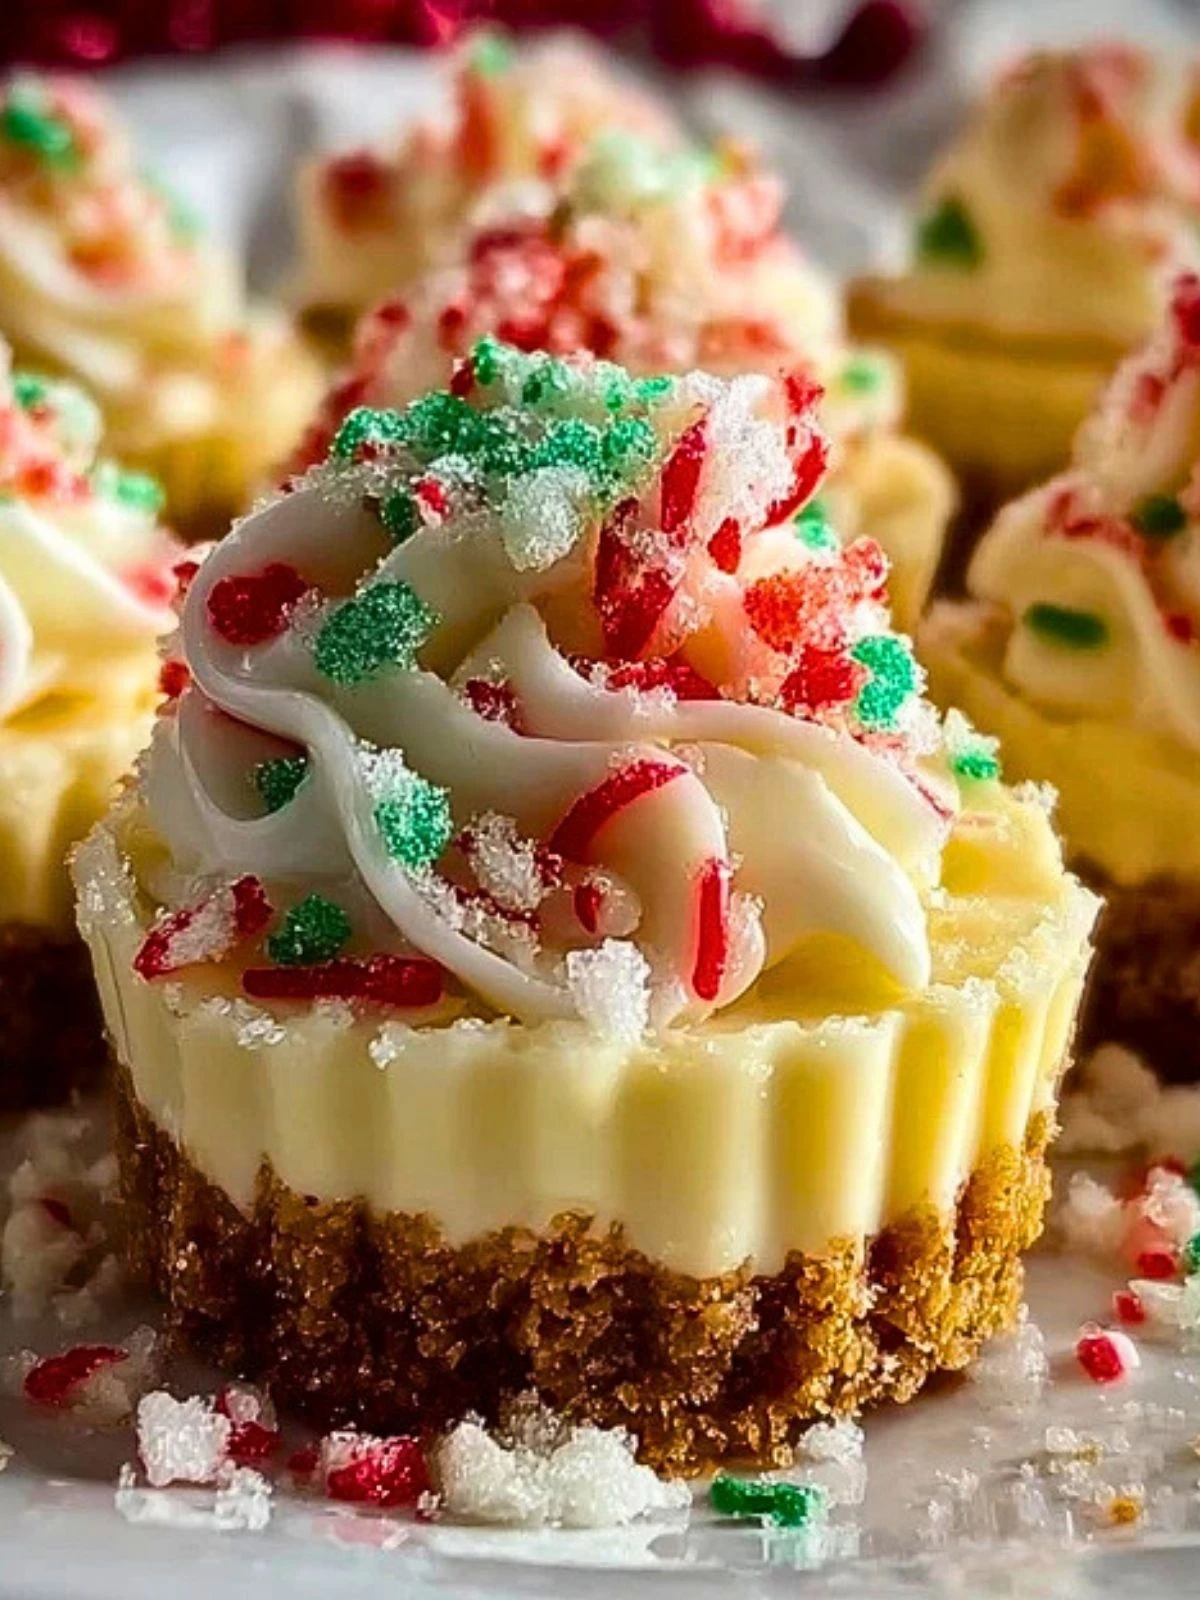
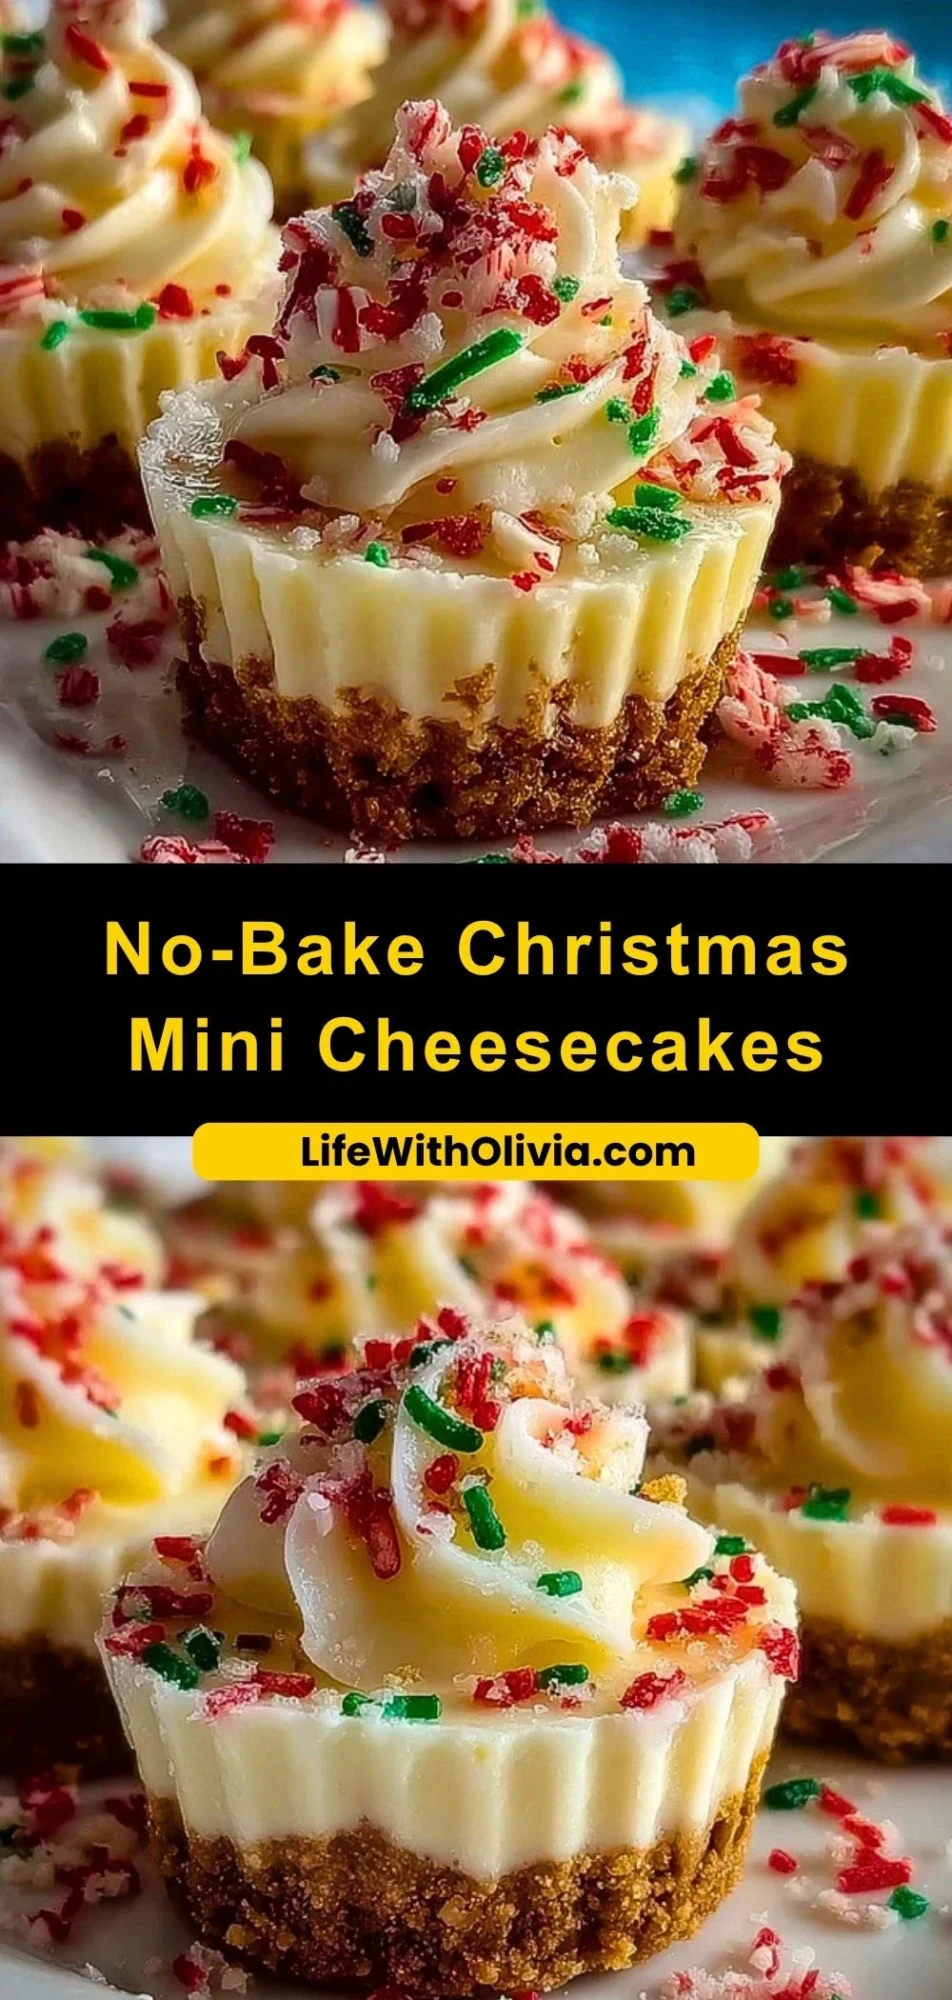
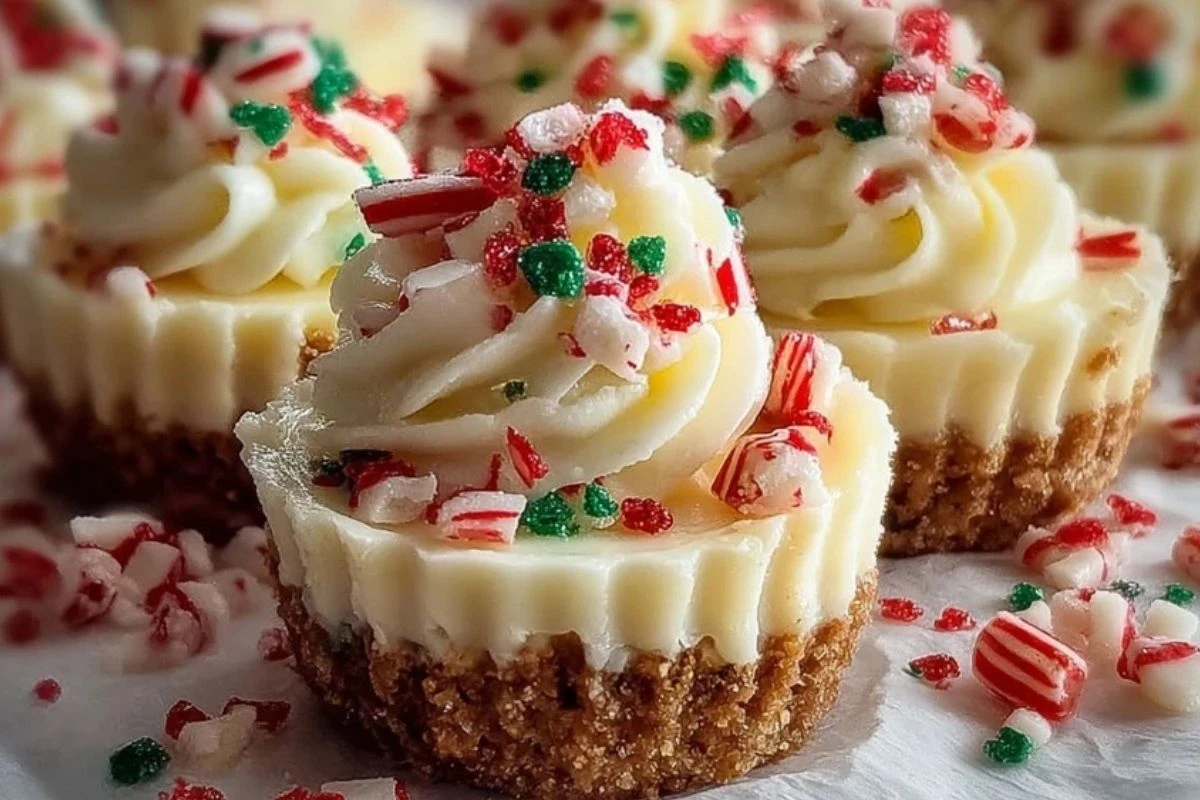
These no-bake Christmas mini cheesecakes are the ultimate festive dessert—creamy, rich, and beautifully decorated with holiday flair. With a buttery graham cracker crust and a smooth, velvety cheesecake filling, each bite feels indulgent yet light enough to enjoy after a hearty holiday meal.
What makes these mini cheesecakes truly special is how simple they are to prepare. No oven required, minimal effort, and maximum flavor. Perfect for busy holiday schedules, they’re a crowd-pleasing treat that looks as good as it tastes.
Preparation Phase & Tools to Use
To make these mini cheesecakes successfully, having the right tools makes all the difference. A muffin tin helps create evenly sized portions, ensuring each cheesecake looks uniform and professional. Cupcake liners are essential for easy removal and clean presentation.
A mixing bowl and electric hand mixer (or stand mixer) are key for achieving a smooth and creamy filling without lumps. A spatula helps fold ingredients gently and scrape every bit of mixture, while a measuring cup ensures accurate ingredient proportions for consistent results.

Ingredients for the No-Bake Christmas Mini Cheesecakes
Graham crackers provide the base for the crust, adding a slightly sweet and crunchy texture that complements the creamy filling.
Butter binds the crust together and adds richness, helping it hold its shape once chilled.
Cream cheese is the heart of the cheesecake, delivering that signature tangy and creamy flavor.
Powdered sugar sweetens the filling while keeping it smooth and lump-free.
Vanilla extract enhances the overall flavor with a warm, aromatic touch.
Heavy whipping cream adds lightness and helps create a fluffy, mousse-like texture.
Holiday sprinkles bring festive color and a fun decorative finish.
Whipped topping is used for garnish, adding extra creaminess and visual appeal.
How To Make the No-Bake Christmas Mini Cheesecakes
Step 1: Prepare the Crust
Crush the graham crackers into fine crumbs and mix them with melted butter until evenly coated. Press the mixture firmly into the bottom of lined muffin tins to form a compact crust layer.
Step 2: Chill the Crust
Place the crust-filled muffin tin in the refrigerator for about 15–20 minutes to allow it to set and firm up.
Step 3: Make the Cheesecake Filling
In a mixing bowl, beat the cream cheese until smooth and creamy. Add powdered sugar and vanilla extract, mixing until fully incorporated.
Step 4: Whip the Cream
In a separate bowl, whip the heavy cream until stiff peaks form. This step ensures the filling becomes light and airy.
Step 5: Combine Mixtures
Gently fold the whipped cream into the cream cheese mixture, being careful not to deflate the airiness.
Step 6: Assemble the Cheesecakes
Spoon or pipe the filling over the chilled crusts, smoothing the tops evenly.
Step 7: Final Chill
Refrigerate the mini cheesecakes for at least 3–4 hours, or until fully set.
Step 8: Decorate and Serve
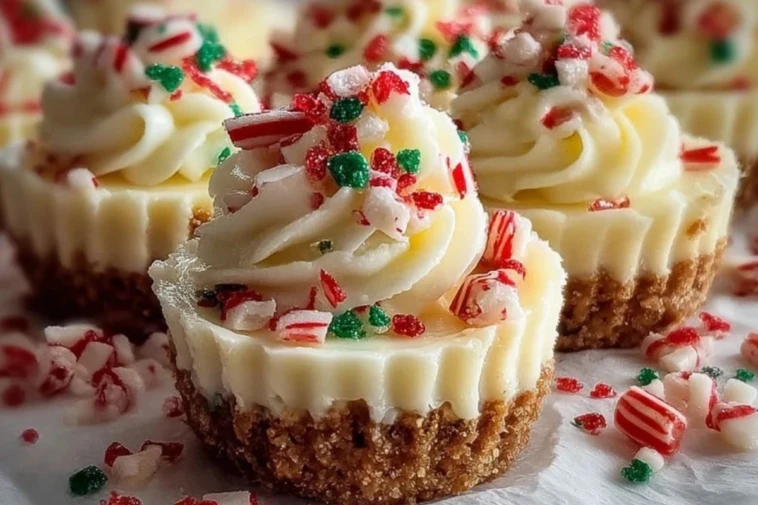
Top each cheesecake with whipped topping and festive sprinkles before serving.
Serving and Storing No-Bake Christmas Mini Cheesecakes
Serve these mini cheesecakes chilled for the best texture and flavor. They make an elegant addition to holiday dessert tables or can be plated individually for a more refined presentation.
To store, keep them in an airtight container in the refrigerator for up to 4 days. If you want to prepare them in advance, they can also be frozen for up to 1 month—just thaw in the fridge before serving.
Frequently Asked Questions
Can I make these cheesecakes ahead of time?
Yes, they’re perfect for making ahead. Prepare them a day in advance and store them in the refrigerator until ready to serve.
Can I use a different crust?
Absolutely. You can substitute graham crackers with crushed cookies like Oreos or digestive biscuits for a different flavor profile.
How do I know when they are set?
The cheesecakes should feel firm to the touch and hold their shape when gently pressed.
Can I freeze mini cheesecakes?
Yes, freeze them without toppings and add decorations after thawing for the best results.
What can I use instead of whipped topping?
Freshly whipped cream or even a cream cheese frosting can be used as a substitute.
Want More Dessert Ideas?
If you love these no-bake Christmas mini cheesecakes, you’ll probably enjoy these other favorites:
• Mini Cinnamon Roll Cheesecakes for a cozy, spiced twist: https://lifewitholivia.com/mini-cinnamon-roll-cheesecakes/ fileciteturn0file0
• Heavenly Raspberry Cheesecake Cupcakes for a fruity variation: https://lifewitholivia.com/heavenly-raspberry-cheesecake-cupcakes/ fileciteturn0file0
• Strawberry Cheesecake Dump Cake for an easy layered dessert: https://lifewitholivia.com/strawberry-cheesecake-dump-cake/ fileciteturn0file0
• Coconut Snowballs for a festive holiday treat: https://lifewitholivia.com/coconut-snowballs-a-delightful-holiday-treat/ fileciteturn0file0
Save This Recipe for Later
📌 Save this recipe to your Pinterest dessert board so you can come back to it any time.
And don’t forget to explore more delicious ideas here: https://www.pinterest.com/scherer29/
Let me know how yours turned out. Did you go extra festive with decorations? Try a different crust? I’d love to hear your twist on this holiday favorite.
No-Bake Christmas Mini Cheesecakes
- Total Time: 47 minutes
- Yield: 9 brownies
- Diet: Vegetarian
Description
These fudgy red velvet brownies are a rich and easy dessert with a soft, chewy center and a smooth cream cheese topping that makes every bite feel bakery-worthy. They are perfect for holiday desserts, Valentine’s Day treats, party food ideas, easy dessert bars, and anytime you need a simple chocolate dessert with a beautiful red velvet twist.
Ingredients
1 cup unsalted butter, melted
1 3/4 cups granulated sugar
2 large eggs
1 tablespoon vanilla extract
1 tablespoon red food coloring
1/4 cup unsweetened cocoa powder
1 cup all-purpose flour
1/4 teaspoon salt
8 ounces cream cheese, softened
3/4 cup powdered sugar
1 teaspoon vanilla extract
Instructions
1. Preheat the oven to 350°F and line an 8×8-inch baking pan with parchment paper.
2. In a large mixing bowl, whisk together the melted butter and granulated sugar until glossy.
3. Add the eggs and vanilla extract, then whisk until smooth.
4. Stir in the red food coloring until the batter is evenly colored.
5. Add the cocoa powder, flour, and salt, then fold gently until no dry streaks remain.
6. In a separate bowl, beat the cream cheese, powdered sugar, and vanilla extract until smooth and creamy.
7. Spread the brownie batter evenly into the prepared pan.
8. Spoon the cream cheese mixture over the top in lines or dollops.
9. Lightly swirl or spread the topping as desired.
10. Bake for 28 to 34 minutes, until the edges are set and the center has a few moist crumbs.
11. Cool completely before slicing into squares.
Notes
Do not overmix the batter after adding the flour or the brownies may lose their fudgy texture.
For clean slices, chill the brownies for 20 to 30 minutes before cutting.
Store them in the refrigerator because of the cream cheese topping.
- Prep Time: 15 minutes
- Cook Time: 32 minutes
- Category: Dessert
- Method: Baking
- Cuisine: American
Nutrition
- Serving Size: 1 brownie
- Calories: 412
- Sugar: 35g
- Sodium: 170mg
- Fat: 24g
- Saturated Fat: 14g
- Unsaturated Fat: 8g
- Trans Fat: 0g
- Carbohydrates: 46g
- Fiber: 1g
- Protein: 4g
- Cholesterol: 89mg
Keywords: red velvet brownies, fudgy red velvet brownies, cream cheese brownies, easy dessert bars, holiday desserts, valentine’s day treats, brownie recipe, easy dessert