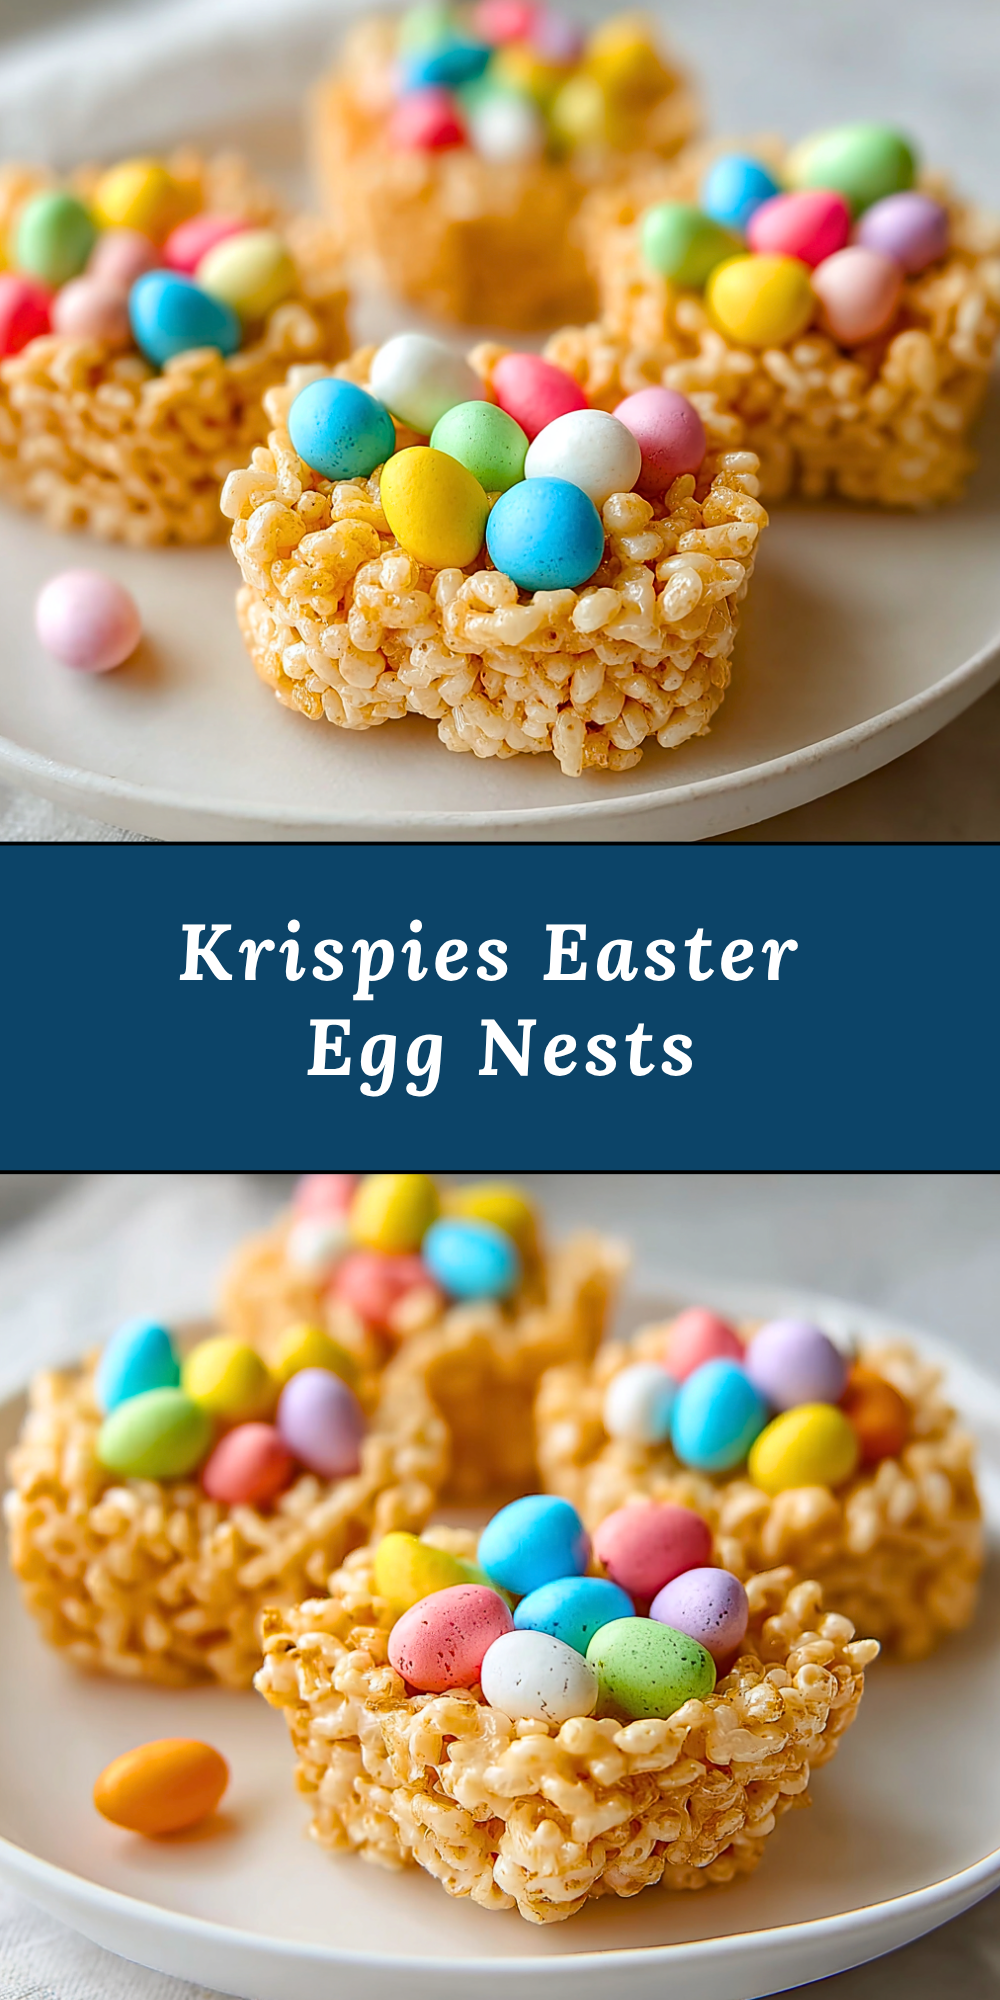
Krispies Easter Egg Nests are the ultimate springtime treat, bringing together gooey marshmallow goodness with the playful charm of mini chocolate eggs. These no-bake delights are as fun to make as they are to eat, making them a perfect activity for kids and adults alike during the Easter season. Their crunchy, chewy texture paired with pastel-colored candies makes them an eye-catching addition to any dessert table.

Beyond their irresistible taste, Krispies Easter Egg Nests are a celebration of creativity. With just a few simple ingredients, you can craft whimsical little nests that look like they came straight from a bakery window. Whether you’re hosting a festive brunch or need a quick Easter party dessert, these nests are sure to bring smiles all around.
What Kind of Cereal Should I Use?
For this recipe, classic Rice Krispies cereal works best because of its light, airy texture and mild flavor, which pairs beautifully with marshmallow. You can also use other crisp rice cereals or even experiment with cocoa-flavored ones for a chocolate twist, but keep in mind that substitutions will slightly change the taste and color.
Ingredients for the Krispies Easter Egg Nests
- Rice Krispies cereal: This is the base that gives the nests their crunch and shape.
- Mini marshmallows: Melted down, they become the sticky binder holding everything together.
- Butter: Adds richness and helps create that smooth, glossy marshmallow coating.
- Cooking spray or butter for greasing: Essential for preventing sticking when molding the nests.
- Mini chocolate eggs: These colorful candies mimic real eggs and complete the nest look beautifully.
- Vanilla extract (optional): Adds a hint of warmth and extra flavor to the marshmallow mixture.

How To Make the Krispies Easter Egg Nests
Step 1: Melt the Butter and Marshmallows
In a large saucepan over low heat, melt the butter. Once melted, add the mini marshmallows and stir constantly until completely melted and smooth. If using, stir in the vanilla extract at this stage.
Step 2: Mix in the Cereal
Remove the saucepan from heat and gently fold in the Rice Krispies cereal. Stir until all the cereal is well coated with the marshmallow mixture.
Step 3: Shape the Nests
Grease a muffin tin with cooking spray or butter. Spoon portions of the mixture into each muffin cup and use your fingers or the back of a spoon (lightly greased) to press and shape the mixture into nest shapes, creating an indentation in the center.
Step 4: Let Them Set
Allow the nests to cool and firm up for about 20-30 minutes. You can place them in the refrigerator to speed up the process if desired.
Step 5: Add the Eggs
Once set, carefully remove the nests from the muffin tin. Fill each nest with a handful of mini chocolate eggs, pressing them lightly so they stay in place.
Serving and Storing Your Krispies Easter Egg Nests
Serve these Krispies Easter Egg Nests at room temperature on a festive platter or as individual party favors wrapped in clear bags with pastel ribbons. They make a perfect addition to dessert buffets, brunch tables, or Easter baskets.
For storing, place the nests in an airtight container at room temperature for up to 3 days. If your home is warm, you can refrigerate them, but be aware the chocolate eggs might sweat slightly when brought back to room temperature.
Frequently Asked Questions
How far in advance can I make these?
You can make them up to 2-3 days ahead. Store them in an airtight container to keep them fresh.
Can I freeze Krispies Easter Egg Nests?
Freezing is not recommended, as it can affect the texture of the marshmallow and cereal mixture.
What can I use instead of mini chocolate eggs?
Try jelly beans, pastel M&M’s, or even small gummy candies for a fun twist.
Can kids help make these?
Absolutely! Kids love shaping the nests and adding the candy eggs. Just make sure an adult handles the hot marshmallow mixture.
How do I prevent the mixture from sticking to my hands?
Lightly grease your fingers or spoon with butter or cooking spray before shaping the nests.
Want More Dessert Ideas with a Twist?
If you love these Krispies Easter Egg Nests, you’ll probably enjoy these other favorites:
• Paula Deen’s 5-Minute Fudge for an ultra-quick chocolate fix.
• Pineapple Coconut Dream Cake if you crave tropical sweetness.
• Coconut Snowballs for a snowy, coconutty bite.
• Lemon Blueberry Loaf for a zesty, fruity dessert.
• Strawberry Crunch Pound Cake if you adore berries with crunch.
Save This Pin + Share Your Results
📌 Save this recipe to your Pinterest dessert board so you can come back to it anytime.
And let me know in the comments how yours turned out! Did you stick with chocolate eggs or try something fun like jelly beans? I love hearing how you make these recipes your own. Questions are welcome too—let’s help each other create Easter magic!

Krispies Easter Egg Nests
- Total Time: 20 minutes
- Yield: About 12 nests
Description
Krispies Easter Egg Nests are no-bake, marshmallow-coated cereal treats shaped into cute nests and filled with colorful mini chocolate eggs. Perfect for Easter celebrations, they’re fun, festive, and incredibly easy to make.
Ingredients
3 tablespoons butter
4 cups mini marshmallows
6 cups Rice Krispies cereal
Cooking spray or butter (for greasing)
1 teaspoon vanilla extract (optional)
1–2 cups mini chocolate eggs (like Cadbury Mini Eggs)
Instructions
- In a large saucepan over low heat, melt the butter.
- Add mini marshmallows and stir until completely melted and smooth.
- Stir in vanilla extract if using.
- Remove from heat and fold in Rice Krispies cereal until evenly coated.
- Grease a muffin tin with cooking spray or butter.
- Spoon cereal mixture into muffin cups and press to form nest shapes with an indentation in the center.
- Let cool and set for 20-30 minutes.
- Carefully remove from the tin and fill each nest with mini chocolate eggs.
- Prep Time: 15 minutes
- Cook Time: 5 minutes
- Category: Desserts