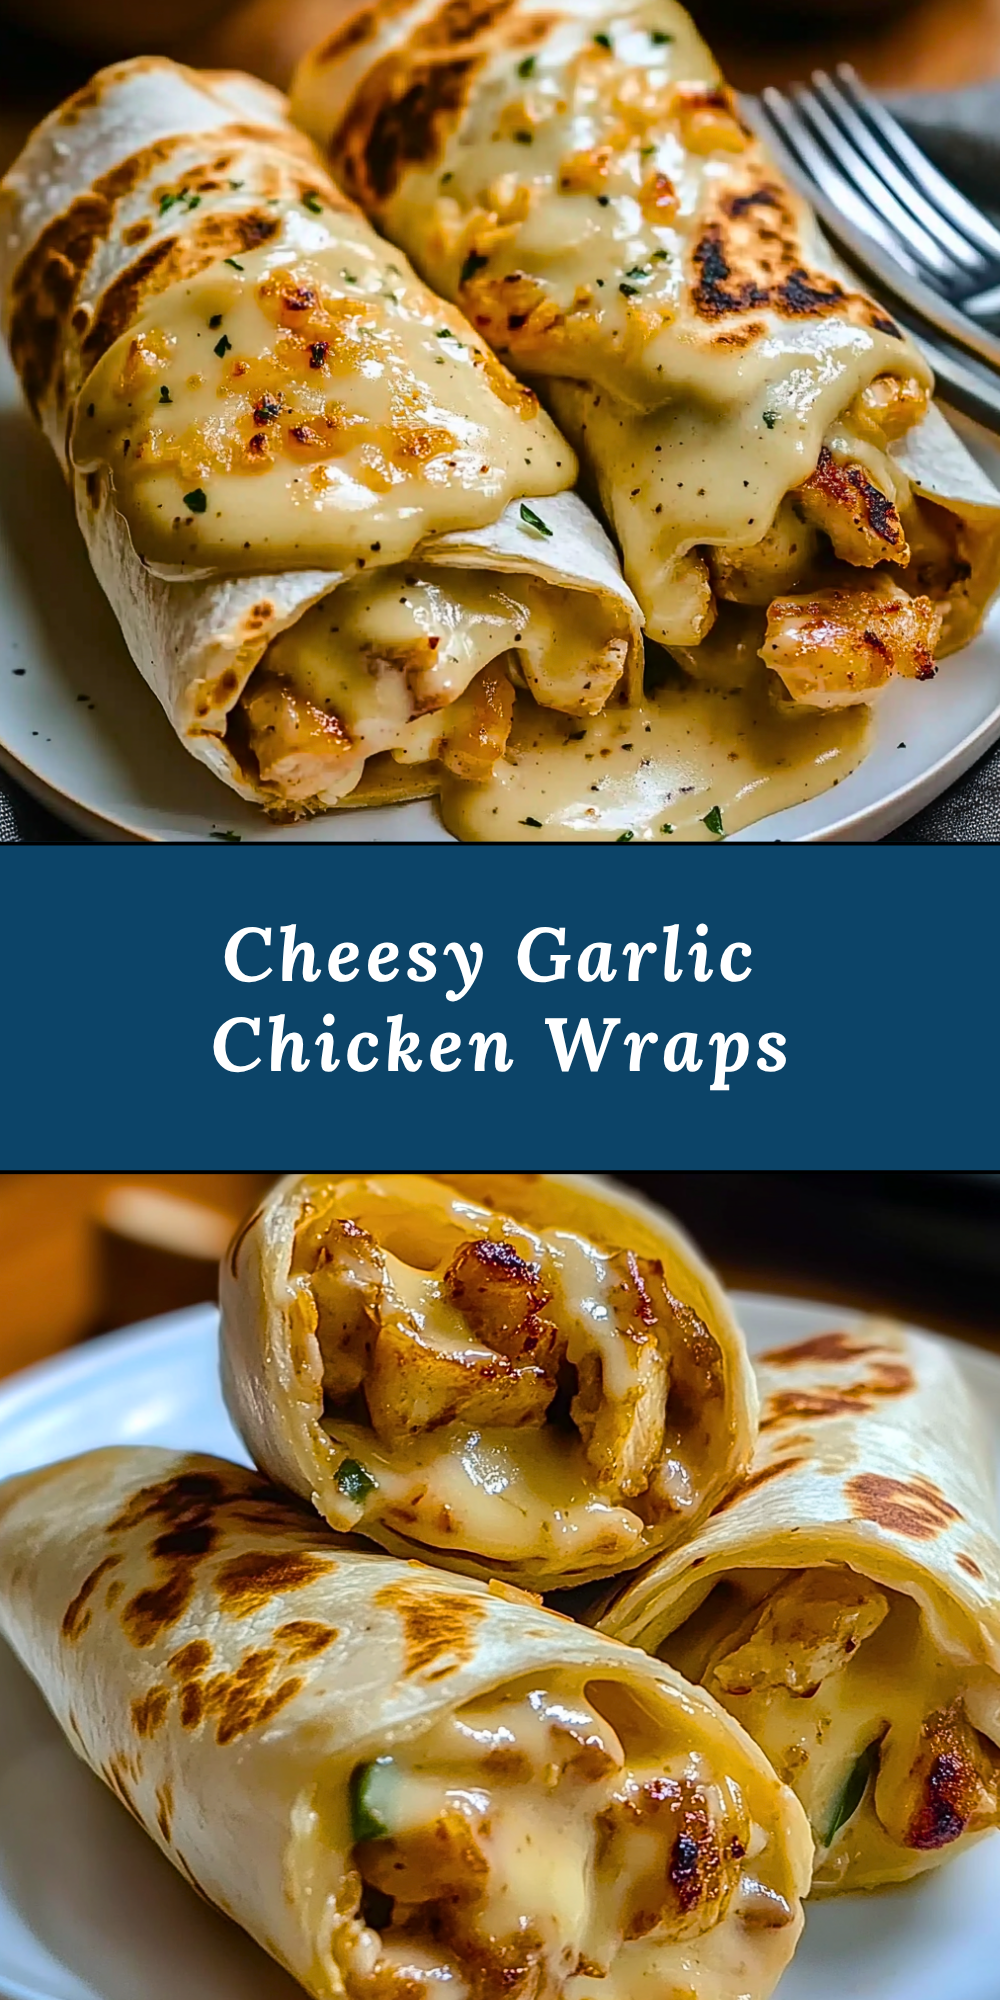
Juicy, garlicky chicken wrapped in a toasted tortilla with rivers of melted cheese oozing from every bite—these Cheesy Garlic Chicken Wraps are a crave-worthy solution for any lunch or dinner rut. Whether you’re cooking for a busy weekday or looking to impress guests with a no-fuss crowd-pleaser, this wrap delivers bold flavor and comfort in one bite-sized package.
What makes these wraps so irresistible is their balance: tender seasoned chicken, a rich layer of garlic-infused cheese sauce, and a perfectly golden crisp tortilla. They’re quick to prepare, easy to customize, and pair beautifully with a variety of dips or sides. Let’s dive into what you’ll need and how to make them.
What Kind of Chicken Should I Use?
Boneless, skinless chicken breasts work perfectly for these wraps because they cook quickly and stay juicy when properly seasoned and seared. You can also use chicken thighs if you prefer a richer flavor. Pre-cooked rotisserie chicken is another convenient option when you’re short on time.
Ingredients for the Cheesy Garlic Chicken Wraps
- Chicken breasts: The protein-packed star of the wrap. Cut into bite-sized pieces for even cooking and easy wrapping.
- Garlic powder: For bold, aromatic flavor that pairs perfectly with the creamy cheese.
- Paprika & black pepper: Add mild heat and warmth to the chicken.
- Salt: Enhances the overall flavor and brings balance.
- Olive oil: Helps sear the chicken to golden perfection.
- Flour tortillas: Soft, pliable, and ideal for holding all that gooey filling.
- Mozzarella & cheddar cheese: This combo melts beautifully for a creamy, stretchy finish.
- Butter & minced garlic: Used to create a garlic butter spread that boosts the flavor of the wraps before they hit the pan.

How To Make the Cheesy Garlic Chicken Wraps
Step 1: Season and Sauté the Chicken
Cut the chicken breasts into small chunks and toss with garlic powder, paprika, black pepper, and salt. In a hot skillet with a drizzle of olive oil, sauté the chicken until it’s fully cooked and slightly golden on the edges. Set aside.
Step 2: Prepare the Garlic Butter
In a small saucepan, melt butter and stir in minced garlic. Let it simmer for just a minute to infuse the butter with garlic flavor without burning.
Step 3: Assemble the Wraps
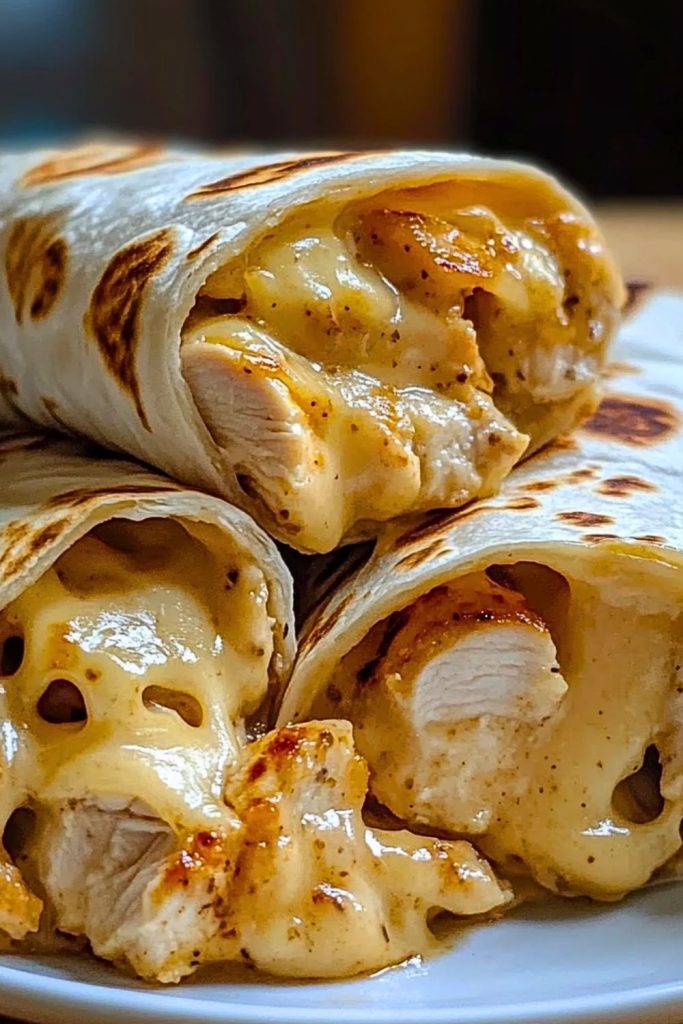
Lay a flour tortilla flat. Sprinkle a mix of mozzarella and cheddar over the center, then top with cooked chicken. Drizzle garlic butter over the filling before folding.
Step 4: Toast to Perfection
Place the wraps seam-side down in a clean skillet. Toast on both sides until golden brown and the cheese has melted into gooey perfection. Serve hot.
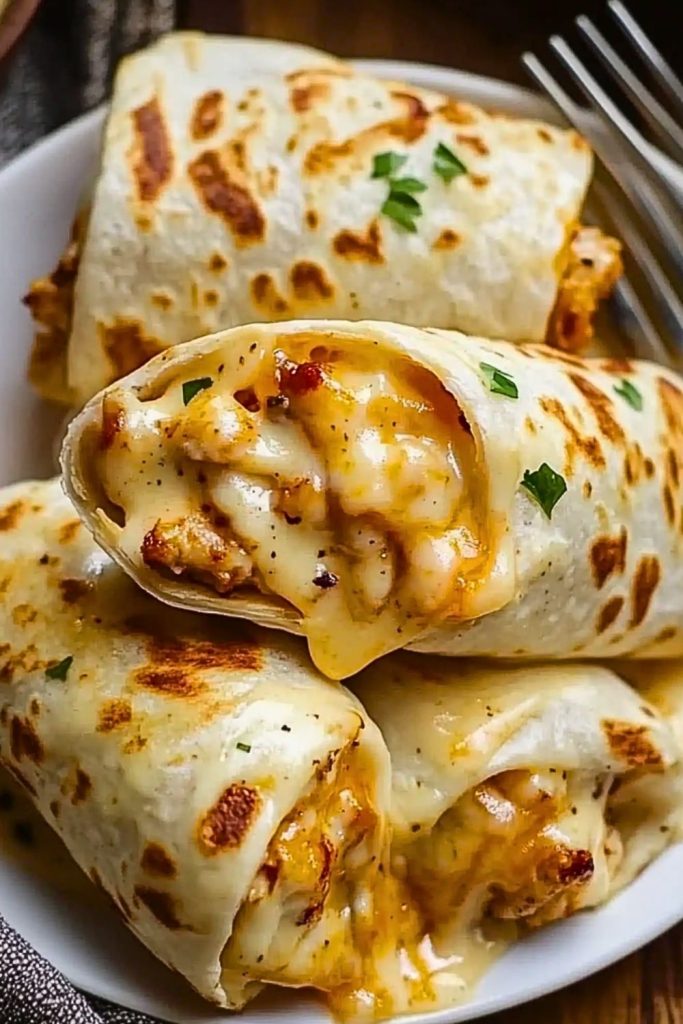
Serving and Storing These Wraps
Cheesy Garlic Chicken Wraps are best served hot and crispy right out of the skillet. They make an excellent meal on their own but can be paired with garlic aioli, ranch dip, or a fresh side salad for a more complete experience.
To store leftovers, wrap them tightly in foil or place them in an airtight container. Keep refrigerated for up to 3 days. For reheating, use a skillet over medium heat to maintain that crisp exterior. Microwaving works in a pinch but may soften the tortilla.
Frequently Asked Questions
How can I make these wraps spicier?
Add a pinch of cayenne pepper or a few dashes of hot sauce to the chicken seasoning. You can also use pepper jack cheese for extra kick.
Can I freeze these wraps?
Yes, once assembled and cooked, let them cool completely. Wrap individually in foil and freeze for up to a month. Reheat in the oven or skillet for best texture.
What cheeses work best?
Mozzarella and cheddar provide a great melt and flavor combo, but feel free to use Monterey Jack or a spicy blend for variation.
Can I make them vegetarian?
Absolutely. Substitute the chicken with sautéed mushrooms, roasted cauliflower, or a seasoned tofu mix.
What other seasonings go well with this wrap?
Try onion powder, cumin, or Italian seasoning for a fun twist.
How do I prevent the wrap from getting soggy?
Avoid overfilling and make sure the skillet is hot when toasting. Serve immediately after cooking for the crispiest bite.
Want More Chicken Wrap Ideas?
If you love these Cheesy Garlic Chicken Wraps, you’ll probably enjoy these other savory options:
- Air Fryer Spicy Buffalo Chicken Wraps for a bold, zesty twist.
- Garlic Chicken Lo Mein when you’re in the mood for noodles instead of tortillas.
- Savory Chicken Wraps with Garlic Cream Sauce for a richer, saucy variation.
- One Pot Chicken Parmesan Mac & Cheese when cheesy cravings strike.
- Sweet Garlic Chicken in the Crockpot for a slow-cooked, tender option.
Save This Pin + Share Your Results
📌 Save this recipe to your Pinterest dinner board so you can come back to it any time.
And let me know in the comments how yours turned out. Did you swap in a spicy cheese? Try a garlic herb wrap instead?
I love hearing how others make these wraps their own. Questions are welcome too—let’s help each other wrap up something delicious.
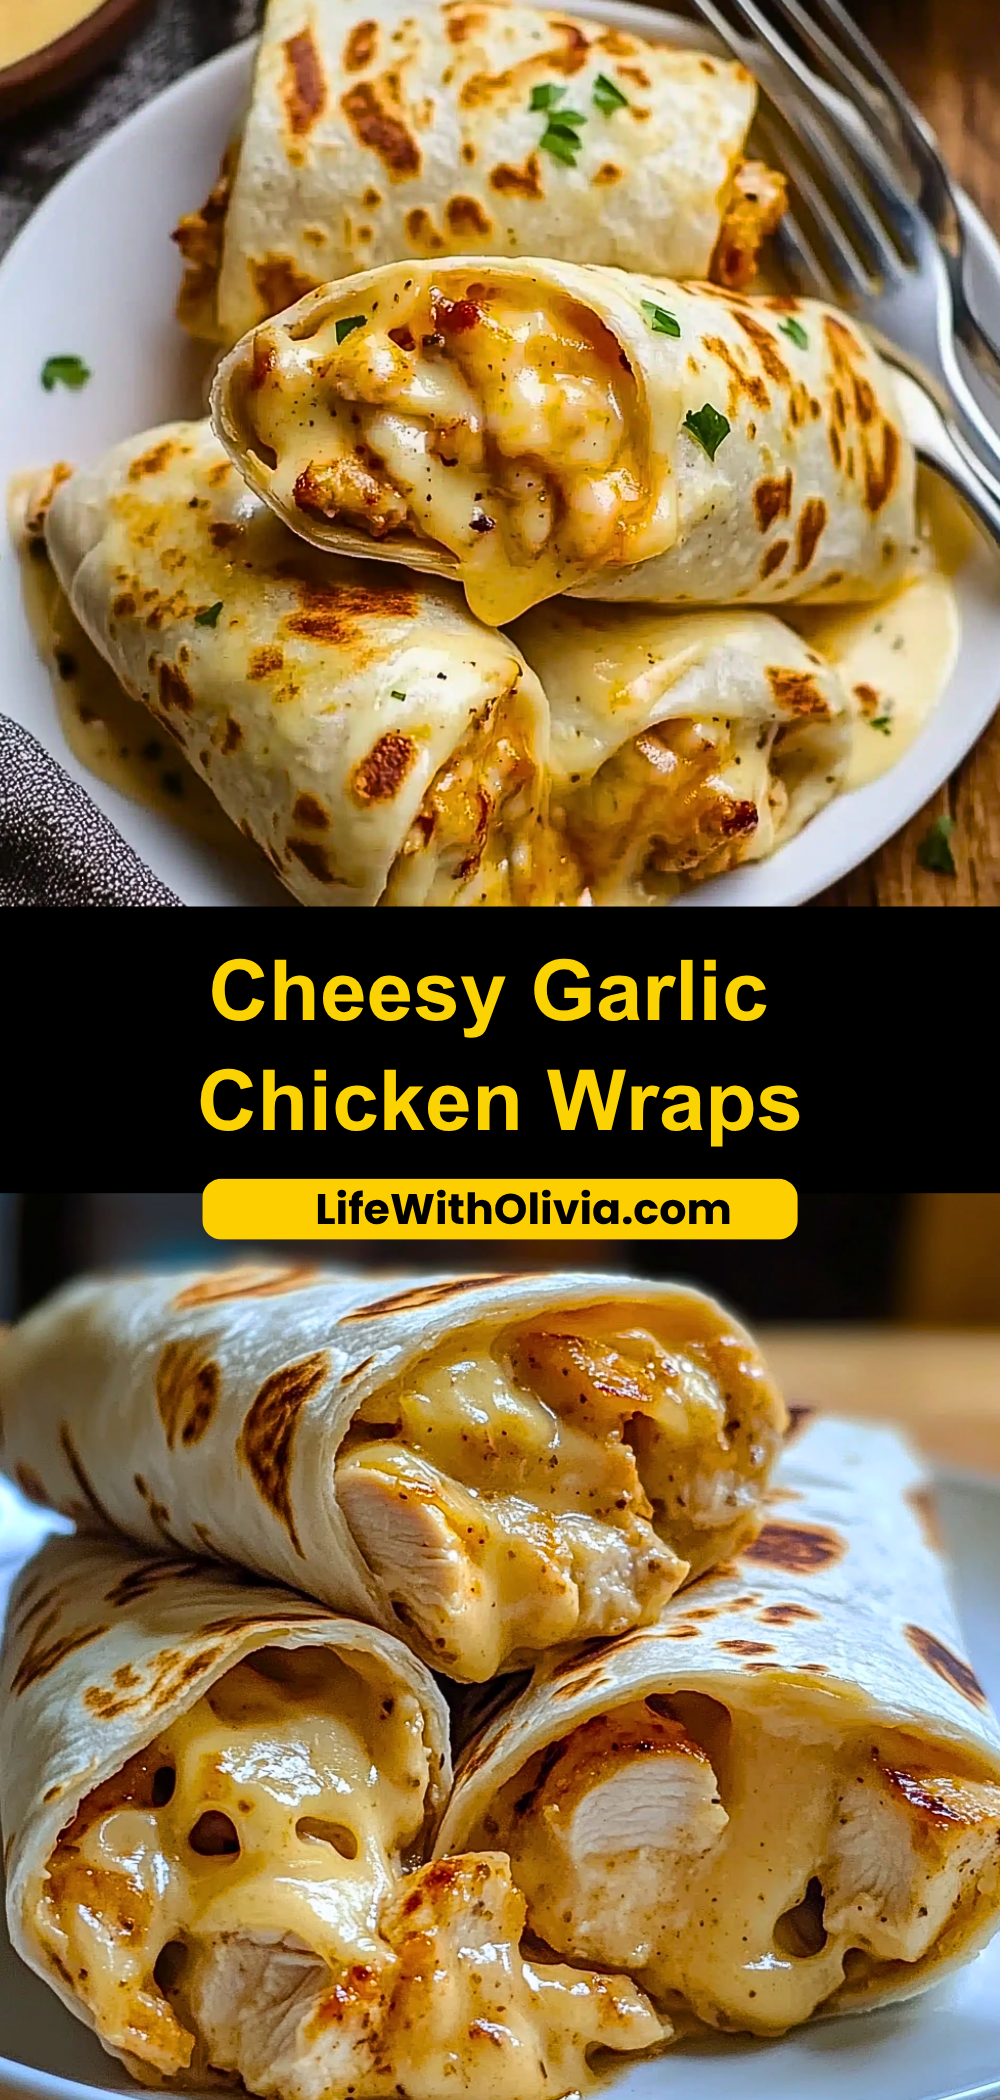

Cheesy Garlic Chicken Wraps
- Total Time: 25 minutes
- Yield: 4 wraps
Description
These Cheesy Garlic Chicken Wraps are everything you want in a comfort meal—melty cheese, seasoned chicken, and golden toasted tortillas with a hit of buttery garlic flavor. Perfect for busy weeknights or casual gatherings, they come together quickly and can be customized to suit your taste.
Ingredients
2 boneless, skinless chicken breasts
1 tsp garlic powder
½ tsp paprika
½ tsp black pepper
½ tsp salt
1 tbsp olive oil
4 large flour tortillas
1 cup shredded mozzarella cheese
1 cup shredded cheddar cheese
2 tbsp butter
2 cloves garlic, minced
Instructions
- Cut the chicken into bite-sized pieces. Toss with garlic powder, paprika, black pepper, and salt.
- Heat olive oil in a skillet and sauté chicken until fully cooked and golden. Set aside.
- Melt butter in a small pan, add minced garlic, and simmer for 1 minute.
- Lay tortillas flat, sprinkle cheeses in the center, top with cooked chicken, and drizzle with garlic butter.
- Fold into wraps and toast in a clean skillet until golden and cheese is melted.
- Serve hot with your favorite dipping sauce or side.
- Prep Time: 10 minutes
- Cook Time: 15 minutes
- Category: Dinner