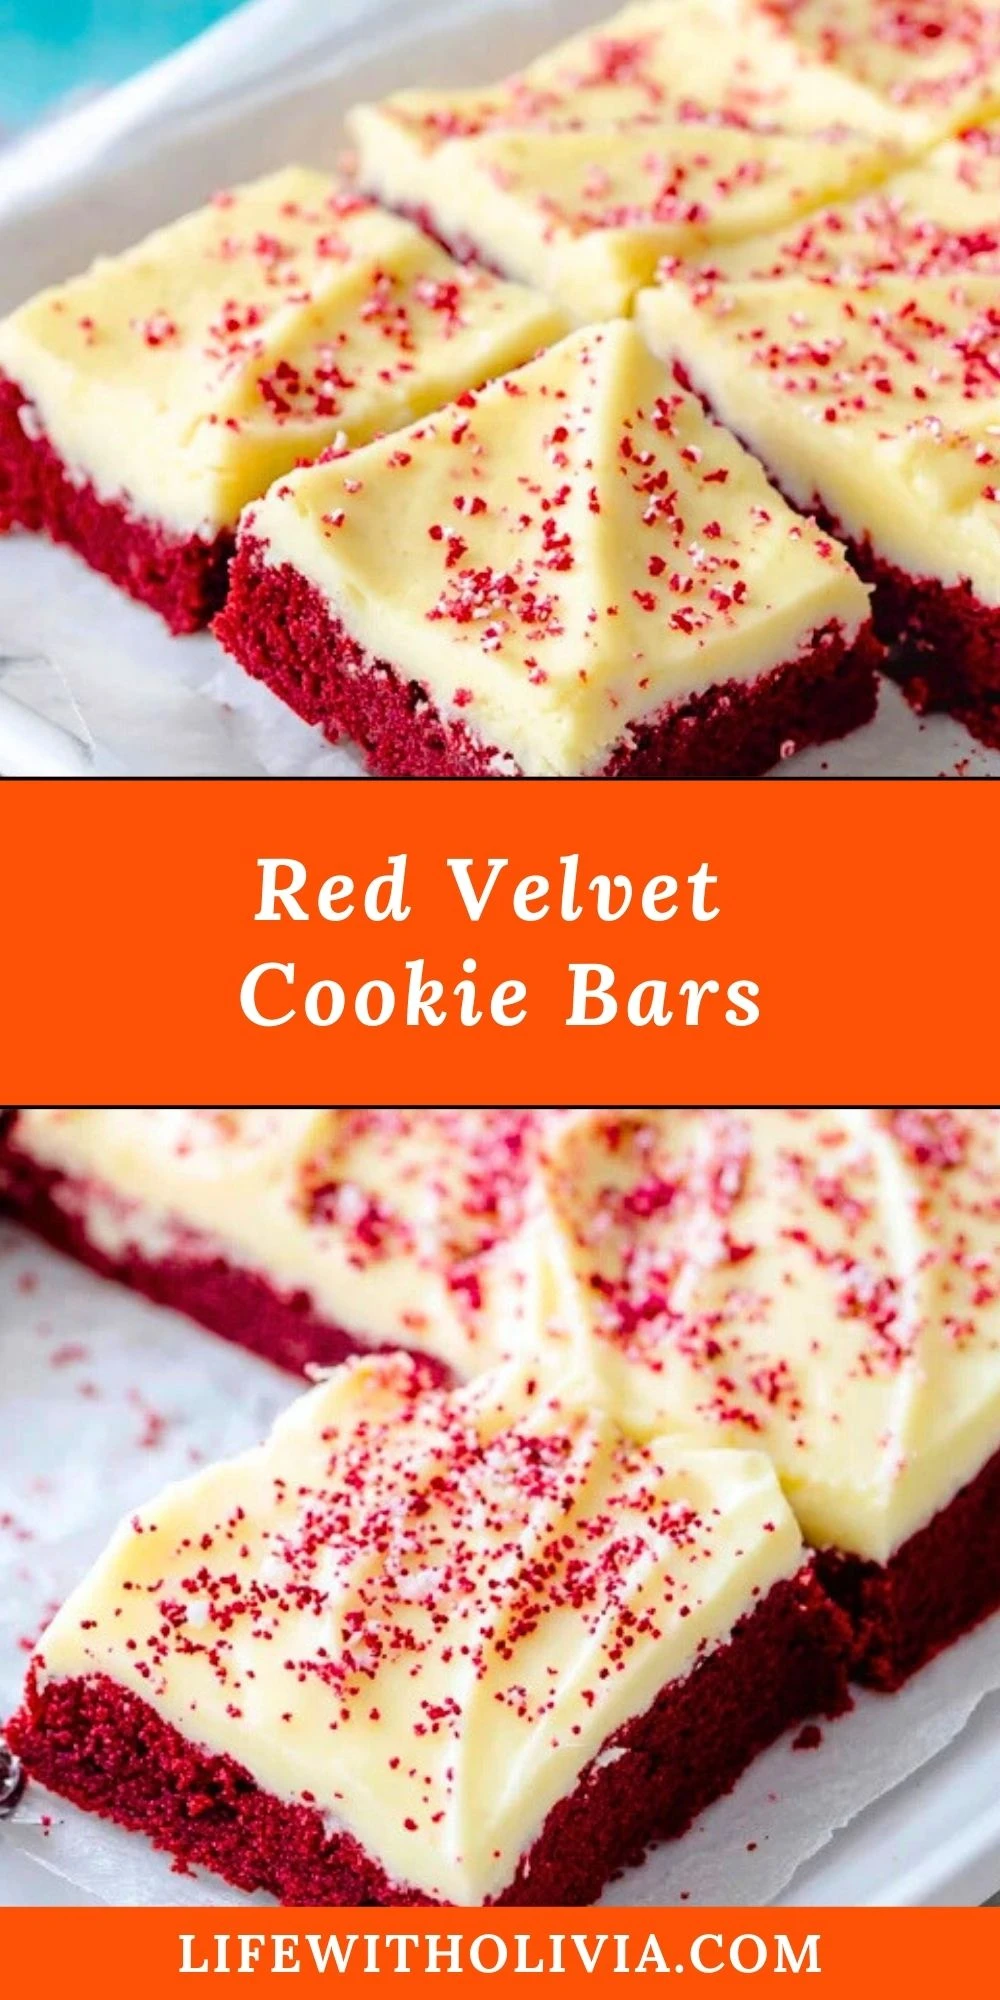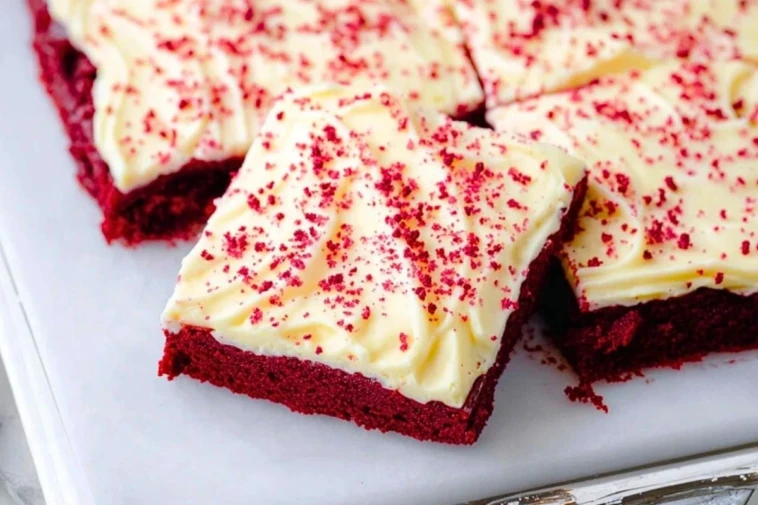
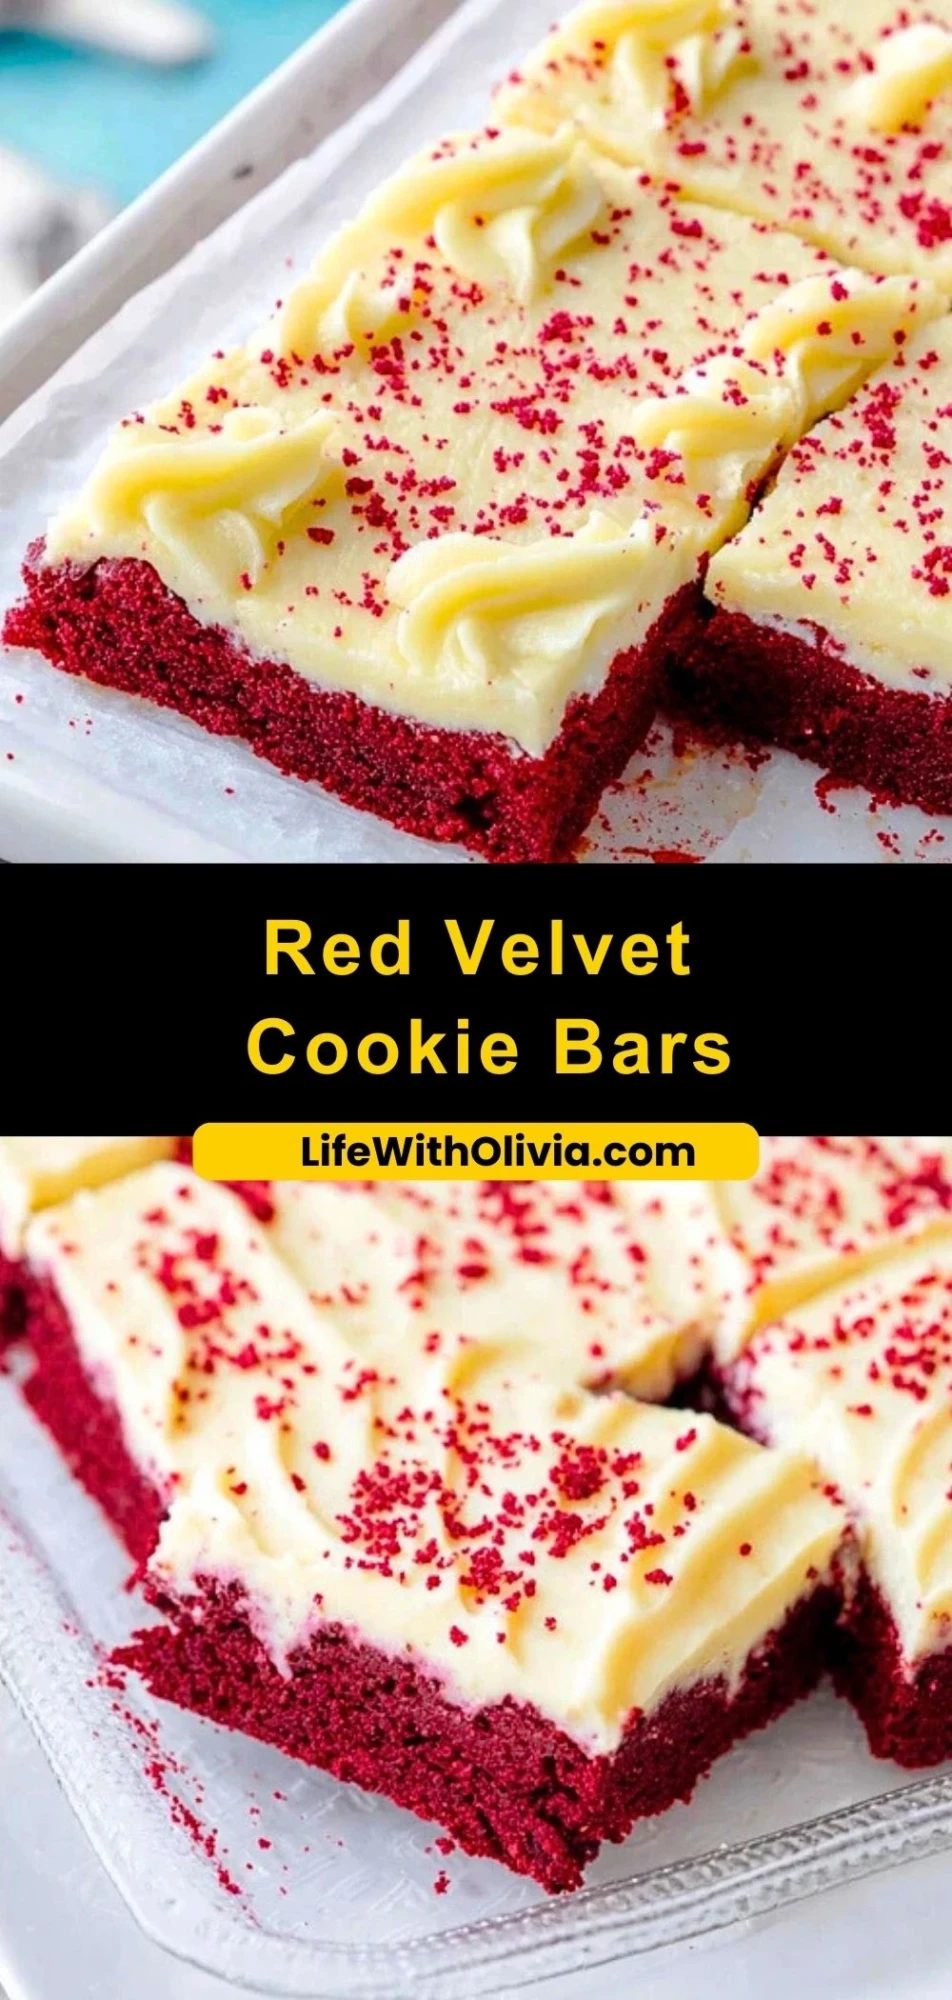
Red Velvet Cookie Bars are the ultimate treat when you want something soft, indulgent, and just the right balance of rich chocolate flavor with a creamy tang. These bars are a showstopper at any gathering, with their vibrant red base and luscious cream cheese frosting crowned with red velvet crumbs. Whether you’re baking for Valentine’s Day, the holidays, or simply craving a unique cookie-bar hybrid, these will absolutely hit the spot.
Unlike traditional cookies, these cookie bars offer a dense, cake-meets-brownie texture that gives you the best of both worlds. The cream cheese frosting adds a smooth, melt-in-your-mouth finish that pairs perfectly with the slightly cocoa-kissed red velvet layer. You can slice them into neat squares for a dessert tray or serve them slightly warm for that bakery-style bite.
Preparation Phase & Tools to Use
Before you dive into baking these gorgeous Red Velvet Cookie Bars, gather your kitchen essentials:
- Stand Mixer or Hand Mixer: Creaming the butter and sugar to the right texture is key for soft cookie bars, and a mixer ensures even, fluffy results.
- 9×13-inch Baking Pan: This size allows the batter to spread evenly and bake into the ideal thickness.
- Parchment Paper: Not only does this make it easy to lift the bars out for slicing, but it also helps prevent over-browning on the bottom.
- Spatula: You’ll need this to spread the thick batter evenly into the pan and for smoothing the frosting.
- Wire Rack: Allowing the bars to cool completely before frosting ensures the frosting stays creamy and doesn’t melt.
Each tool plays a role in achieving the bakery-quality texture and look that makes these bars irresistible.

Ingredients for the Red Velvet Cookie Bars
Creating the perfect Red Velvet Cookie Bars starts with understanding the role of each ingredient:
- All-Purpose Flour – Provides structure and balance to keep the bars chewy, not cakey.
- Unsweetened Cocoa Powder – Adds that signature mild chocolate flavor that defines red velvet.
- Baking Soda – Helps the bars rise just enough to maintain their soft bite.
- Salt – Enhances flavor and balances the sweetness.
- Unsalted Butter – Gives the bars richness and that bakery-style moist texture.
- Granulated Sugar – For sweetness and a touch of crispiness on the edges.
- Brown Sugar – Adds moisture and depth with a slight caramel undertone.
- Eggs – Essential for binding and structure.
- Vanilla Extract – Rounds out the flavor with aromatic warmth.
- Red Food Coloring – Brings the vibrant red velvet look we all recognize.
- Cream Cheese – The base of the frosting, offering tangy, creamy contrast to the sweet base.
- Powdered Sugar – Sweetens and thickens the frosting.
- Butter (for frosting) – Adds silkiness and helps the frosting hold its shape.
How To Make the Red Velvet Cookie Bars
Step 1: Prep Your Pan and Oven
Preheat your oven to 350°F (175°C). Line a 9×13-inch pan with parchment paper and lightly spray with nonstick baking spray. This ensures clean release and even baking.
Step 2: Mix the Dry Ingredients
In a medium bowl, whisk together the flour, cocoa powder, baking soda, and salt. Set aside.
Step 3: Cream the Butter and Sugars
In a large mixing bowl or stand mixer, beat the softened butter with granulated and brown sugar until light and fluffy – about 2-3 minutes. This step is key to achieving soft, chewy bars.
Step 4: Add the Eggs and Vanilla
Mix in the eggs one at a time, then add the vanilla extract and red food coloring. Mix until fully incorporated and vibrant.
Step 5: Combine Wet and Dry
Gradually add the dry ingredients to the wet mixture. Beat just until combined. Don’t overmix – this keeps the bars tender.
Step 6: Bake the Bars
Spread the batter evenly into your prepared pan. Bake for 20-25 minutes or until a toothpick inserted in the center comes out with moist crumbs. Let the bars cool completely on a wire rack.
Step 7: Make the Cream Cheese Frosting
Beat the cream cheese and butter together until smooth. Add powdered sugar gradually and continue to beat until fluffy and spreadable.
Step 8: Frost and Garnish
Once the bars are cool, spread the cream cheese frosting evenly over the top. If you saved some red velvet crumbs, sprinkle them over the frosting for that classic bakery finish.
How to Serve and Store Red Velvet Cookie Bars
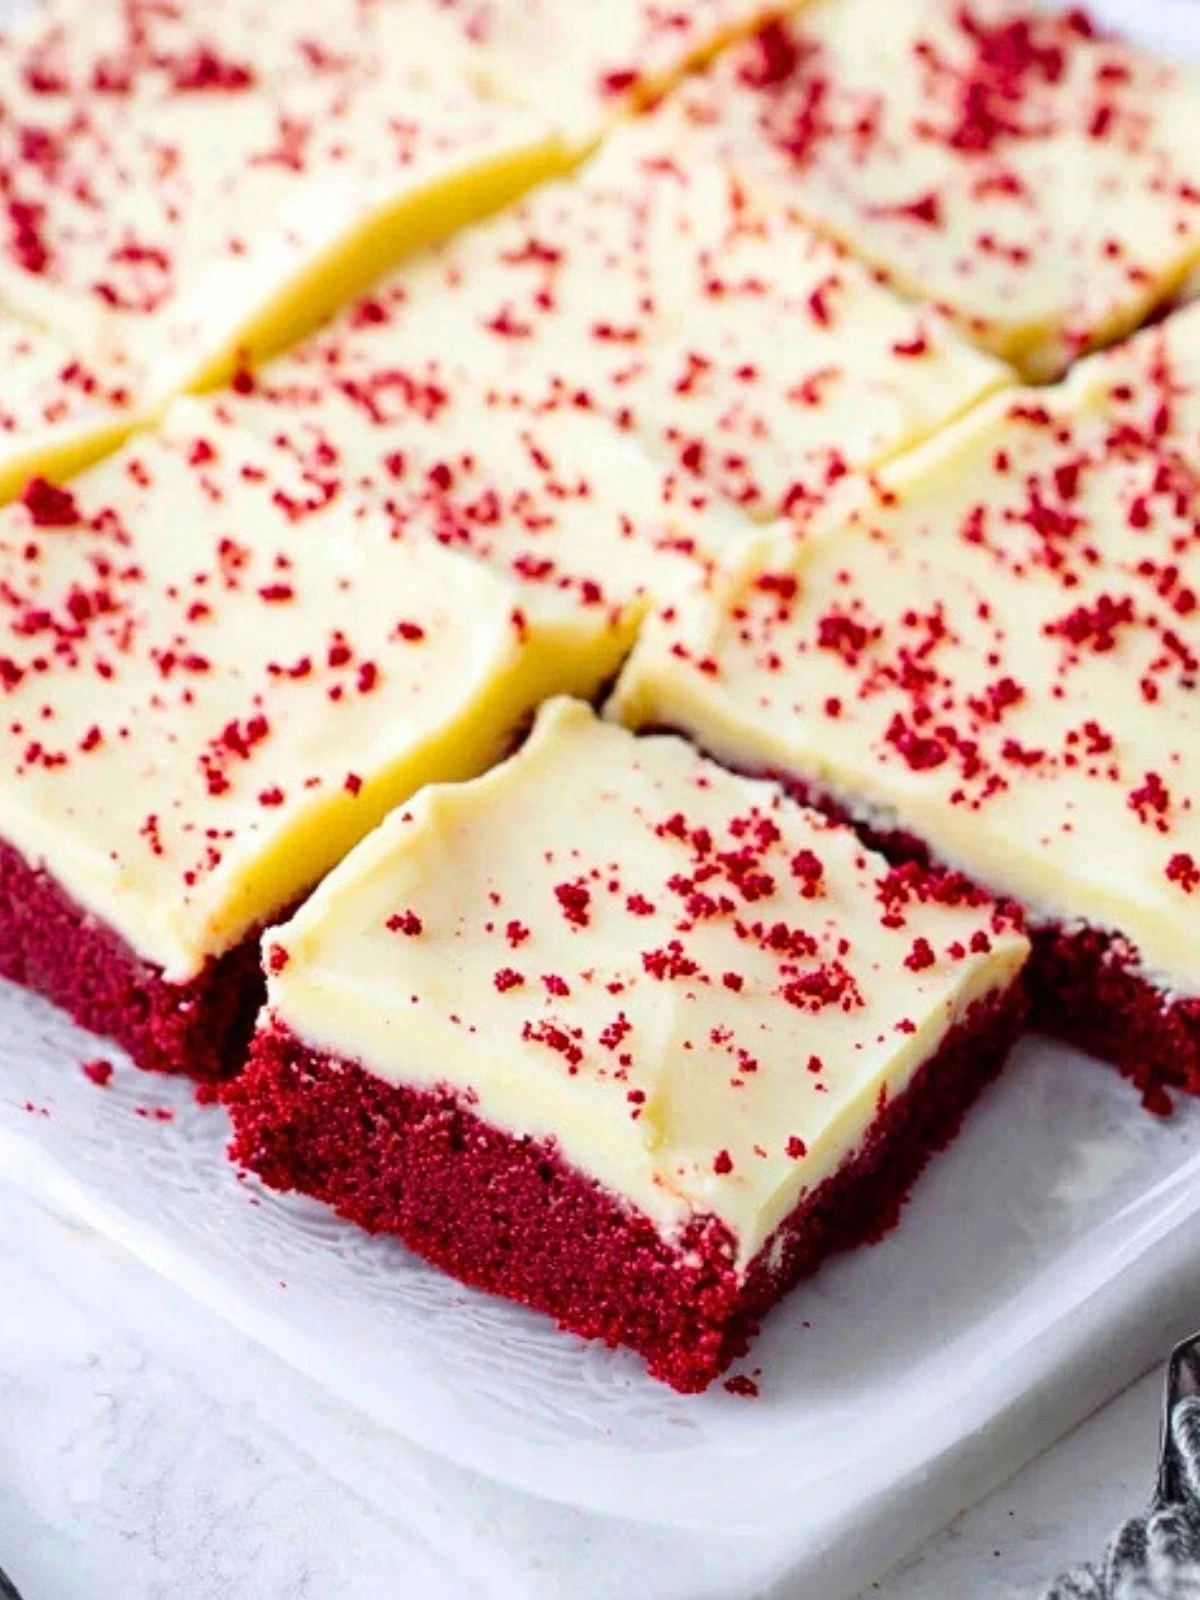
Red Velvet Cookie Bars are incredibly versatile when it comes to serving. Cut them into squares or rectangles, depending on the occasion. For holiday platters, go with small bite-size pieces; for parties or potlucks, larger squares give that wow factor. Serve them chilled for a firmer bite or let them come to room temperature for a creamier experience. Either way, they make a stunning addition to dessert tables.
To store, place the bars in an airtight container in the fridge for up to 5 days. You can also freeze them (frosted or unfrosted) for up to 2 months. Just layer parchment between slices to prevent sticking. Thaw in the fridge overnight or at room temp for a few hours.
Frequently Asked Questions
How do I know when the bars are done baking?
Check around the 20-minute mark. The edges should be set and the center should be slightly soft. A toothpick inserted should come out with a few moist crumbs, not wet batter.
Can I use gel food coloring instead of liquid?
Absolutely. Gel food coloring is more concentrated, so you’ll need less. Start with a small amount and adjust until you get that rich red hue.
Do I have to use cream cheese frosting?
Cream cheese frosting is classic for red velvet, but if you’re not a fan, a simple vanilla buttercream or white chocolate ganache can be delicious substitutes.
Can I make these bars ahead of time?
Yes! These bars can be made a day or two ahead. In fact, the flavor intensifies as they sit. Just store them in the fridge and frost right before serving for the freshest taste.
What’s the best way to get clean slices?
Chill the bars in the fridge for about 30 minutes before cutting. Use a sharp knife, wiping it clean between each slice for neat edges.
Can I double this recipe?
If you’re baking for a crowd, doubling is easy! Use two 9×13 pans or one half-sheet pan. Just watch the baking time – it may need a few extra minutes.
Want More Cookie Ideas with a Twist?
If you love these Red Velvet Cookie Bars, you’ll probably enjoy these other favorites from Life With Olivia:
- Lemon Churro Cookies if you’re craving tangy meets warm spice.
- Peanut Butter Blossom Cookies for that nostalgic holiday flavor.
- Chocolate Crinkle Sandwich Cookies with a soft ganache center.
- Brown Sugar Maple Cookies for cozy fall vibes.
- Whipped Shortbread Cookies that melt in your mouth.
These unique takes on classic cookies offer something for every sweet tooth and occasion.
Save This Recipe for Later
📌 Save this recipe to your Pinterest dessert board so you can come back to it any time: Life With Olivia on Pinterest
And let me know in the comments how yours turned out. Did you go traditional or add a personal twist? Frosting first or double stacked with extra filling?
I always love seeing how these bars come to life in your kitchen. Don’t hesitate to share your results or ask questions—this space is all about making dessert easy and joyful.

Red Velvet Cookie Bars
Description
Red Velvet Cookie Bars are a rich, chewy twist on a classic favorite, combining the bold color and subtle cocoa flavor of red velvet with a thick layer of tangy cream cheese frosting. Perfect for holidays, bake sales, or cozy nights in, these bars are easy to make and impossible to resist.
Ingredients
2 1/4 cups all-purpose flour
2 tablespoons unsweetened cocoa powder
1/2 teaspoon baking soda
1/2 teaspoon salt
1 cup unsalted butter, softened
1 cup granulated sugar
1/2 cup brown sugar, packed
2 large eggs
2 teaspoons vanilla extract
1 tablespoon red food coloring
8 ounces cream cheese, softened
1/4 cup unsalted butter, softened
2 cups powdered sugar
1 teaspoon vanilla extract (optional)
Instructions
1. Preheat oven to 350°F (175°C). Line a 9×13-inch pan with parchment paper and lightly spray with baking spray.
2. In a medium bowl, whisk together flour, cocoa powder, baking soda, and salt. Set aside.
3. In a large bowl, beat butter with granulated sugar and brown sugar until light and fluffy (about 2–3 minutes).
4. Add eggs one at a time, beating well after each. Mix in vanilla extract and red food coloring until evenly combined.
5. Slowly add dry ingredients to the wet mixture. Stir just until combined — do not overmix.
6. Spread batter evenly into the prepared pan. Bake for 20–25 minutes, or until a toothpick inserted in the center comes out with moist crumbs.
7. Allow bars to cool completely in the pan on a wire rack.
8. For the frosting: Beat cream cheese and butter together until smooth. Add powdered sugar gradually and beat until light and fluffy.
9. Spread frosting over cooled bars. Garnish with red velvet crumbs if desired.
10. Chill before slicing for cleaner cuts. Serve chilled or at room temperature.
Notes
For clean slices, chill the bars for 30 minutes before cutting and wipe the knife between each cut.
Don’t overbake — they should be soft in the center when tested with a toothpick.
Frost only after the bars are completely cool to keep the frosting smooth and intact.