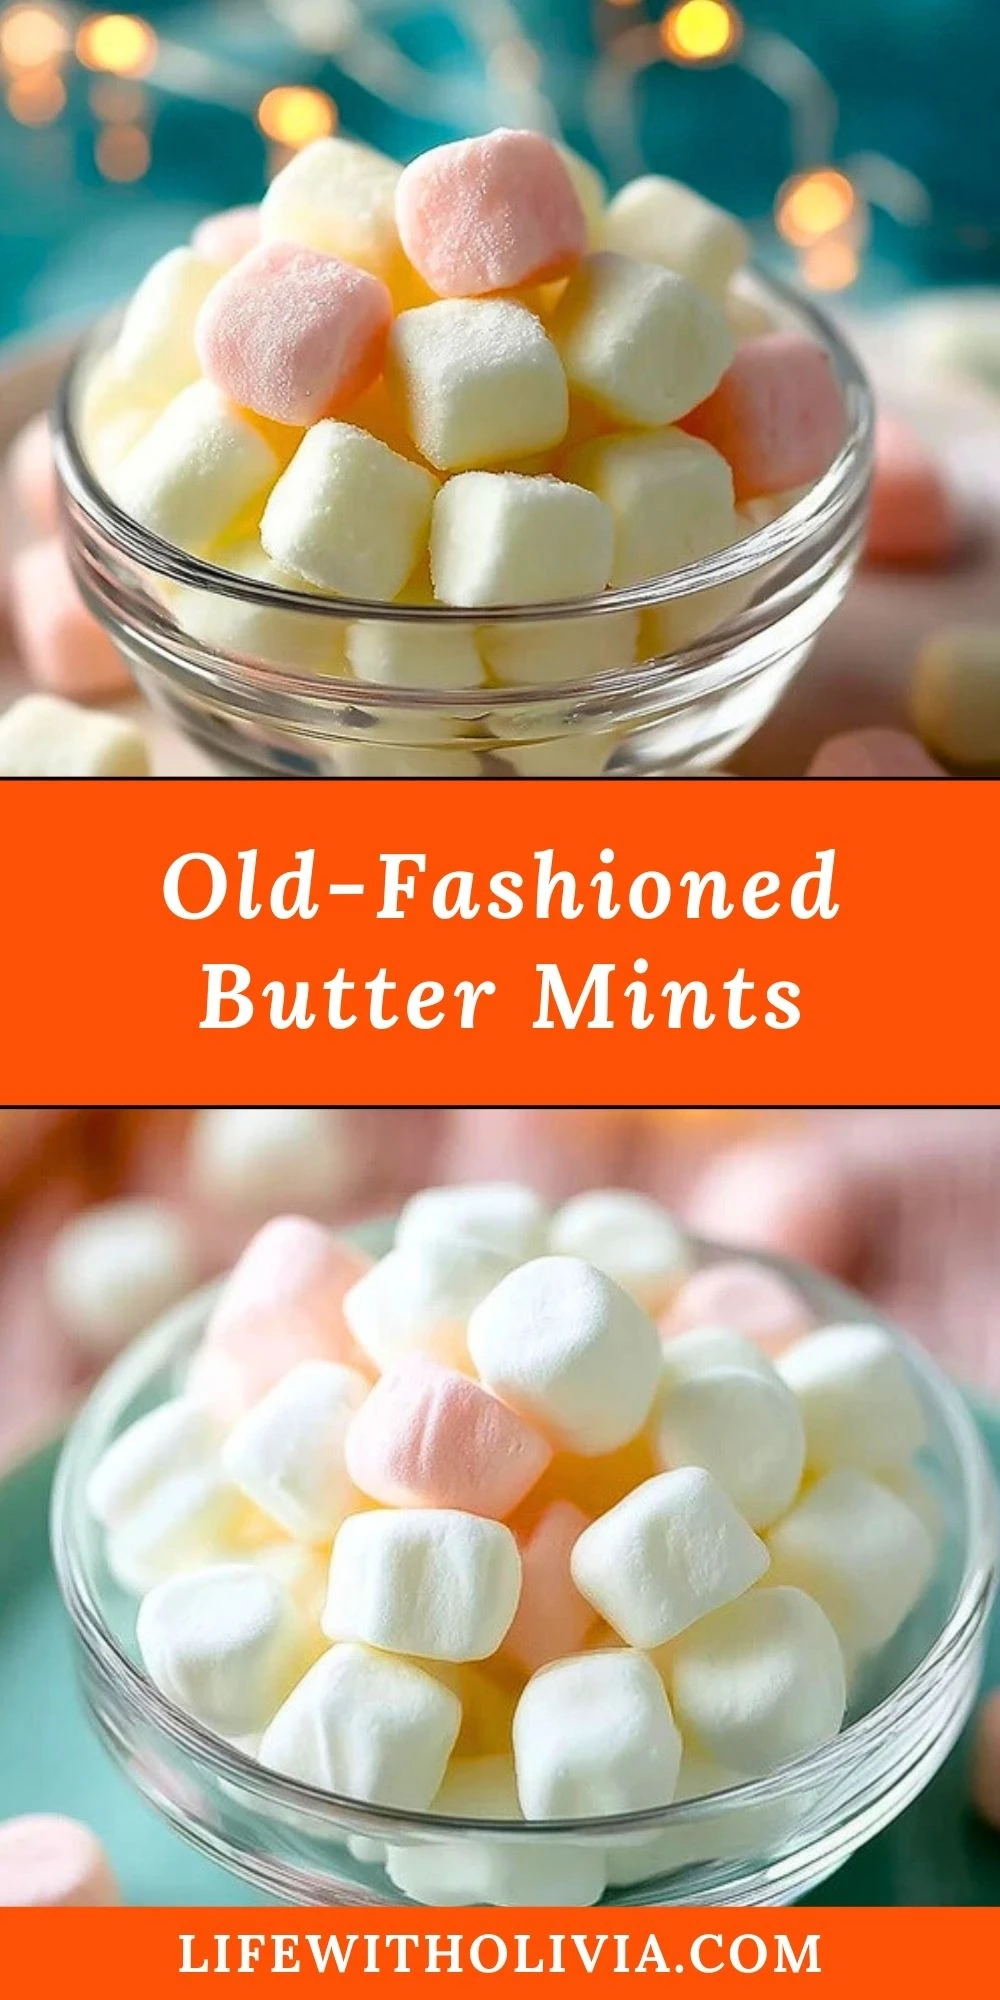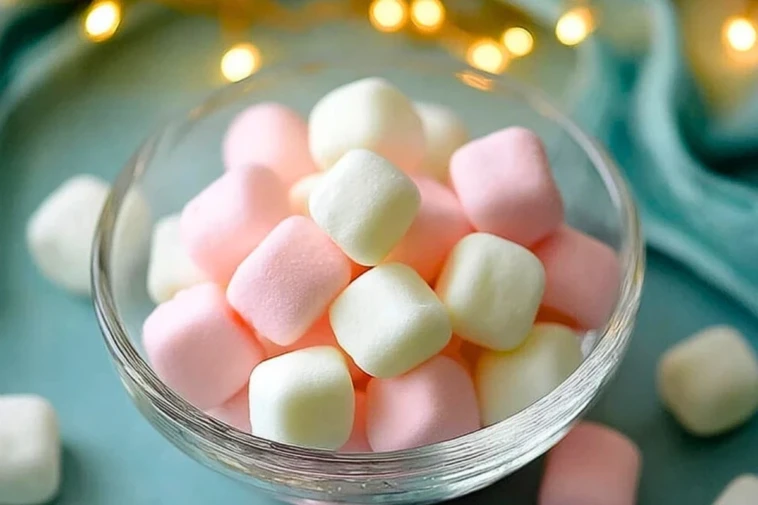
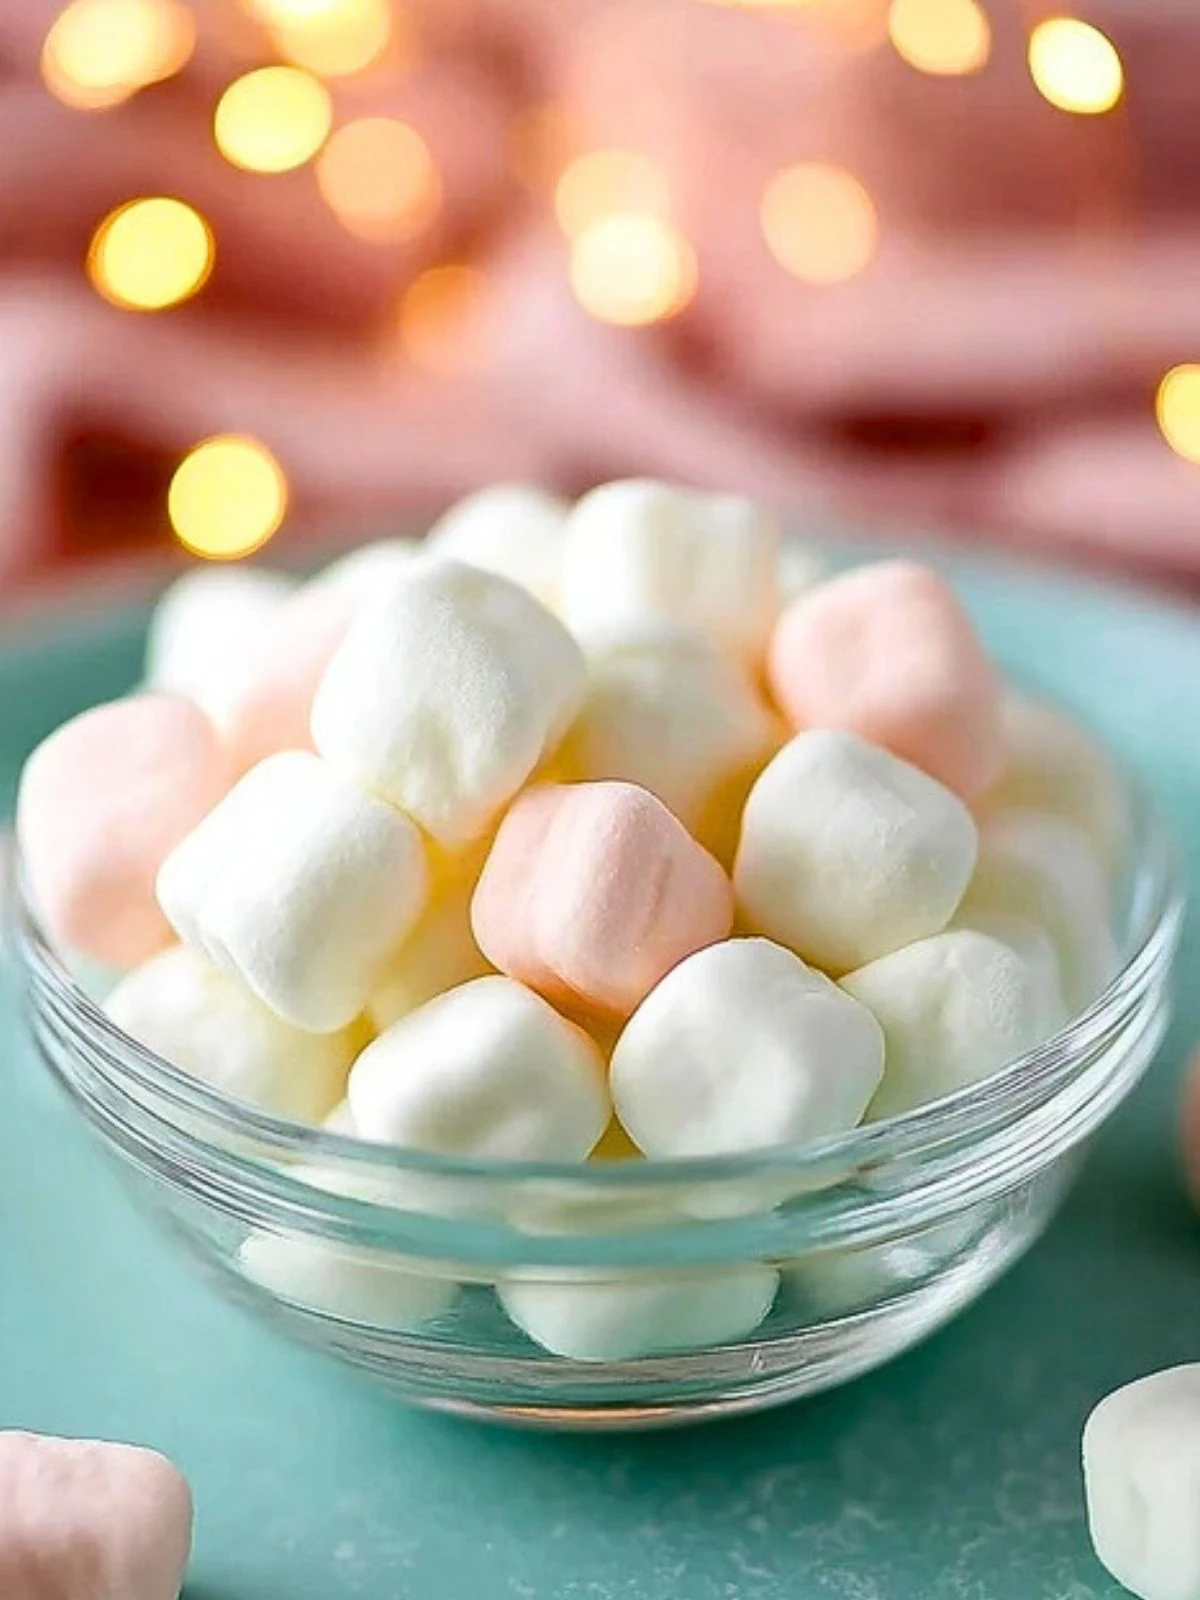
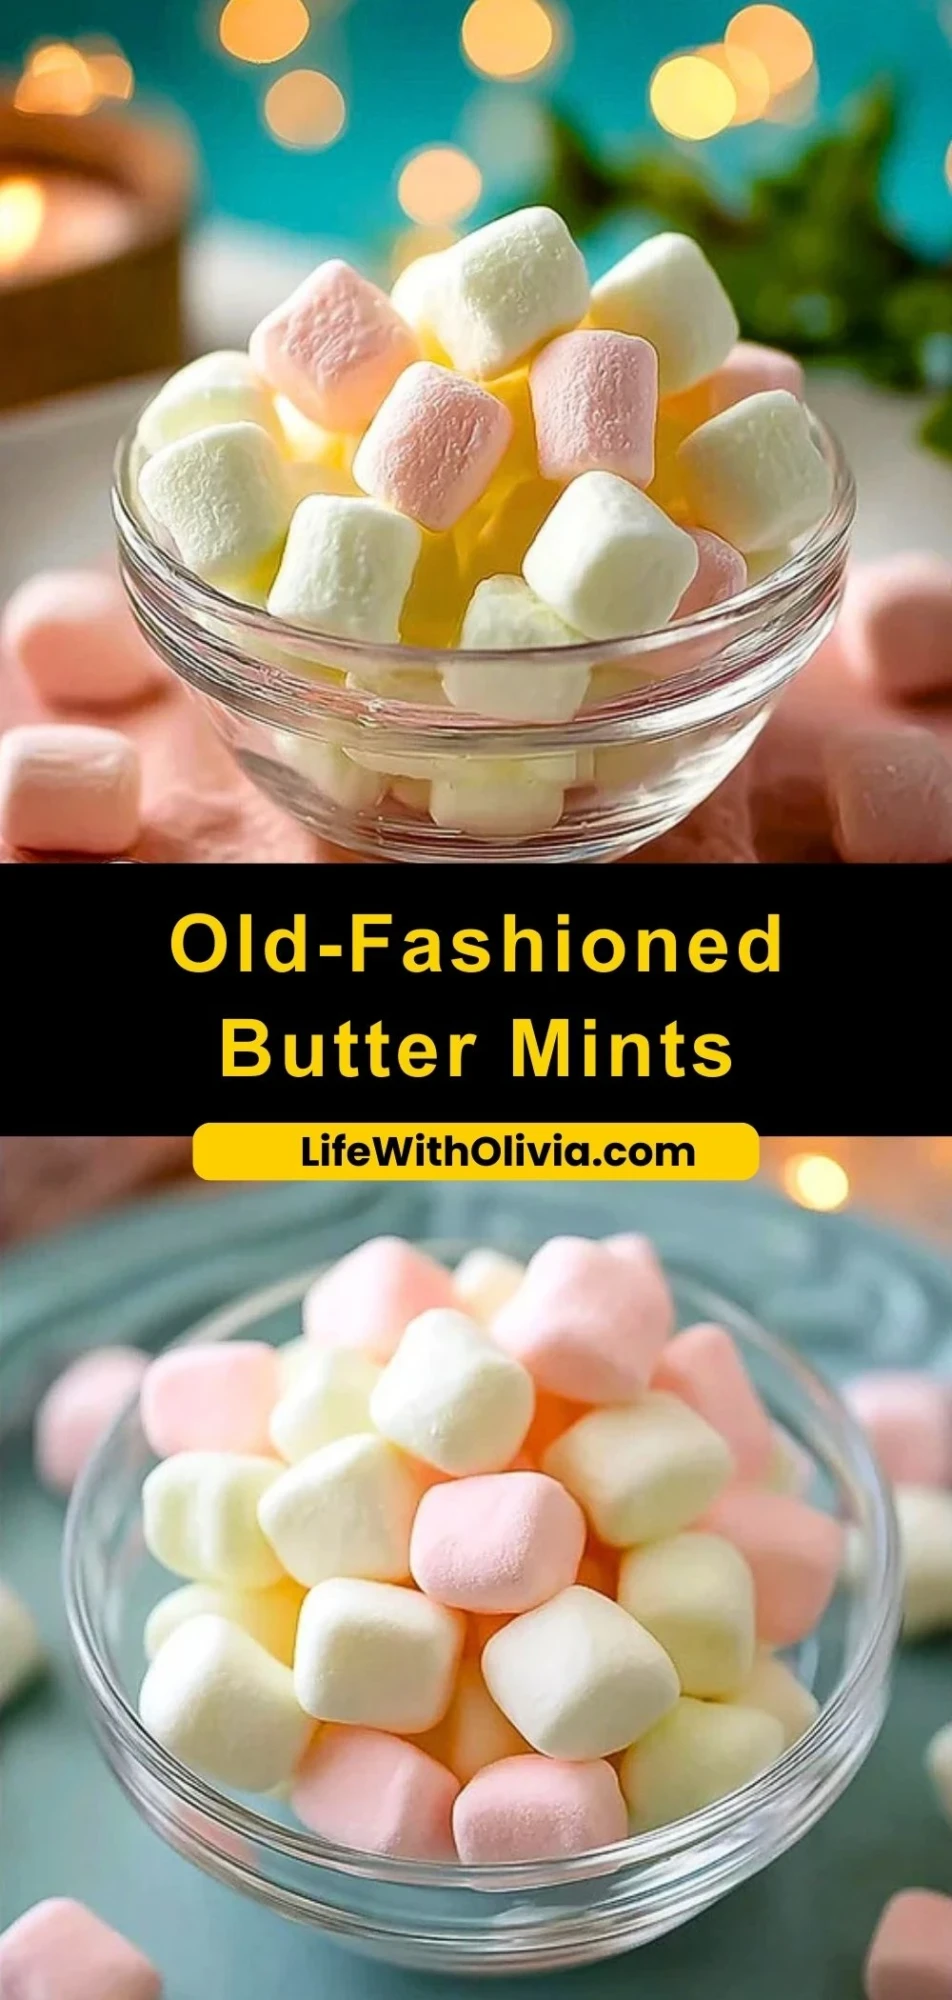
Soft, creamy, and irresistibly melt-in-your-mouth, Old-Fashioned Butter Mints are the sweet little treat that never goes out of style. Whether you’re hosting a baby shower, setting out a candy dish for the holidays, or craving something delicately indulgent, these pastel bites of bliss hit the spot every time. They’re a delightful nod to retro charm but still right at home on today’s dessert tables.
What makes these butter mints stand out is their buttery richness balanced with a soft sweetness and a slight crunch that transitions into creamy smoothness. You can customize the colors and flavors to match your occasion, but the classic vanilla flavor always wins hearts. Bonus? They’re easier to make than you’d think—no candy thermometer needed!
Preparation Phase & Tools to Use
To craft the perfect Old-Fashioned Butter Mints, your kitchen setup is just as important as your ingredients. Here are the essentials:
- Stand Mixer or Hand Mixer: This is crucial for creaming the butter until it’s fluffy and smooth. You want that aerated texture to make the mints light.
- Mixing Bowls: Have a large bowl for combining your ingredients and smaller ones if you plan to divide and color the dough.
- Rubber Spatula: This helps in scraping down the sides of your bowl and folding in the powdered sugar evenly.
- Piping Bag or Small Cookie Scoop (Optional): Useful if you want uniform sizes for your mints or prefer a no-roll method.
- Parchment Paper: For laying out the mints to dry without sticking.
- Cooling Rack or Flat Surface: Since these mints need to dry for several hours, choose a surface that won’t warp and offers good airflow.
With these tools in hand, you’ll be ready to create a batch of butter mints that are smooth, flavorful, and perfectly textured.

Ingredients for the Old-Fashioned Butter Mints
- Unsalted Butter: The foundation of these mints, giving them their rich, creamy texture. Make sure it’s softened for easy mixing.
- Powdered Sugar: Essential for the sweetness and smooth consistency. It dissolves beautifully into the butter.
- Heavy Cream or Milk: Just a splash helps bind everything together and adds softness.
- Peppermint or Vanilla Extract: Adds that signature cool, refreshing flavor (or sweet warmth if using vanilla).
- Food Coloring (Optional): Perfect for seasonal themes or party color coordination. Go pastel for a classic look.
- Salt (Optional): A pinch can enhance flavor balance and contrast the sweetness.
How To Make the Old-Fashioned Butter Mints
Step 1: Cream the Butter
Start by beating your softened butter in a large mixing bowl until it’s light, creamy, and fluffy. This step sets the base for a smooth, airy mint texture.
Step 2: Add Flavor and Liquid
Mix in your extract (peppermint or vanilla) and a tablespoon of cream or milk. Blend until fully incorporated. If you’re using food coloring, this is also the moment to add it.
Step 3: Incorporate Powdered Sugar
Gradually add the powdered sugar, mixing a little at a time. Use a spatula to scrape down the sides to ensure even mixing. The dough will become thick and pliable.
Step 4: Shape the Mints
You can either roll the dough into ropes and cut into pillows or use a piping bag or small scoop for more uniform shapes. Play with shapes to suit the occasion!
Step 5: Drying Time
Place your shaped mints on a parchment-lined surface and let them dry for at least 12 hours. This step helps them develop that classic outer shell with a creamy center.
How to Serve and Store These Butter Mints
Butter mints make a lovely addition to any candy dish, dessert table, or party favor bag. Serve them in mini cupcake liners for extra flair at weddings, showers, or holiday gatherings.
For storing, keep your mints in an airtight container at room temperature. They stay fresh for up to two weeks, and you can even freeze them for longer storage—just bring them back to room temp before serving to enjoy their soft bite.
Frequently Asked Questions
How long do homemade butter mints last?
They last up to two weeks at room temperature or up to 2 months in the freezer.
Can I make butter mints without a mixer?
Yes, though it requires more elbow grease. Make sure the butter is very soft and mix vigorously with a sturdy spoon or spatula.
Can I use food coloring gels instead of liquid?
Absolutely! Gel food coloring provides vibrant colors without thinning the dough.
Why do my mints feel too sticky?
You may need a bit more powdered sugar or longer drying time. Humidity can also play a factor.
Are these mints gluten-free?
Yes, this recipe is naturally gluten-free as long as your extracts and food coloring are safe.
Want More Candy Ideas with a Twist?
If you love these Old-Fashioned Butter Mints, you’ll probably enjoy these other favorites:
- Red Hot Cinnamon Hard Candy Recipe for a bold kick.
- Coconut Snowballs – A Delightful Holiday Treat with tropical flair.
- Paula Deen’s 5 Minute Fudge for last-minute chocolate cravings.
- Strawberry Cheesecake Dump Cake when you need creamy and fruity in one bite.
Save This Recipe for Later
📌 Save this recipe to your Pinterest dessert board so you can come back to it any time.
And let me know in the comments how yours turned out. Did you use vanilla or peppermint? Add colors or leave them classic?
I love hearing how others make these recipes their own. Questions are welcome too—let’s help each other bake smarter.
Check out more treats and ideas on my Pinterest @scherer29!

Old-Fashioned Butter Mints
- Total Time: 12 hours
- Yield: 120 mints
Description
Old-Fashioned Butter Mints are creamy, soft, and melt-in-your-mouth confections with a classic vanilla or peppermint flavor. Perfect for holidays, weddings, baby showers, or just to satisfy a sweet craving, these retro candies are easy to make and completely customizable with your favorite colors.
Ingredients
1 cup unsalted butter, softened
4 cups powdered sugar
2 tablespoons heavy cream or milk
1 teaspoon peppermint or vanilla extract
Optional: food coloring
Optional: pinch of salt
Instructions
1. Beat softened butter in a large mixing bowl until light and fluffy.
2. Add the extract and cream (or milk), and mix well until smooth.
3. If using food coloring, add now and mix until fully blended.
4. Gradually add powdered sugar, scraping down sides and mixing until a thick dough forms.
5. Divide dough if using multiple colors.
6. Roll dough into ropes and cut into small pieces, or pipe/scoop into desired shapes.
7. Place mints on parchment paper and let them dry at room temperature for at least 12 hours.
8. Store in an airtight container once fully dried.
Notes
For best results, use room temperature butter that’s soft but not melted.
Allow plenty of drying time—overnight is ideal for the perfect texture.
Use gel food coloring for bold hues without affecting consistency.
- Prep Time: 20 minutes
- Cook Time: 0 minutes
- Category: Candy
- Method: No-bake
- Cuisine: American
Nutrition
- Serving Size: 2 mints
- Calories: 60
- Sugar: 10g
- Sodium: 5mg
- Fat: 3g
- Saturated Fat: 2g
- Unsaturated Fat: 1g
- Trans Fat: 0g
- Carbohydrates: 10g
- Fiber: 0g
- Protein: 0g
- Cholesterol: 10mg
Keywords: butter mints, old-fashioned mints, soft mints, wedding candy, vintage dessert