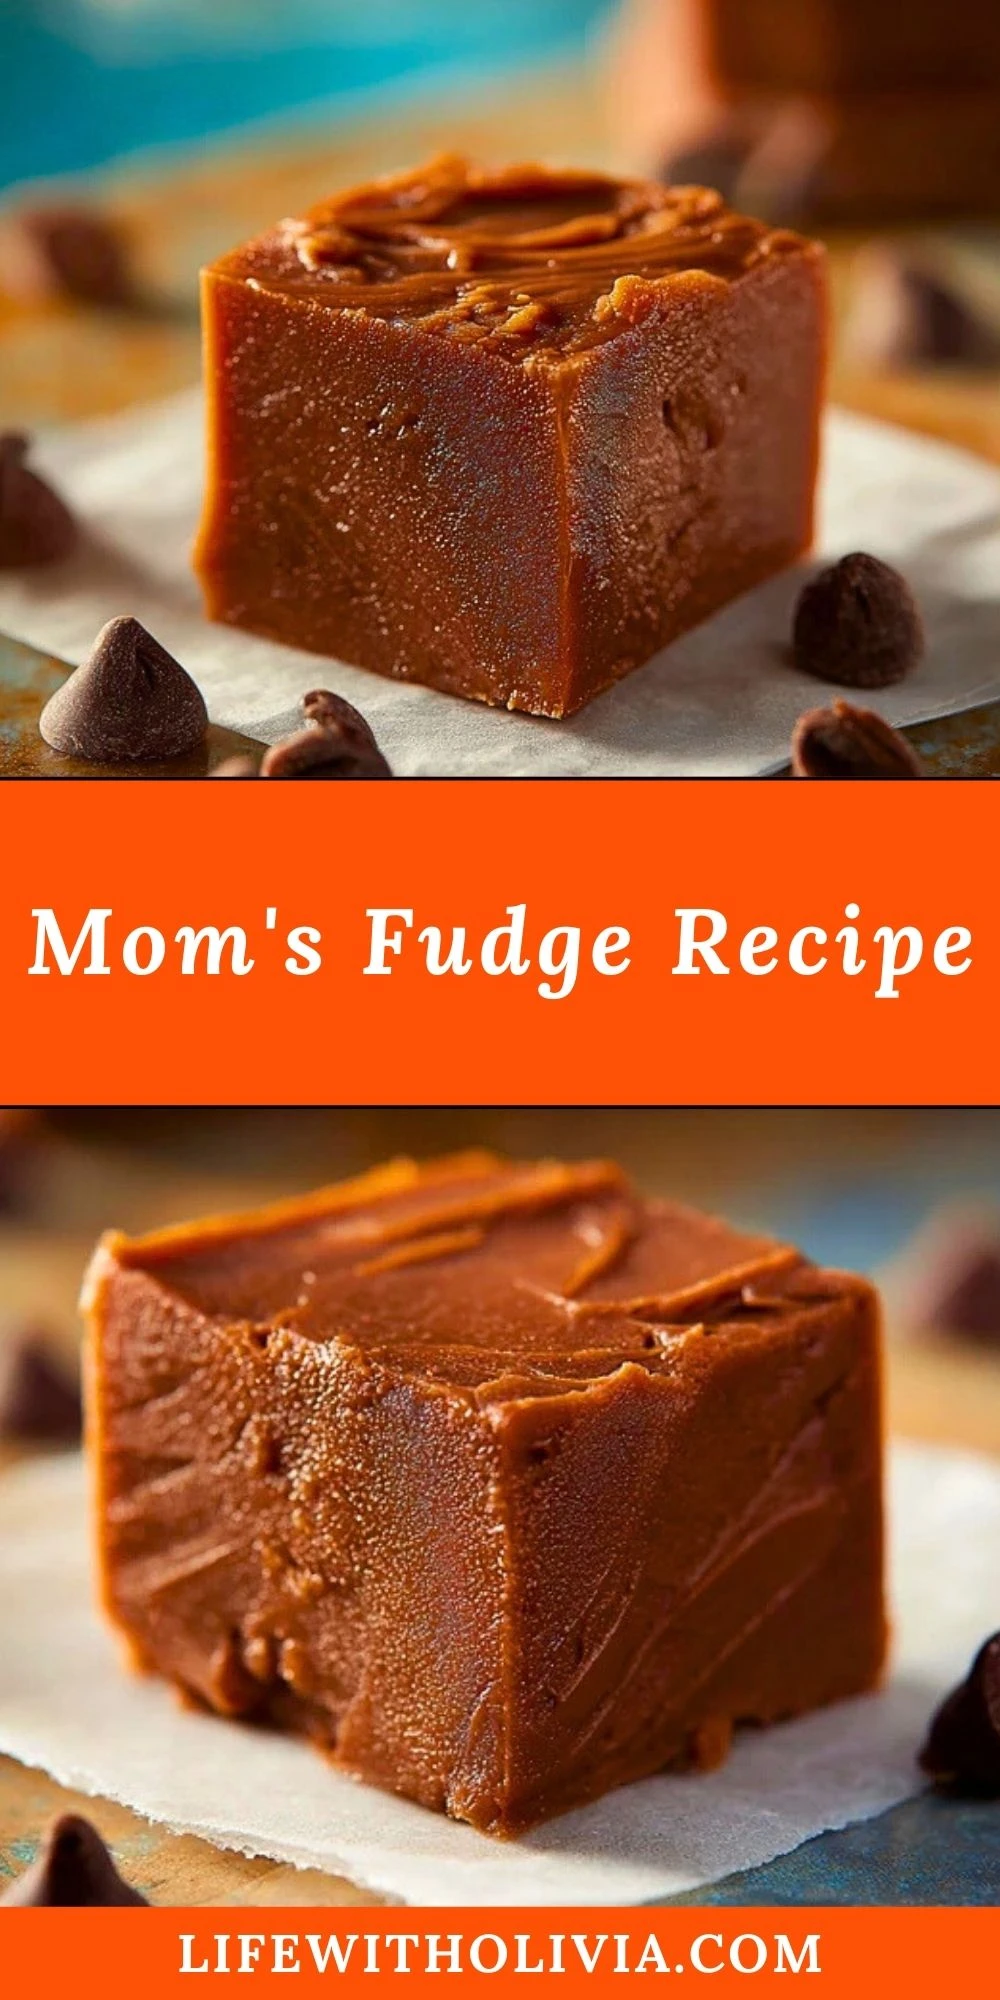
Nothing says comfort quite like a thick, velvety square of homemade fudge. This recipe has been passed down through generations and never fails to bring back warm memories of holidays, family gatherings, and sneaking a sweet bite before dinner.
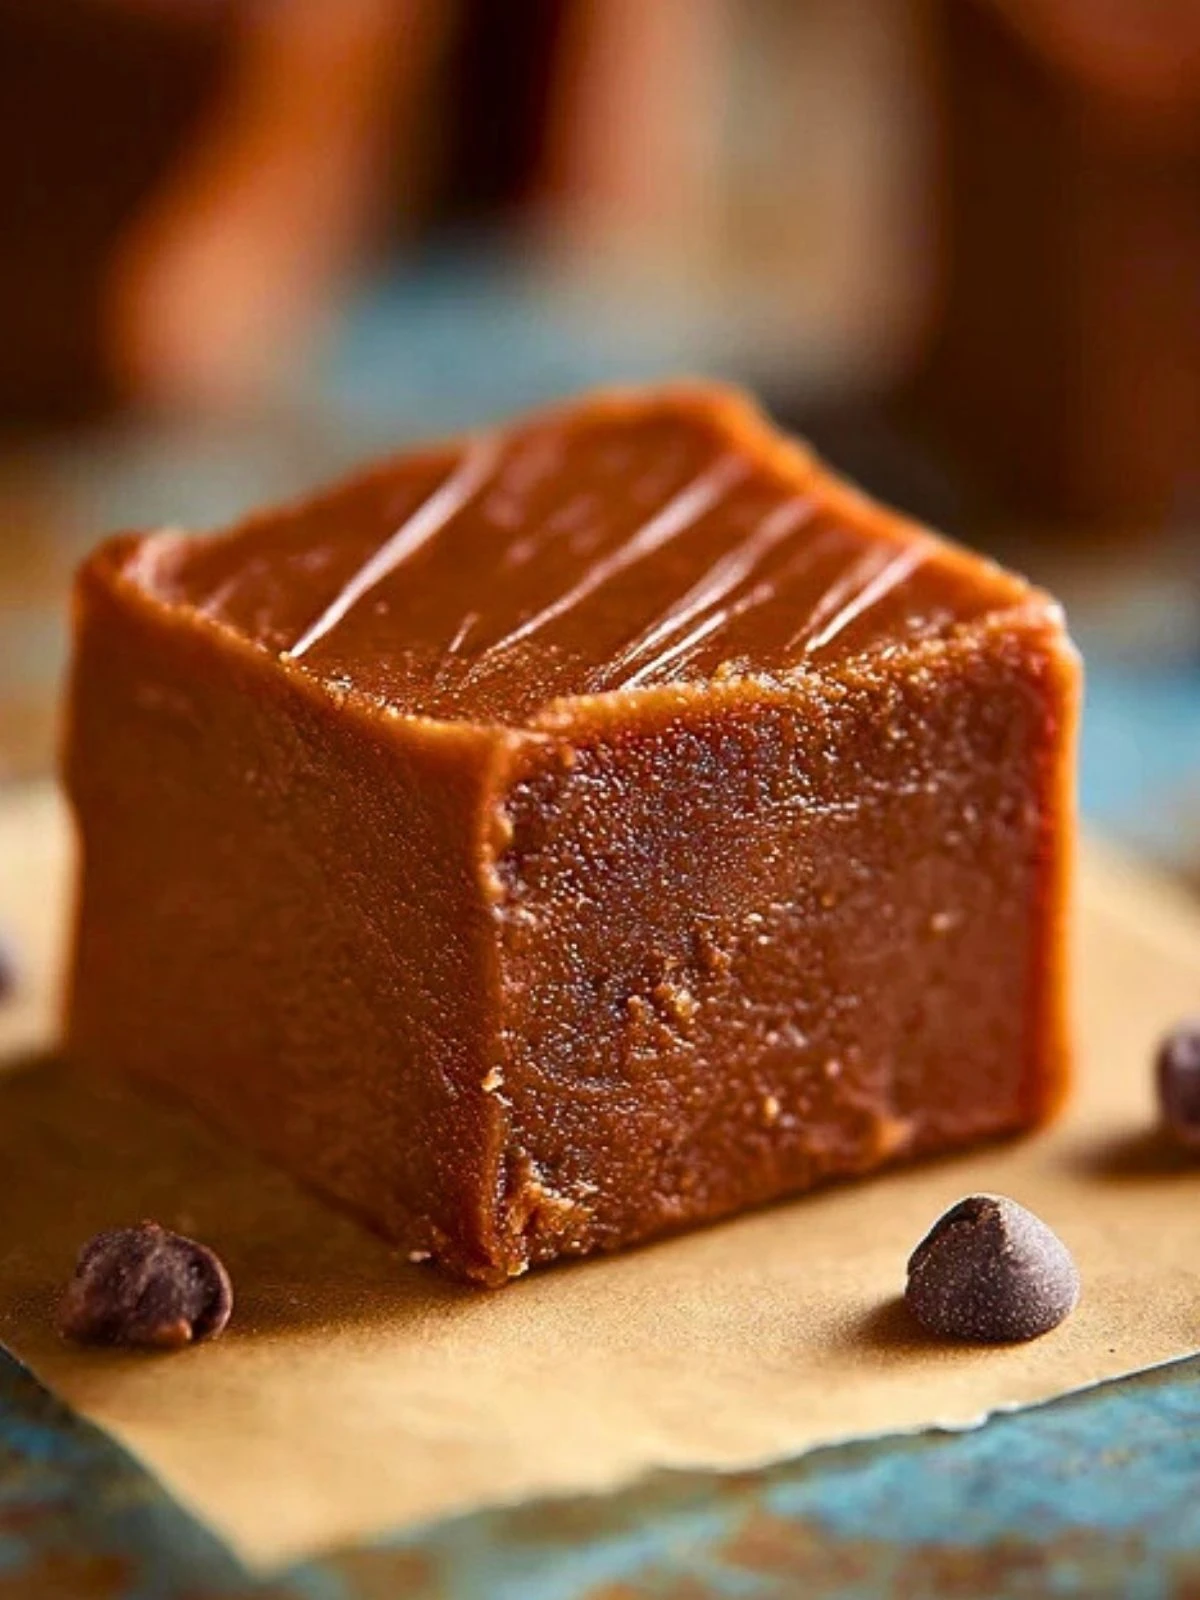
Mom’s Fudge is irresistibly rich and creamy, with a smooth texture that melts on your tongue. It strikes the perfect balance between sweet and indulgent without being overwhelming, making it an all-season treat that everyone loves. Whether you gift it in a tin or hoard it in the back of the fridge, it always disappears fast.
Preparation Phase & Tools to Use
Before diving into the chocolatey goodness, having the right tools ready makes a huge difference. For this recipe, you’ll need:
- Heavy-bottomed saucepan – Distributes heat evenly and prevents scorching.
- Wooden spoon or silicone spatula – Ideal for stirring thick fudge mixtures without bending or breaking.
- Candy thermometer – Crucial for getting that precise soft-ball stage (about 234°F to 240°F).
- 8×8-inch square pan – Perfect size for even setting and slicing into squares.
- Parchment paper – Makes removing the fudge from the pan effortless.
Setting everything up ahead of time makes the cooking process smoother and helps avoid burnt sugar or grainy fudge.

Ingredients for the Mom’s Fudge Recipe
Each ingredient in this fudge recipe has a purpose, working together to create the ultimate melt-in-your-mouth experience.
- Granulated Sugar – The base sweetener that helps form the structure of the fudge.
- Evaporated Milk – Adds creaminess without watering down the mix.
- Unsalted Butter – Gives the fudge its rich, smooth texture.
- Semi-Sweet Chocolate Chips – Brings the main chocolate flavor; melts down perfectly.
- Marshmallow Creme – Prevents crystallization and adds fluffiness.
- Vanilla Extract – Rounds out the flavor with a subtle warm note.
- Pinch of Salt – Balances the sweetness and enhances all other flavors.
How To Make the Mom’s Fudge Recipe
Step 1: Prep Your Pan
Line an 8×8-inch pan with parchment paper, letting a bit hang over the sides for easy lifting later. Set aside.
Step 2: Melt the Base
In a heavy-bottomed saucepan over medium heat, combine the sugar, evaporated milk, and butter. Stir constantly as it comes to a gentle boil.
Step 3: Reach the Soft-Ball Stage
Attach your candy thermometer and keep stirring. Once the mixture reaches 234°F to 240°F (soft-ball stage), remove from heat.
Step 4: Stir in Chocolate & Marshmallow
Quickly mix in the chocolate chips, marshmallow creme, vanilla extract, and salt. Stir vigorously until everything is melted and smooth.
Step 5: Pour and Set
Pour the fudge mixture into your prepared pan. Smooth the top with a spatula and let it cool at room temperature for at least 4 hours, or until firm.
Step 6: Slice and Enjoy
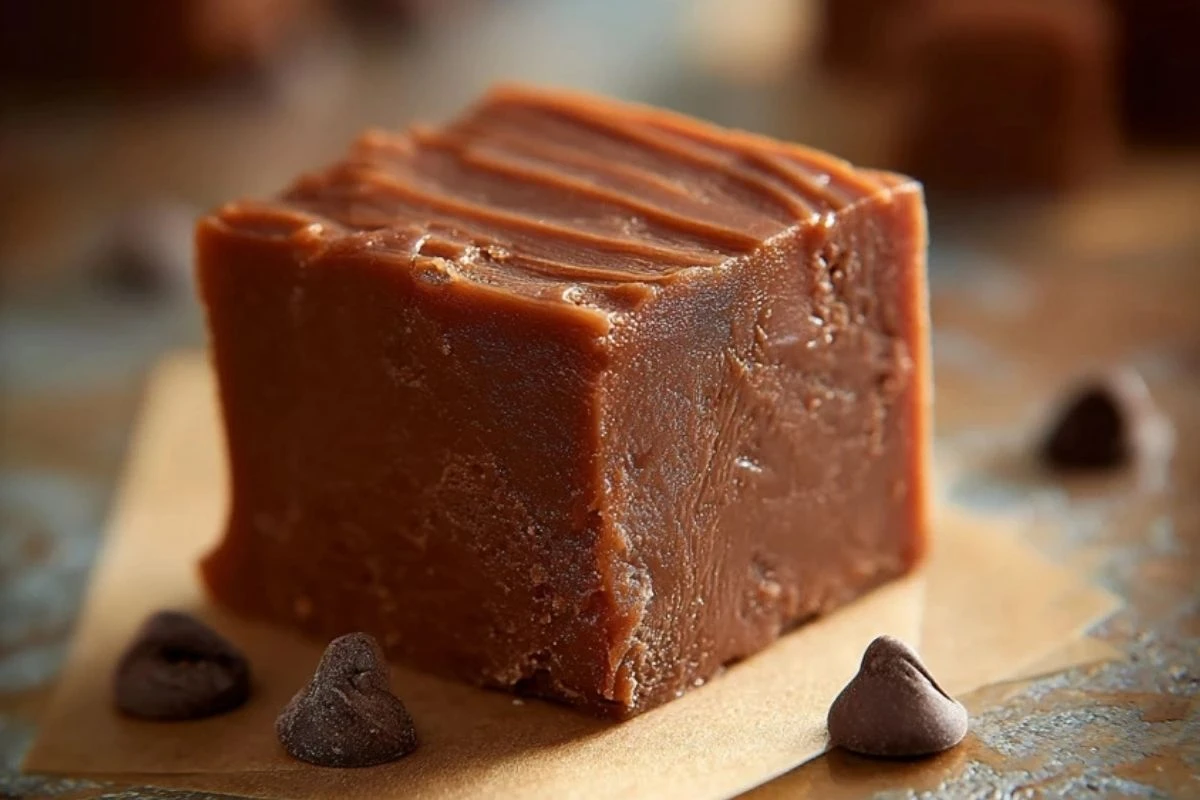
Once set, lift the fudge out using the parchment paper and slice into bite-sized squares. Store or serve as you like!
How to Serve and Store Mom’s Fudge
Mom’s Fudge is best served at room temperature to enjoy its ultra-creamy texture. You can present it in mini cupcake liners for parties, wrap it in wax paper for gifting, or keep it classic with a simple stack on a dessert tray.
To store, place the fudge in an airtight container, layering parchment between each layer to prevent sticking. It will last:
- Up to 2 weeks at room temperature.
- 3-4 weeks refrigerated.
- Or even 3 months in the freezer, just thaw at room temp before serving.
Frequently Asked Questions
How do I know when the fudge is done cooking?
Once the mixture hits the soft-ball stage (234°F to 240°F), it’s ready to come off the heat. A candy thermometer ensures accuracy here.
Can I use sweetened condensed milk instead of evaporated milk?
No—sweetened condensed milk is much thicker and sweeter. It will throw off the balance of the recipe.
Why is my fudge grainy?
Graininess usually means the sugar wasn’t fully dissolved or the mixture wasn’t stirred enough. Using marshmallow creme helps prevent this.
Can I add nuts to this fudge?
Yes! Chopped walnuts or pecans make a great addition. Stir them in after the chocolate and marshmallow creme are fully melted.
Do I have to use a candy thermometer?
It’s highly recommended. While you can use the soft-ball test in cold water, a thermometer removes the guesswork.
Want More Dessert Ideas?
If you love this creamy, nostalgic Mom’s Fudge, you’ll probably enjoy these other dessert treats from the blog:
- Paula Deen’s 5-Minute Fudge for a speedy, crowd-pleasing option.
- Pineapple Coconut Dream Cake if you’re craving something light and tropical.
- Apple Enchiladas for a warm, cinnamon-spiced comfort dessert.
- Strawberry Cheesecake Dump Cake when you want fruity meets creamy.
- Old-Fashioned Blackberry Cobbler for a rustic, juicy dessert baked to perfection.
Save This Recipe for Later
📌 Save this recipe to your Pinterest dessert board so you can come back to it any time: Life With Olivia on Pinterest.
And let me know in the comments how your batch turned out! Did you go classic, or stir in some nuts or espresso powder? I’d love to hear how you made it your own.
Have questions while making it? Drop them below—we’re in this sweet journey together!
Mom’s Fudge Recipe
- Total Time: 25 minutes + 4 hours to set
- Yield: 36 squares
- Diet: Vegetarian
Description
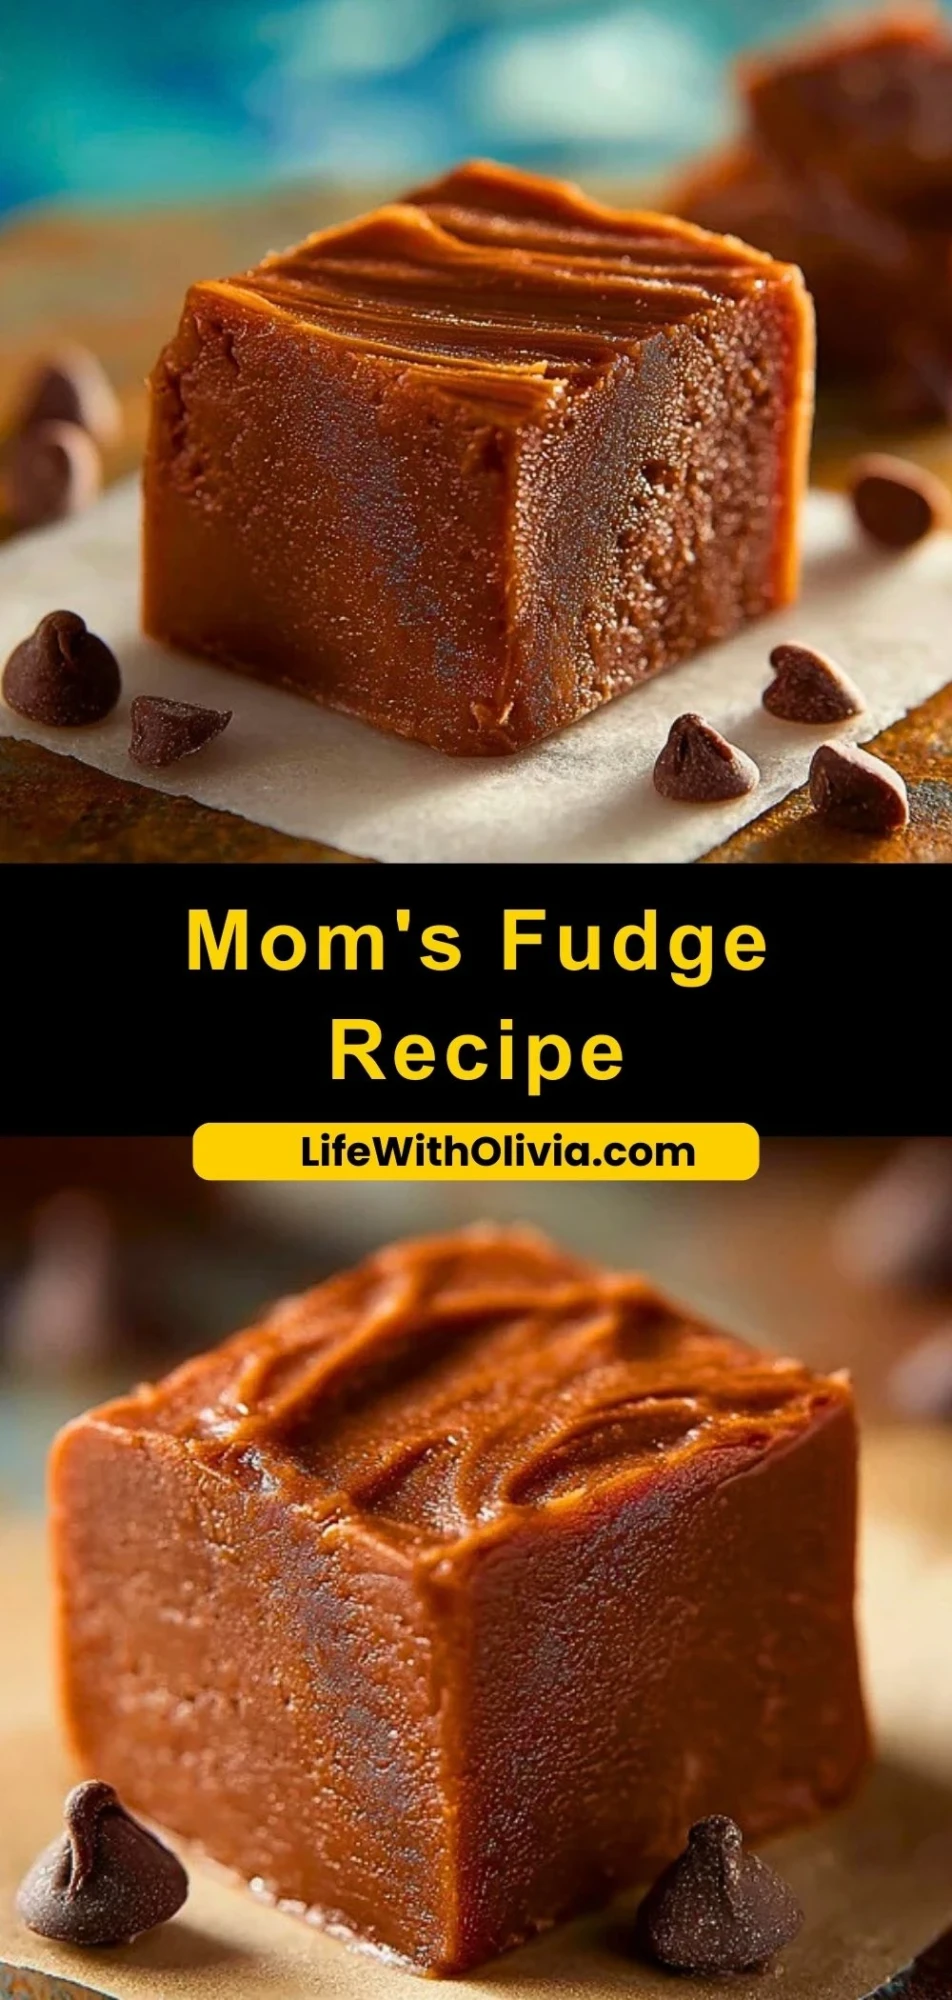
Rich, creamy, and melt-in-your-mouth smooth, Mom’s Fudge is the ultimate nostalgic treat made with simple pantry staples. Perfect for holiday gifting or any time you need a chocolate fix, this timeless recipe is foolproof and absolutely irresistible.
Ingredients
2 cups granulated sugar
5 ounces evaporated milk
½ cup unsalted butter
1 ½ cups semi-sweet chocolate chips
1 ½ cups marshmallow creme
1 teaspoon vanilla extract
1 pinch salt
Instructions
1. Line an 8×8-inch square baking pan with parchment paper, leaving extra on the sides for easy lifting. Set aside.
2. In a heavy-bottomed saucepan, combine sugar, evaporated milk, and butter. Stir over medium heat until mixture comes to a gentle boil.
3. Attach a candy thermometer and continue stirring. When the mixture reaches 234°F to 240°F (soft-ball stage), remove it from heat.
4. Immediately stir in chocolate chips, marshmallow creme, vanilla extract, and salt. Mix until smooth and fully melted.
5. Pour the mixture into the prepared pan and smooth the top with a spatula. Let it cool at room temperature for at least 4 hours.
6. Once set, lift the fudge out of the pan using the parchment paper and cut into squares. Enjoy or store as needed.
Notes
For extra richness, use high-quality chocolate chips or a mix of dark and semi-sweet.
Make sure to stir constantly while cooking to prevent burning or sugar crystallization.
Avoid refrigerating too early—let the fudge cool fully at room temp for the best texture.
- Prep Time: 10 minutes
- Cook Time: 15 minutes
- Category: Dessert
- Method: Stovetop
- Cuisine: American
Nutrition
- Serving Size: 1 square
- Calories: 130
- Sugar: 16g
- Sodium: 20mg
- Fat: 6g
- Saturated Fat: 4g
- Unsaturated Fat: 1.5g
- Trans Fat: 0g
- Carbohydrates: 19g
- Fiber: 0.5g
- Protein: 1g
- Cholesterol: 10mg
Keywords: Chocolate fudge, old-fashioned fudge, easy fudge