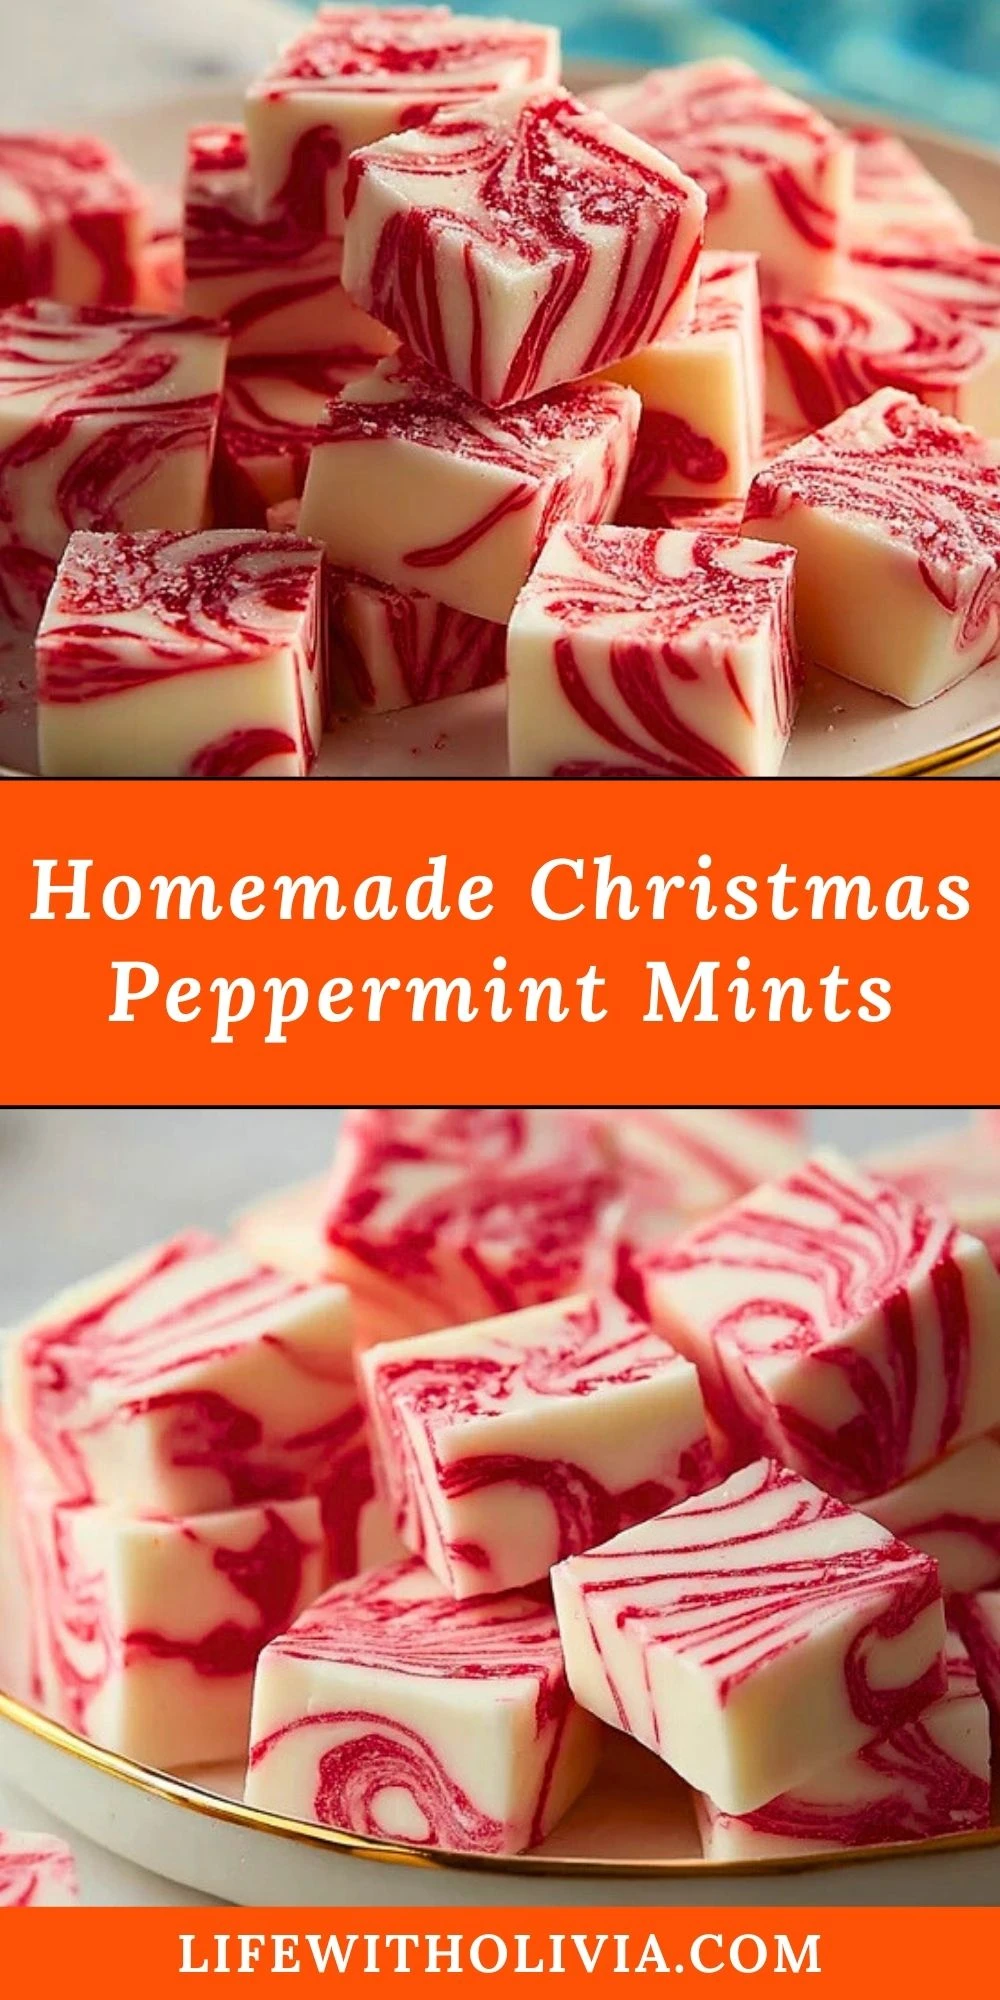
These Homemade Christmas Peppermint Mints are as festive as the season itself—beautifully swirled with red and white, they look like tiny marbled presents that melt in your mouth. With just the right balance of sweetness and peppermint coolness, they’re perfect for gifting, dessert trays, or a refreshing after-dinner bite.
The texture is smooth and creamy, almost like a buttery fudge, and the peppermint flavor brightens your palate with every bite. If you’re looking for an easy no-bake holiday treat that makes a big visual impact, these peppermint mints are your go-to this season.
Preparation Phase & Tools to Use
Before diving into the recipe, it helps to set up your kitchen with the right tools to ensure your peppermint mints turn out perfectly polished and professional.
Mixing Bowls – You’ll need a few mixing bowls, preferably heatproof, to melt and mix your white chocolate base smoothly.
Silicone Spatula – Ideal for stirring the mixture and folding in the peppermint flavor without creating lumps.
8×8 Baking Pan – The size and depth make it perfect for setting the mints into a consistent thickness.
Parchment Paper – Essential to avoid sticking and for easy removal after chilling.
Toothpick or Skewer – For that stunning red swirl effect, a toothpick helps drag the color into beautiful patterns.
Microwave or Double Boiler – Melting the chocolate gently is key to preventing separation or burning.
By having these tools on hand, you’ll breeze through the process and have gorgeous, delicious peppermint mints ready in no time.

Ingredients for the Homemade Christmas Peppermint Mints
Every ingredient in this recipe has a delicious role to play:
White Chocolate Chips – The rich and creamy base for the mints. Be sure to use high-quality chips to get that smooth, melt-in-your-mouth texture.
Sweetened Condensed Milk – Adds thickness, sweetness, and a fudgy consistency that sets beautifully when chilled.
Peppermint Extract – This is what gives the mints their signature cool, refreshing bite. Don’t overdo it—a little goes a long way.
Red Gel Food Coloring – Not just for looks! This swirl gives your mints a stunning holiday flair and makes each square unique.
Butter (Optional) – Adds a silky richness to the finished texture, especially if you want an ultra-creamy finish.
How To Make the Homemade Christmas Peppermint Mints
Step 1: Melt the Base
In a large microwave-safe bowl or using a double boiler, melt the white chocolate chips until smooth. Stir often to prevent scorching.
Step 2: Mix In Flavor
Once melted, stir in the sweetened condensed milk and peppermint extract. Mix until fully combined and the mixture becomes glossy and thick.
Step 3: Prepare the Pan
Line an 8×8 baking pan with parchment paper, leaving some overhang for easy removal. Pour the mixture into the pan and smooth the top with a spatula.
Step 4: Swirl In the Color
Add drops of red gel food coloring randomly across the top. Using a toothpick or skewer, gently swirl the color through the mixture to create marbled patterns.
Step 5: Chill to Set
Refrigerate the pan for at least 3 hours or until firm. Once set, lift the block out using the parchment, then slice into bite-sized squares.
How to Serve and Store These Holiday Mints
These Homemade Christmas Peppermint Mints are ideal for festive gifting and entertaining. Serve them on a holiday dessert tray, tuck them into treat boxes for neighbors, or use them as a beautiful topper on hot cocoa mugs. Their crisp, pepperminty flavor makes them a refreshing bite after heavy holiday meals.
For storing, keep them in an airtight container in the refrigerator for up to 2 weeks. If stacking, place parchment paper between layers to prevent sticking. They also freeze well—just wrap tightly and thaw in the fridge before serving.
Frequently Asked Questions
Can I use peppermint oil instead of extract?
Yes, but use caution! Peppermint oil is much more concentrated than extract. Start with a tiny amount—just a drop or two.
Do I have to use white chocolate chips?
You can substitute with white baking bars if preferred, but avoid candy melts as they don’t offer the same creamy finish.
How do I get the swirl effect to look clean and defined?
Work quickly after pouring the mixture into the pan. The longer it sits, the harder it is to swirl the color smoothly. Use a toothpick and light hand movements.
Can I make these dairy-free?
Yes—use dairy-free white chocolate and sweetened condensed coconut milk. Just know the texture may differ slightly.
What if my mixture seizes or turns grainy?
That often happens if moisture touches the chocolate or it’s overheated. Use a double boiler and stir constantly to prevent this.
Want More Candy Ideas for the Holidays?
If these Homemade Christmas Peppermint Mints made your season a little sweeter, you’ll love trying these other festive treats from Life With Olivia:
• Paula Deen’s 5-Minute Fudge for a rich chocolate hit in minutes.
• Red Hot Cinnamon Hard Candy to bring the heat and nostalgia.
• Coconut Snowballs for a soft, chewy tropical bite in snowy disguise.
• Tiramisu Cupcakes if you’re craving a creamy, coffee-kissed twist.
You can also explore more of my daily sweet creations on Pinterest: Life With Olivia on Pinterest.
Save This Recipe for Later
📌 Save this recipe to your Pinterest holiday board so you can revisit it every Christmas season.
And if you end up making these peppermint mints, I’d love to hear how they turned out! Did you swirl in any other colors? Maybe added crushed candy canes? Let me know your twist in the comments.
Your feedback and creativity inspire future recipes, so don’t be shy. Happy mint-making!
Homemade Christmas Peppermint Mints
- Total Time: 3 hours 10 minutes
- Yield: 36 squares
- Diet: Vegetarian
Description
Looking for a festive, no-bake holiday treat that’s both easy and visually stunning? These Homemade Christmas Peppermint Mints are the answer. Smooth, creamy, and swirled with pepperminty cheer, they’re perfect for edible gifts, dessert platters, or a refreshing after-dinner bite. Whether you’re creating Christmas candies for a crowd or need new dessert ideas, this quick recipe brings holiday spirit to life. Perfect for food ideas like easy desserts, winter snacks, and holiday treats!
Ingredients
2 cups white chocolate chips
1 cup sweetened condensed milk
1 teaspoon peppermint extract
3 to 4 drops red gel food coloring
1 tablespoon butter (optional)
Instructions
1. In a microwave-safe bowl or double boiler, melt white chocolate chips until smooth, stirring frequently.
2. Stir in the sweetened condensed milk and peppermint extract. Mix until fully combined and glossy.
3. Line an 8×8 baking pan with parchment paper. Pour in the mixture and smooth the surface.
4. Add drops of red gel food coloring to the top and swirl gently with a toothpick to create a marbled pattern.
5. Refrigerate for 3 hours or until firm.
6. Once set, lift out using parchment, slice into squares, and serve or store.
Notes
Use high-quality white chocolate for the smoothest, creamiest texture.
Don’t over-swirl the food coloring—less is more for that perfect marbled look.
Store in layers with parchment paper in the fridge for the cleanest presentation.
- Prep Time: 10 minutes
- Cook Time: 0 minutes
- Category: Dessert
- Method: No-Bake
- Cuisine: American
Nutrition
- Serving Size: 1 piece
- Calories: 92
- Sugar: 10g
- Sodium: 12mg
- Fat: 5g
- Saturated Fat: 3g
- Unsaturated Fat: 1.5g
- Trans Fat: 0g
- Carbohydrates: 12g
- Fiber: 0g
- Protein: 1g
- Cholesterol: 2mg
Keywords: easy dessert, peppermint candy, holiday mints, no bake Christmas treat