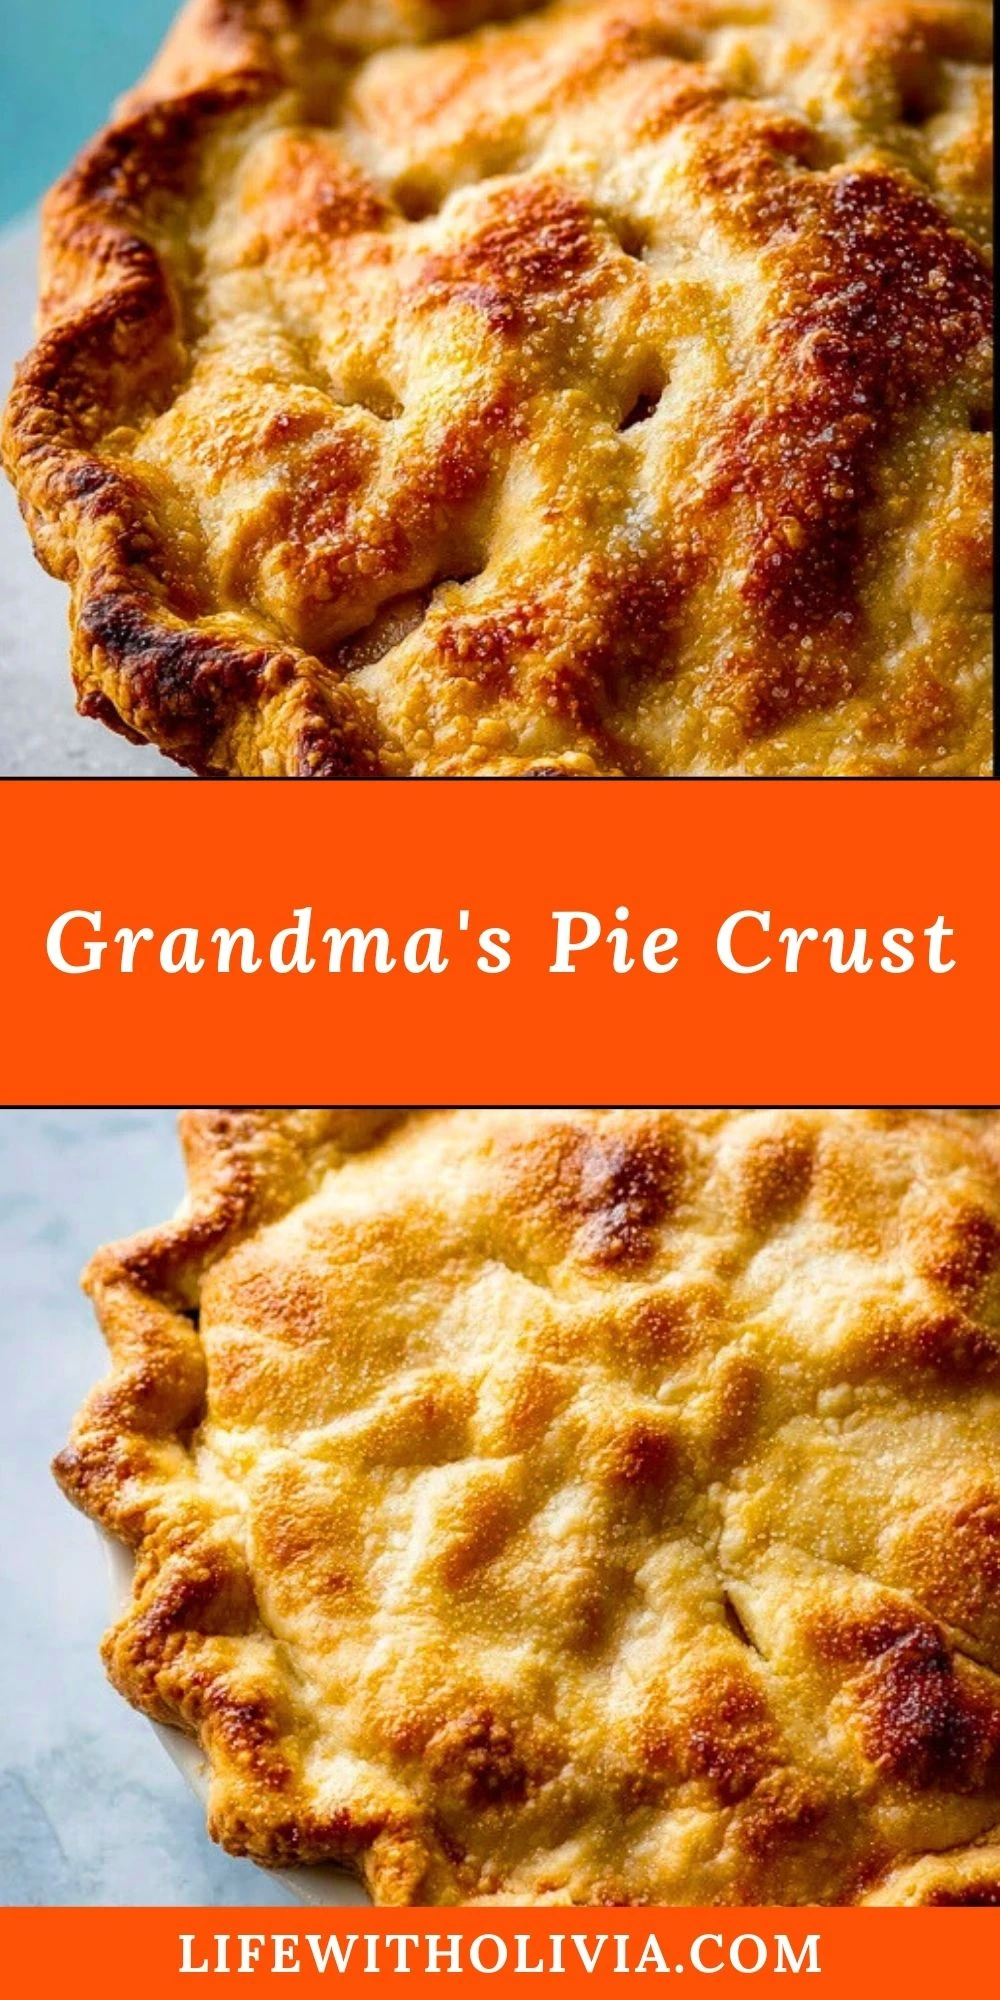
There’s something soul-soothing about rolling out dough on a floured countertop, the scent of butter hanging in the air. Grandma’s Pie Crust isn’t just a recipe—it’s a generational tradition of flaky, golden perfection. This crust is the kind that makes you want to sneak bites before the filling even goes in. Buttery and tender with just the right crisp at the edges, it elevates every pie it touches.
Whether you’re preparing a spiced apple pie for a holiday dinner or a savory chicken pot pie on a cold night, this pie crust will be your go-to foundation. With only a few simple ingredients and some careful handling, you’ll master the kind of crust that turns heads and earns compliments at every gathering.
Preparation Phase & Tools to Use
Before diving into mixing and rolling, having the right tools makes all the difference:
- Pastry Cutter or Food Processor: A pastry cutter is a classic tool for cutting cold butter into flour without melting it. If you want to speed up the process, a food processor works great too, just be careful not to over-process.
- Rolling Pin: Essential for evenly flattening the dough. A French-style rolling pin gives more control, but any rolling pin will do the job.
- Pie Plate: Opt for ceramic or glass pie plates which retain heat well, allowing the bottom crust to bake thoroughly without becoming soggy.
- Bench Scraper: Handy for lifting and turning dough while rolling it out, and great for cleanup.
- Plastic Wrap: For chilling the dough. Resting the dough helps the gluten relax and the fat firm up—key to that flaky texture.
- Measuring Cups & Kitchen Scale: Precision matters. A kitchen scale offers more accurate results, especially for flour and fat.

Ingredients for the Grandma’s Pie Crust
Each component of this crust plays a crucial role in creating its buttery flakiness and structure. Let’s break it down:
- All-Purpose Flour: Provides the structure and backbone of the crust. A reliable, versatile flour that holds the butter and water together while baking up tender.
- Unsalted Butter: The star ingredient. Using cold, unsalted butter ensures control over the salt level and gives the crust its signature flaky layers and rich flavor.
- Vegetable Shortening: Combined with butter, it brings tenderness. Shortening helps prevent gluten from forming too much, which can make crusts tough.
- Ice Water: Hydrates the flour just enough to bring the dough together. It must be ice cold to keep the fats from melting prematurely.
- Salt: Enhances the flavor and strengthens the dough. Even a little bit makes a noticeable difference.
How To Make the Grandma’s Pie Crust
Step 1: Combine Dry Ingredients
In a large mixing bowl, whisk together the flour and salt until well mixed. This distributes the salt evenly and breaks up any clumps.
Step 2: Cut in Butter and Shortening
Using a pastry cutter or your fingertips, cut the cold butter and shortening into the flour mixture. Work quickly to avoid melting the fats. The mixture should resemble coarse crumbs with some pea-sized pieces.
Step 3: Add Ice Water Gradually
Drizzle in the ice water a tablespoon at a time, tossing with a fork or spatula between each addition. Stop adding water when the dough just begins to hold together when squeezed.
Step 4: Form and Chill the Dough
Turn the dough onto a floured surface and divide it into two discs. Wrap each in plastic wrap and refrigerate for at least 1 hour. This rest period helps the dough firm up and enhances flakiness.
Step 5: Roll and Shape
Remove dough from the fridge and let it sit at room temperature for 5 minutes. Lightly flour your surface and rolling pin, then gently roll the dough out from the center until it fits your pie plate.
Step 6: Transfer and Trim
Carefully lift the rolled dough into your pie plate, pressing gently to fit. Trim any excess dough, leaving a slight overhang. If making a double-crust pie, add the top crust after filling.
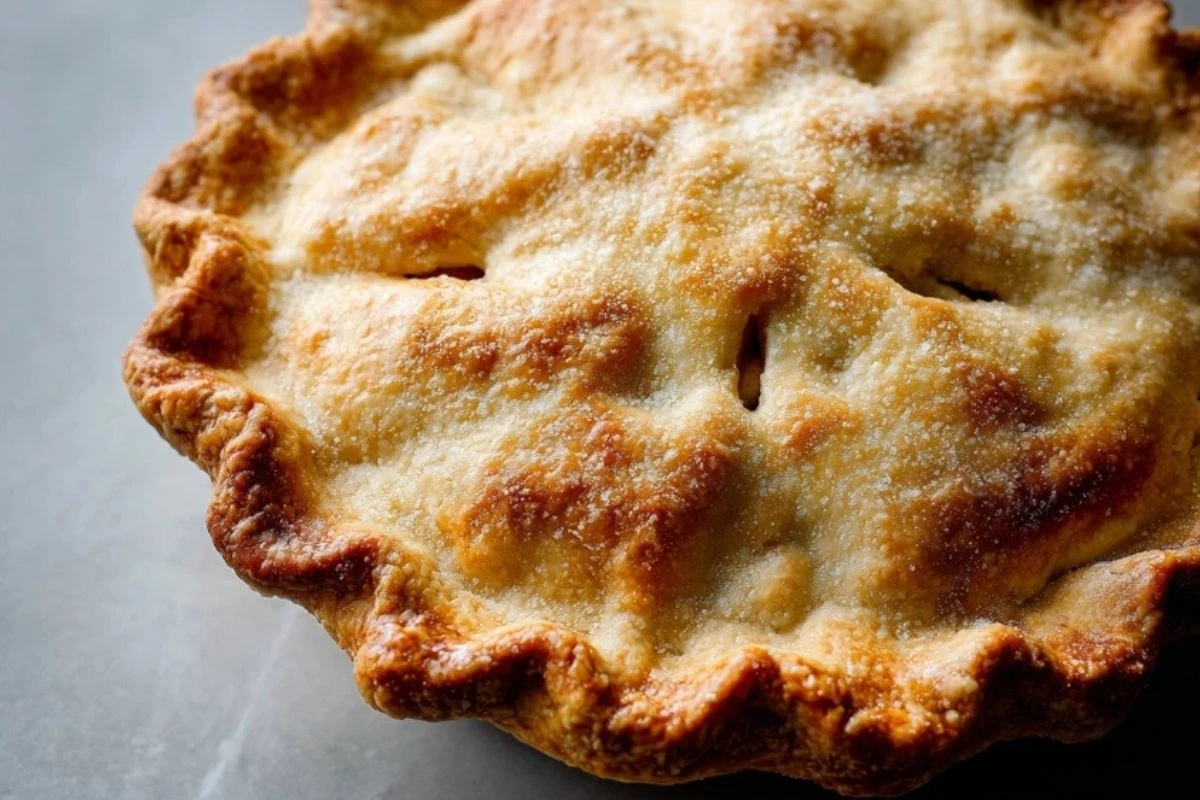
Step 7: Crimp and Chill Again
Crimp the edges decoratively and chill the assembled crust for another 15–20 minutes before baking. This prevents shrinking and promotes crisp edges.
Serving and Storing Grandma’s Pie Crust
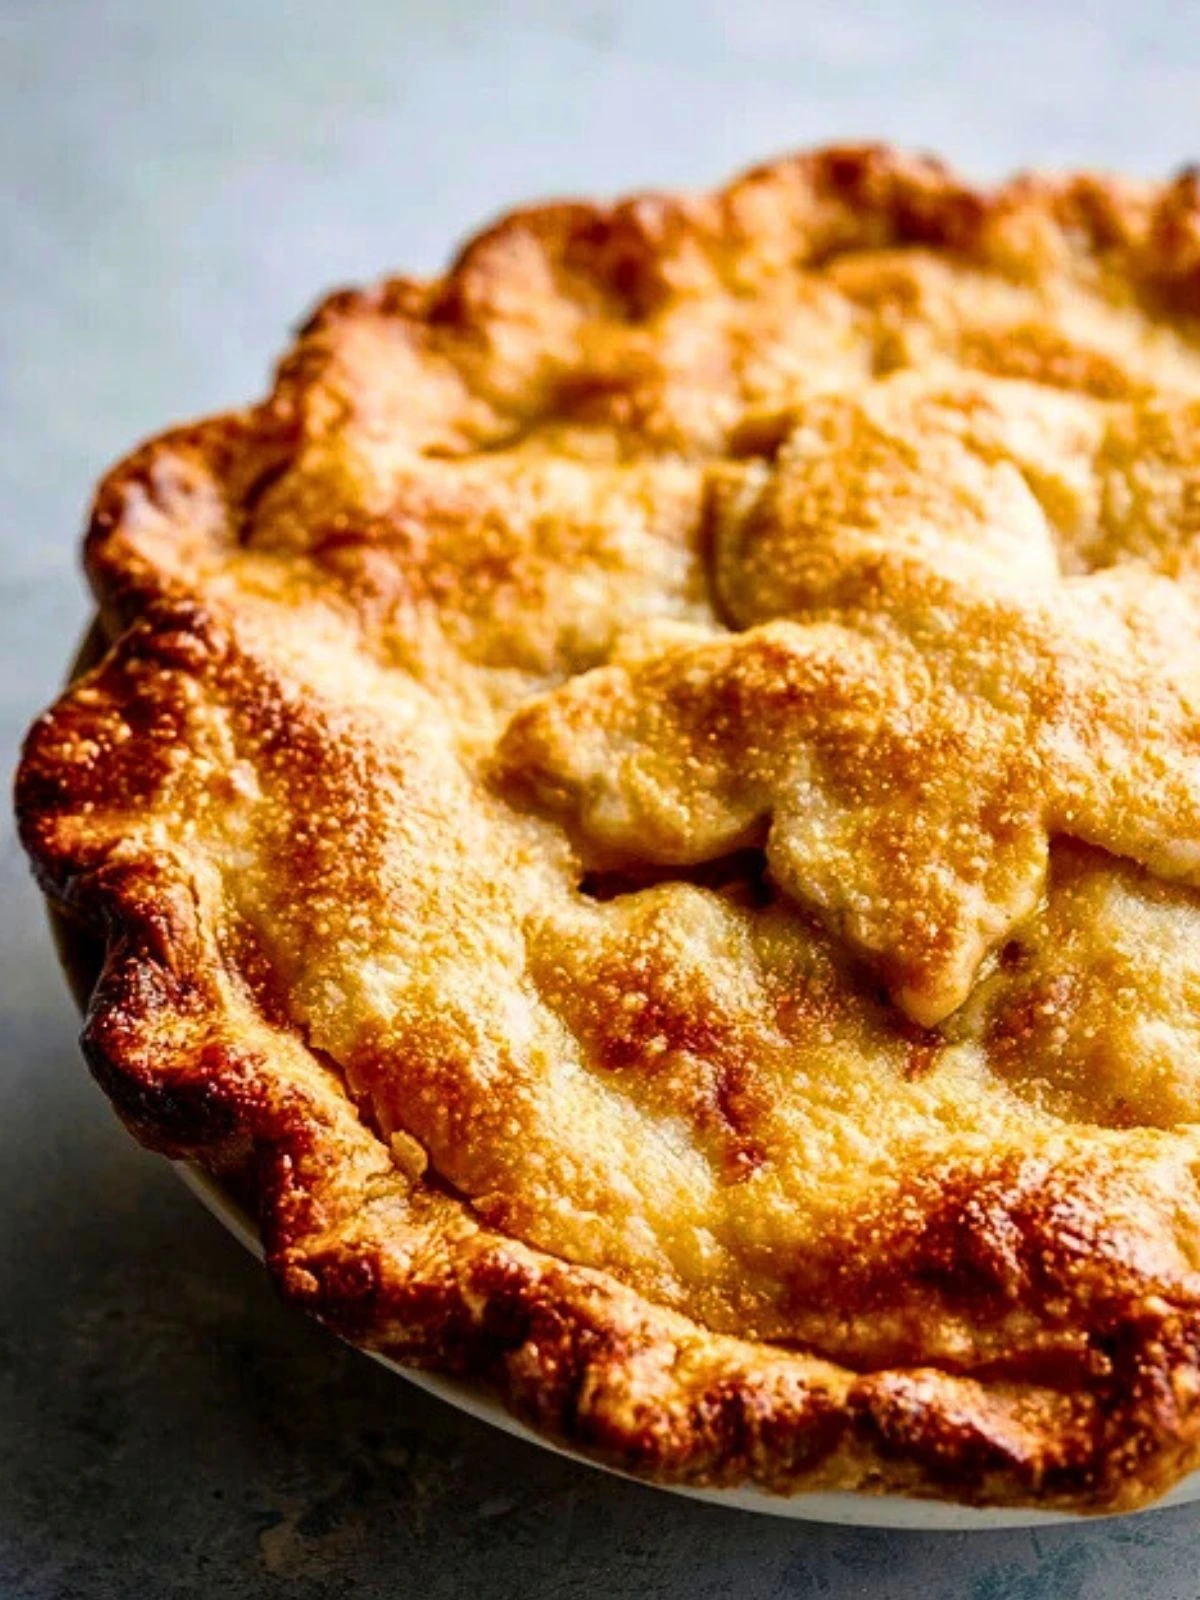
Once baked, Grandma’s Pie Crust offers a beautifully golden, crisp texture that pairs with everything from fruity fillings to creamy custards and even savory mixes. Serve your finished pie warm or at room temperature, depending on the filling. This crust is versatile enough to complement both sweet and savory dishes.
To store, wrap any unused baked pie tightly in plastic wrap or foil and refrigerate for up to 4 days. Unbaked pie dough discs can be stored in the refrigerator for up to 3 days or frozen for up to 3 months. Just make sure to thaw overnight in the fridge before rolling.
Frequently Asked Questions
What if my dough cracks when rolling it out?
Cracks usually mean the dough is too cold or dry. Let it rest at room temperature for 5–10 minutes and press the edges together gently as you roll.
Can I make this crust ahead of time?
Absolutely! Wrap the dough discs well and keep them in the fridge for a few days, or freeze them. It’s a great way to get ahead during busy baking seasons.
Is it okay to use all butter instead of shortening?
You can, but the texture will be slightly different. All-butter crusts are flakier and richer, while the butter-shortening combo yields a softer bite.
How do I keep the crust from shrinking while baking?
Always chill the shaped crust before baking and avoid stretching the dough when fitting it into the pie plate.
Can I blind bake this crust?
Yes! Prick the bottom with a fork, line it with parchment paper, and use pie weights or dried beans. Bake until the edges are golden.
What size pie does this recipe make?
This recipe yields enough dough for one double-crust 9-inch pie or two single-crust pies.
Want More Pie Ideas with a Homemade Twist?
If you’re as smitten with Grandma’s Pie Crust as we are, try it with these cozy creations from the blog:
- Apple Enchiladas: A Sweet and Comforting Treat
- Traditional German Lebkuchen
- Strawberry Cheesecake Dump Cake
- Peanut Butter Texas Sheet Cake
- Coconut Snowballs: A Delightful Holiday Treat
For even more delicious ideas, check out my daily recipe shares on Pinterest: Life With Olivia on Pinterest.
Save This Recipe for Later
📌 Save this recipe to your Pinterest board so you can come back to it whenever you’re planning to bake something special.
And let me know how yours turns out in the comments. Did you go all-butter or keep the mix? Did you use it for a fruit pie or a savory quiche?
I love hearing how you make these recipes your own. Feel free to ask questions or share your tips—we’re all learning together in the kitchen.
Grandma’s Pie Crust
- Total Time: 1 hour 15 minutes
- Yield: 2 single-crust pies or 1 double-crust 9-inch pie
- Diet: Vegetarian
Description
Grandma’s Pie Crust is a timeless recipe that delivers buttery, flaky, golden perfection every time. Ideal for both sweet and savory pies, it’s made with a simple mix of flour, butter, shortening, and a splash of ice water. Easy to make and easier to love, this crust is perfect for holidays, family dinners, or any occasion that calls for a comforting, homemade pie.
Ingredients
1 1/4 cups all-purpose flour
1/2 cup unsalted butter, cold and cubed
1/4 cup vegetable shortening, cold
4 to 6 tablespoons ice water
1/2 teaspoon salt
Instructions
1. In a large bowl, whisk together the flour and salt until combined.
2. Cut the cold butter and shortening into the flour using a pastry cutter or your fingertips until the mixture resembles coarse crumbs.
3. Gradually add the ice water, 1 tablespoon at a time, mixing gently after each addition until the dough just holds together when pressed.
4. Turn the dough out onto a floured surface, shape into two discs, wrap in plastic wrap, and refrigerate for at least 1 hour.
5. Let dough sit at room temperature for 5 minutes before rolling. Roll out one disc to fit a 9-inch pie plate.
6. Carefully transfer dough to the pie plate, trim excess, and press gently into the edges.
7. If using a top crust, add filling, then repeat rolling and place second crust over the top. Trim and crimp the edges.
8. Chill the prepared crust in the pie plate for 15–20 minutes before baking.
9. Blind bake if needed, or fill and bake according to your pie recipe.
Notes
Use cold ingredients to ensure maximum flakiness—don’t skip chilling the butter and shortening.
Resting the dough in the fridge helps prevent shrinkage and tough crust.
Handle the dough gently; overmixing or kneading can make it dense instead of light and tender.
- Prep Time: 15 minutes
- Category: Pie Crust
- Method: Hand Mixed
- Cuisine: American
Nutrition
- Serving Size: 1 slice
- Calories: 220
- Sugar: 0g
- Sodium: 140mg
- Fat: 16g
- Saturated Fat: 8g
- Unsaturated Fat: 6g
- Trans Fat: 1g
- Carbohydrates: 16g
- Fiber: 1g
- Protein: 2g
- Cholesterol: 30mg
Keywords: homemade pie crust, buttery crust, flaky pie crust