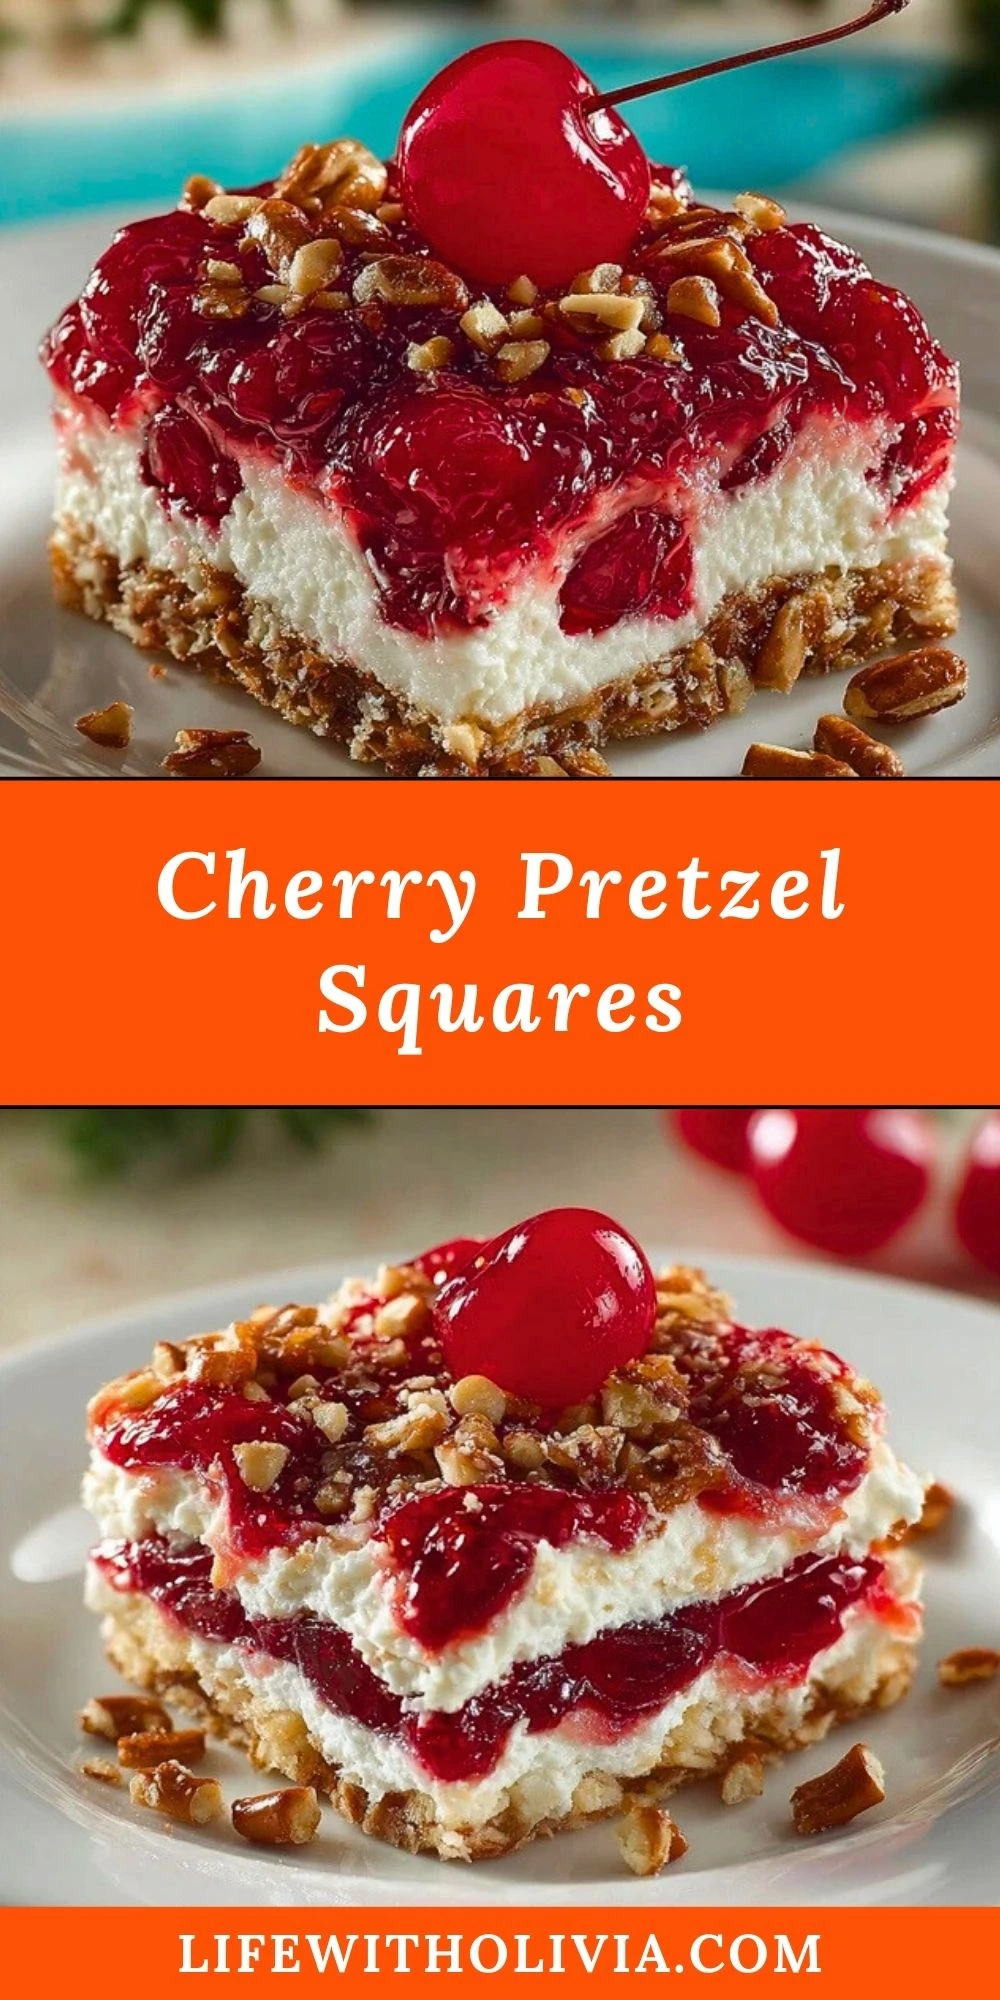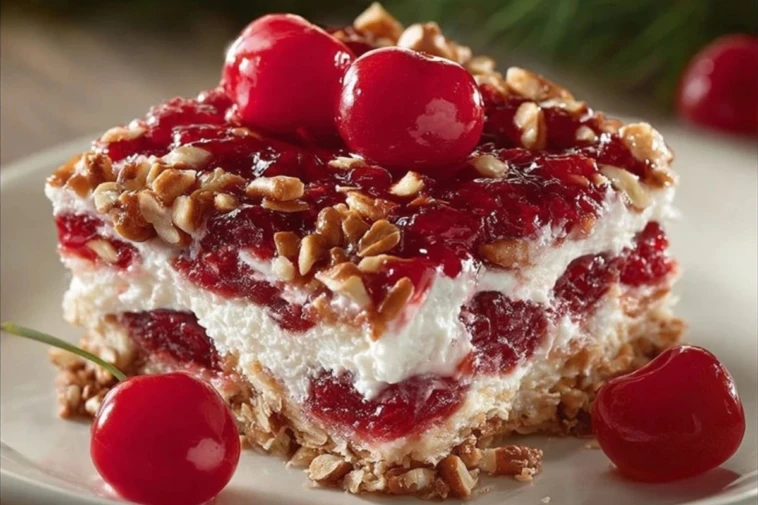
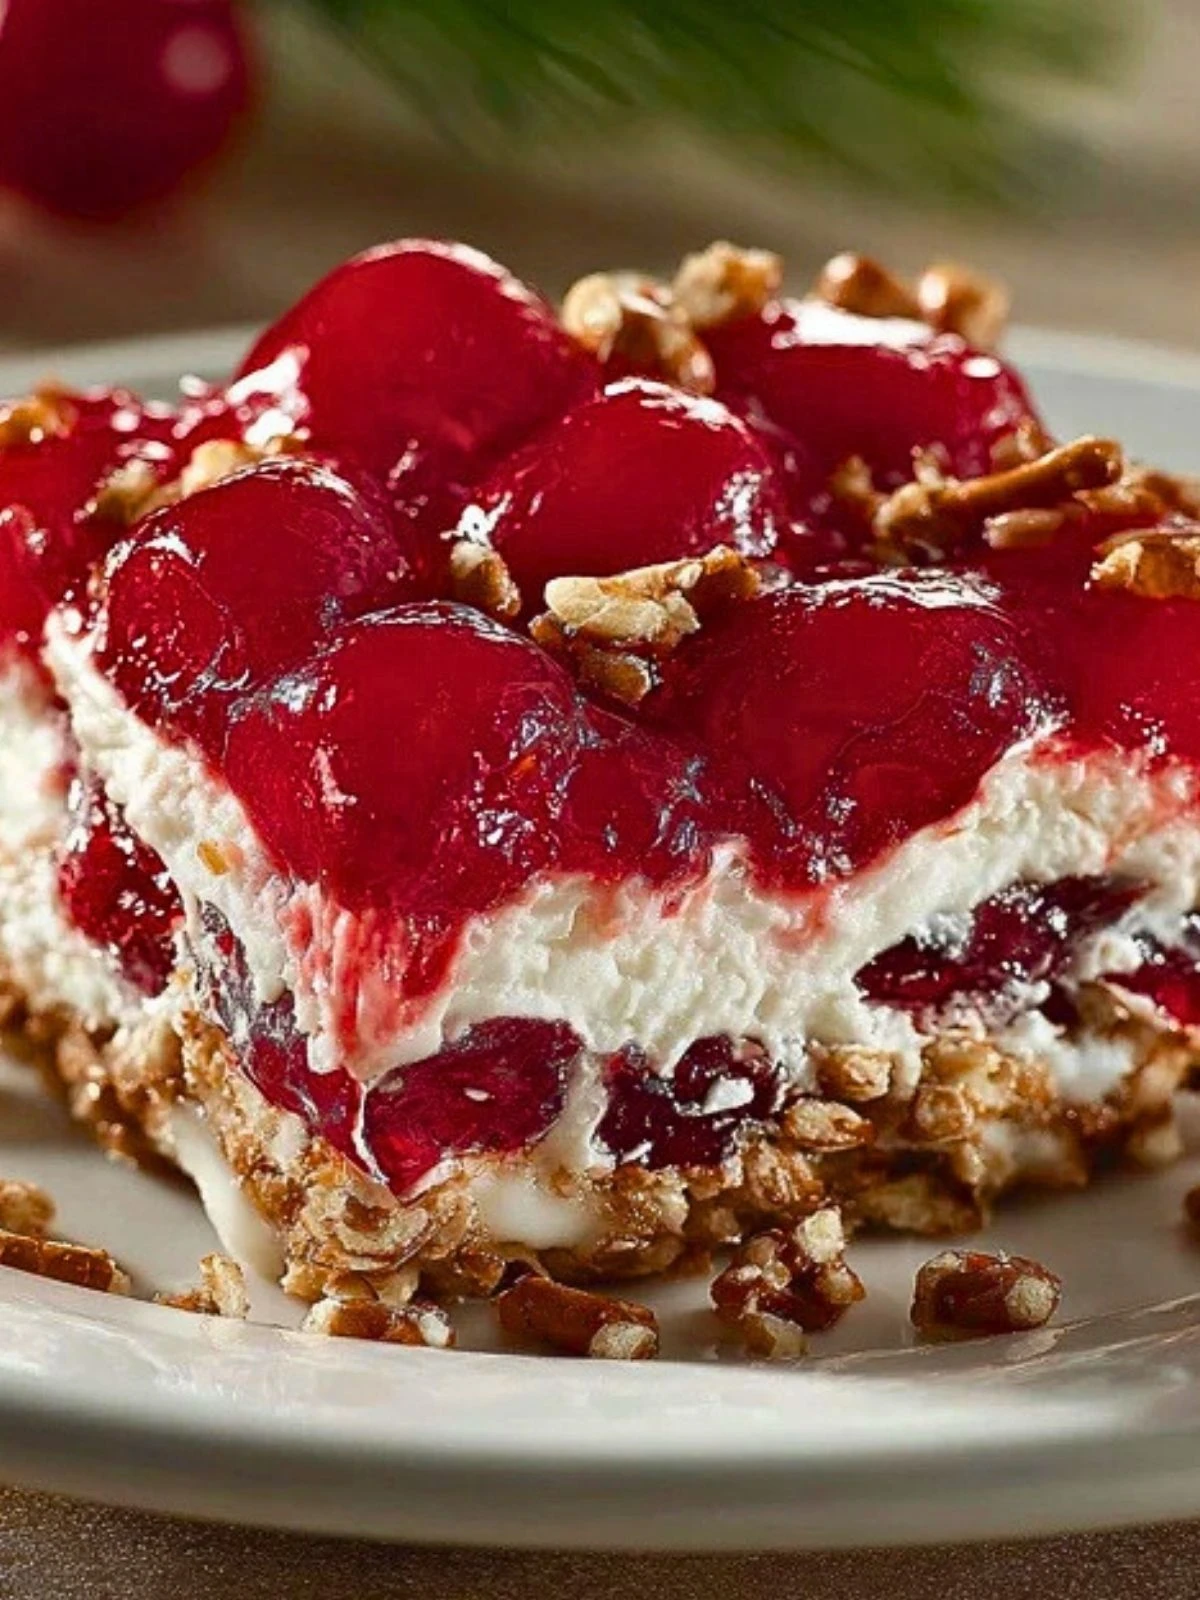
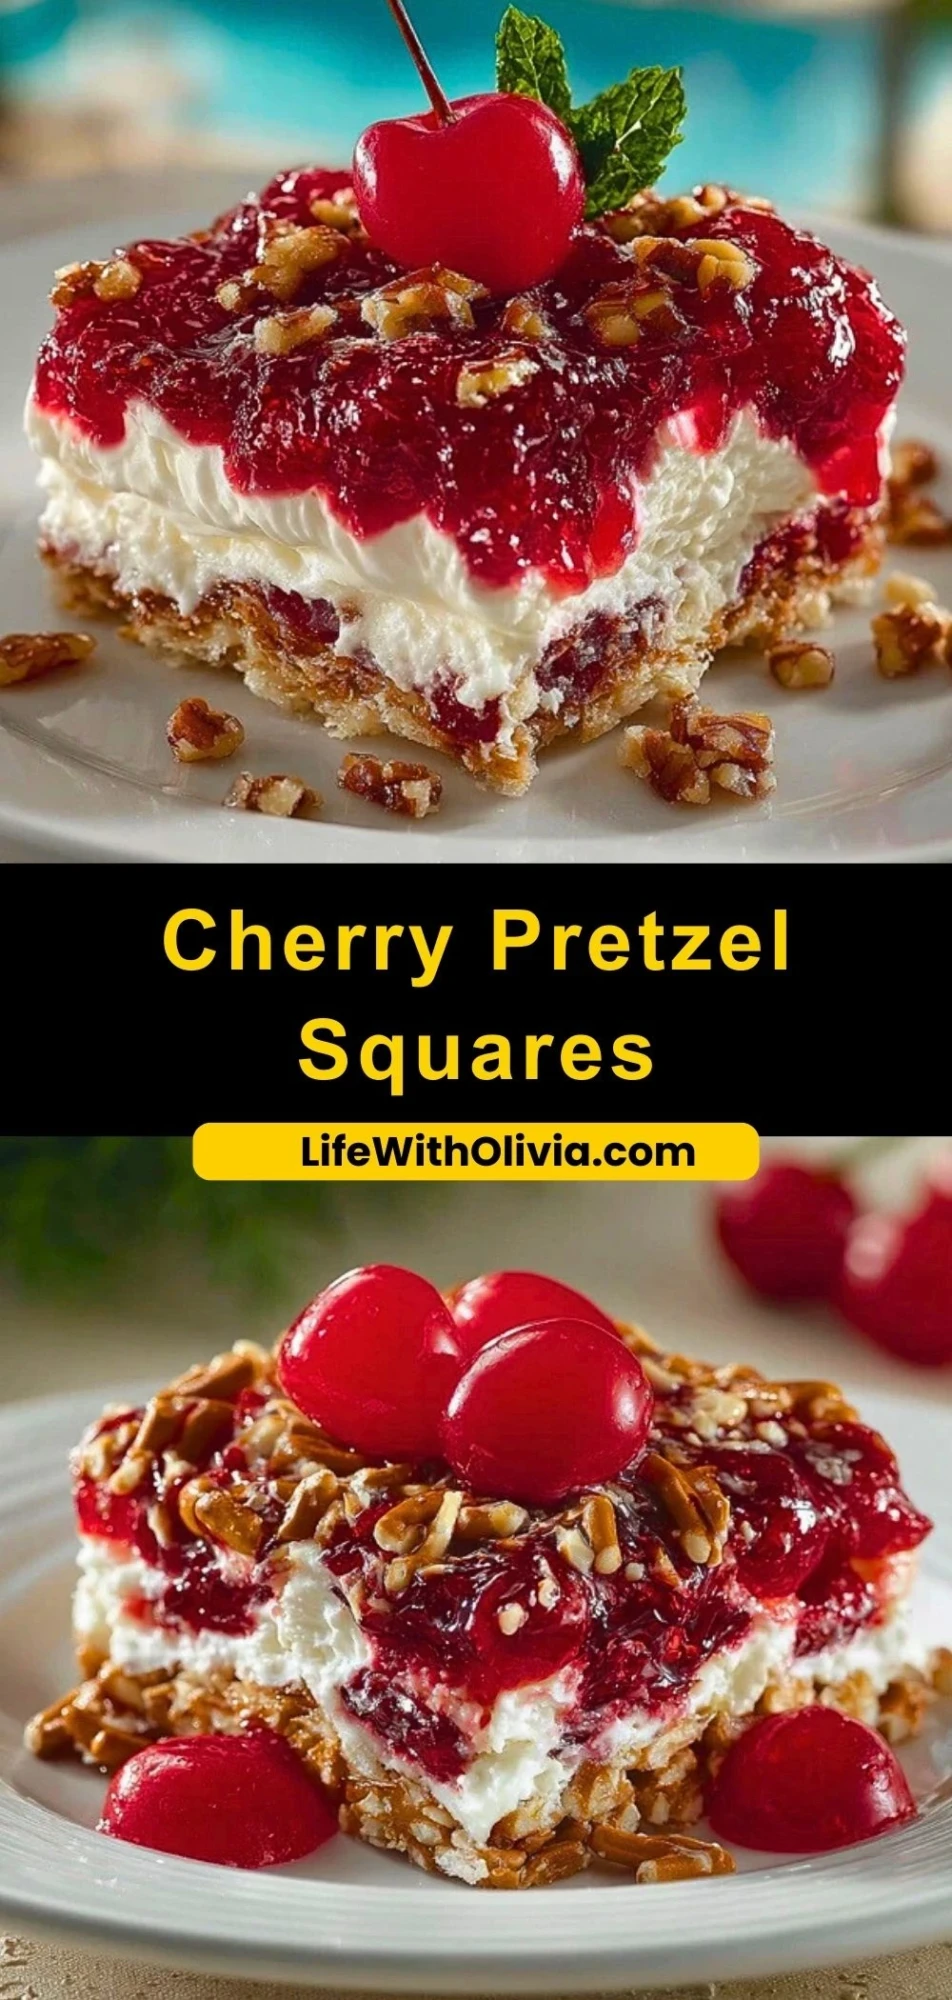
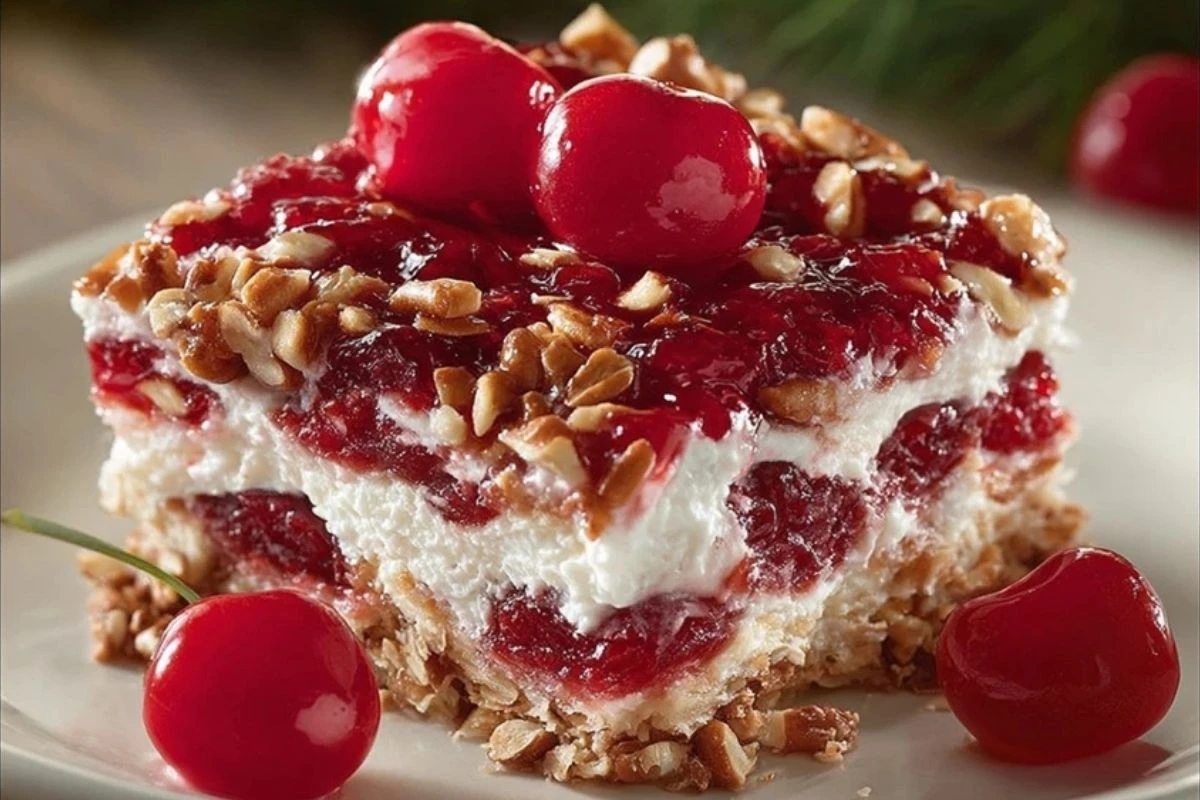
Sweet, salty, and irresistibly creamy—Cherry Pretzel Squares are the no-bake dessert you didn’t know you needed until now. This layered treat combines the crunch of a buttery pretzel crust, the fluffiness of cream cheese whipped topping, and the bold, fruity punch of cherry pie filling. It’s that magical blend of textures and flavors that makes each bite a memory in the making.
Perfect for holidays, potlucks, or just when your sweet tooth demands something extraordinary, this dessert has an old-school charm with a modern flair. The best part? It’s surprisingly simple to make and keeps well in the fridge, so it’s ideal for prepping ahead when entertaining. With its ruby red cherry topping and golden pretzel crunch, this dish is as gorgeous as it is delicious.
Preparation Phase & Tools to Use
Before diving into layering your Cherry Pretzel Squares, gather these key tools:
- 9×13 Baking Dish: Essential for building your layers evenly and ensuring easy cutting and serving.
- Mixing Bowls (at least 2): One for crust ingredients, one for the creamy filling. Having more than one bowl helps keep your prep seamless.
- Hand Mixer or Stand Mixer: Crucial for whipping the cream cheese and topping to that perfectly fluffy consistency.
- Rubber Spatula: Helps you spread the layers smoothly without disturbing the ones underneath.
- Measuring Cups & Spoons: Precision matters when balancing salty and sweet.
- Rolling Pin or Food Processor: For crushing pretzels efficiently and evenly.
Having the right tools streamlines the process and makes it nearly foolproof. The hand mixer ensures no lumps in your creamy layer, while the rubber spatula keeps everything neat and pretty—because presentation is half the magic with layered desserts.

Ingredients for the Cherry Pretzel Squares
Each layer of this dessert relies on simple but purposeful ingredients. Here’s what you’ll need and why:
- Salted Pretzels: The salty base that contrasts beautifully with the sweetness of the filling. They provide the signature crunch.
- Butter (melted): Binds the crushed pretzels together and adds rich flavor.
- Granulated Sugar: Adds sweetness to both the crust and the creamy middle.
- Cream Cheese (softened): Creates the tangy, rich base of the filling. Its texture balances the crunch.
- Whipped Topping (like Cool Whip): Lightens the cream cheese layer into something airy and smooth.
- Cherry Pie Filling: The bold fruity topper that adds visual appeal and a sweet-tart burst in every bite.
How To Make the Cherry Pretzel Squares
Step 1: Create the Pretzel Crust
Crush 2 cups of salted pretzels using a rolling pin or food processor. Mix with 3/4 cup melted butter and 3 tablespoons sugar. Press this mixture firmly into the bottom of a 9×13-inch baking dish. Bake at 350°F for 10 minutes, then let it cool completely.
Step 2: Whip the Cream Cheese Layer
In a medium bowl, beat 8 oz softened cream cheese and 1 cup sugar until smooth and fluffy. Fold in 8 oz whipped topping gently until well combined. Spread this layer evenly over the cooled crust, sealing the edges to prevent the cherry layer from seeping through.
Step 3: Add the Cherry Top Layer
Spoon one 21 oz can of cherry pie filling over the cream cheese layer. Spread gently to avoid mixing layers. Chill in the fridge for at least 2 hours to set.
Step 4: Serve and Slice
Cut into squares using a sharp knife. For the cleanest cuts, wipe the knife between slices.
How to Serve and Store Cherry Pretzel Squares
Cherry Pretzel Squares are best served chilled, straight from the refrigerator. The cool, creamy layers hold their shape beautifully and offer a refreshing bite, especially on warm days. Serve them on a dessert platter with a few whole cherries or mint leaves for garnish if you want to impress.
To store, simply cover the baking dish tightly with plastic wrap or transfer slices into an airtight container. They keep well in the fridge for up to 4 days. While freezing isn’t recommended due to the texture changes in the whipped topping and fruit layer, these are easy to prep a day or two ahead.
Frequently Asked Questions
What kind of pretzels should I use?
Small salted pretzel twists or rods work great. Avoid flavored or unsalted varieties, as the salt is key to the sweet-salty balance.
Can I make this dessert ahead of time?
Yes! In fact, it tastes even better after sitting for a few hours or overnight. This allows the layers to firm up and flavors to meld.
Can I use homemade whipped cream instead of store-bought?
You can! Just make sure it’s stabilized with a bit of powdered sugar so it holds up when layered.
What if I don’t have cherry pie filling?
Feel free to swap it with blueberry, strawberry, or even peach pie filling. The base is versatile enough for any fruit topping.
Can I make it gluten-free?
Absolutely. Just use gluten-free pretzels and double-check your pie filling and whipped topping for any gluten-containing additives.
Want More No-Bake Dessert Ideas?
If you love these Cherry Pretzel Squares, you’ll probably enjoy these other irresistible no-bake or fruity dessert recipes:
- No-Bake Mini Banana Cream Pies for individual creamy indulgence.
- Strawberry Cheesecake Dump Cake if you love fruity layers with less fuss.
- Coconut Snowballs – A Delightful Holiday Treat for a festive bite-sized option.
- Paula Deen’s 5-Minute Fudge when you’re short on time but need something sweet.
- Apple Enchiladas for a warm twist on fruity desserts.
Save This Recipe for Later
📌 Save this recipe to your Pinterest dessert board so you can come back to it any time: Life With Olivia Pinterest
And let me know in the comments how yours turned out. Did you swap the cherries for another fruit? Add some chocolate drizzle or toasted coconut?
I love hearing your creative takes on these classics. Got questions? Drop them below—we’re in this sweet journey together!
Cherry Pretzel Squares
- Total Time: 2 hours 25 minutes
- Yield: 12 servings
- Diet: Vegetarian
Description
A crowd-pleasing no-bake dessert featuring a crunchy pretzel crust, creamy whipped filling, and a sweet-tart cherry topping. Perfect for potlucks, summer BBQs, or make-ahead treats.
Ingredients
2 cups salted pretzels
¾ cup melted butter
3 tablespoons granulated sugar (for crust)
8 ounces cream cheese, softened
1 cup granulated sugar (for filling)
8 ounces whipped topping (like Cool Whip)
21 ounces cherry pie filling
Instructions
1. Preheat oven to 350°F and grease a 9×13-inch baking dish.
2. Crush pretzels using a food processor or rolling pin.
3. Mix crushed pretzels with melted butter and 3 tablespoons sugar.
4. Press mixture into baking dish to form crust.
5. Bake for 10 minutes, then cool completely.
6. In a bowl, beat softened cream cheese and 1 cup sugar until smooth.
7. Gently fold in whipped topping until fully combined.
8. Spread cream mixture over the cooled crust, sealing all edges.
9. Top evenly with cherry pie filling.
10. Chill in the fridge for at least 2 hours before serving.
11. Cut into squares and serve cold.
Notes
Seal the cream cheese layer to the edges of the dish to prevent cherry topping from bleeding through.
Use full-fat cream cheese for best consistency and flavor.
Always let the crust cool completely before layering to avoid melting the filling.
- Prep Time: 15 minutes
- Cook Time: 10 minutes
- Category: Dessert
- Method: No-bake (with brief bake for crust)
- Cuisine: American
Nutrition
- Serving Size: 1 square
- Calories: 310
- Sugar: 20g
- Sodium: 280mg
- Fat: 18g
- Saturated Fat: 10g
- Unsaturated Fat: 7g
- Trans Fat: 0g
- Carbohydrates: 34g
- Fiber: 1g
- Protein: 3g
- Cholesterol: 35mg
Keywords: cherry pretzel dessert, no bake, summer dessert, sweet and salty